Say "Oui" To French Seams!

Bonjour, fellow sewing enthusiasts! Let’s learn how to sew French seams – those magical stitches that turn ordinary seams into masterpieces and bid farewell to frayed edges. So grab your spools, don your imaginary beret, and let’s journey together into sewing finesse!

Prepare Your Fabric:
You’ll want to do this on thinner fabrics, such as a lawn, voile, gauze or similar weight. This one is a lovely fabric by Art Gallery Place the fabric's wrong sides together. This is the opposite of traditional sewing, where you sew with the right sides together.

The backs of the fabrics are facing each other.

Sew the First Seam:
Pin the seam you want to sew with a French seam, ensuring the fabric is aligned.
Sew a straight seam with a 1/4-inch seam allowance. This is smaller than your final seam allowance.

Trim and Press:
Trim the seam allowance to about 1/8 inch (3mm) to remove excess bulk.
Press the seam open with an iron.

Fold and Press:
Fold the fabric along the seam line so the right sides face each other.
Press along the folded line to create a neat crease.

Sew the Second Seam:
Sew another seam with a 3/8-inch seam allowance (or your desired seam allowance). This will encase the raw edges from the first seam within the fold.
The first seam you sewed will now be hidden within this second seam.

The fronts of the fabric are now facing each other.

Press and Finish:
Press the seam to one side. The raw edges are now encased, creating a clean and finished look on the right side of the fabric.
Your French seam is complete! This method prevents fraying and creates a clean and polished finish on both sides of the fabric. It's particularly useful for delicate fabrics like chiffon, silk, and lightweight cotton.

Remember that French seams work best on fabrics that aren't too thick, as they can become bulky with multiple layers. Consider other seam finishing techniques like flat-felled seams or serged finishes if you're working with heavier fabrics.
Sewing A Swimsuit

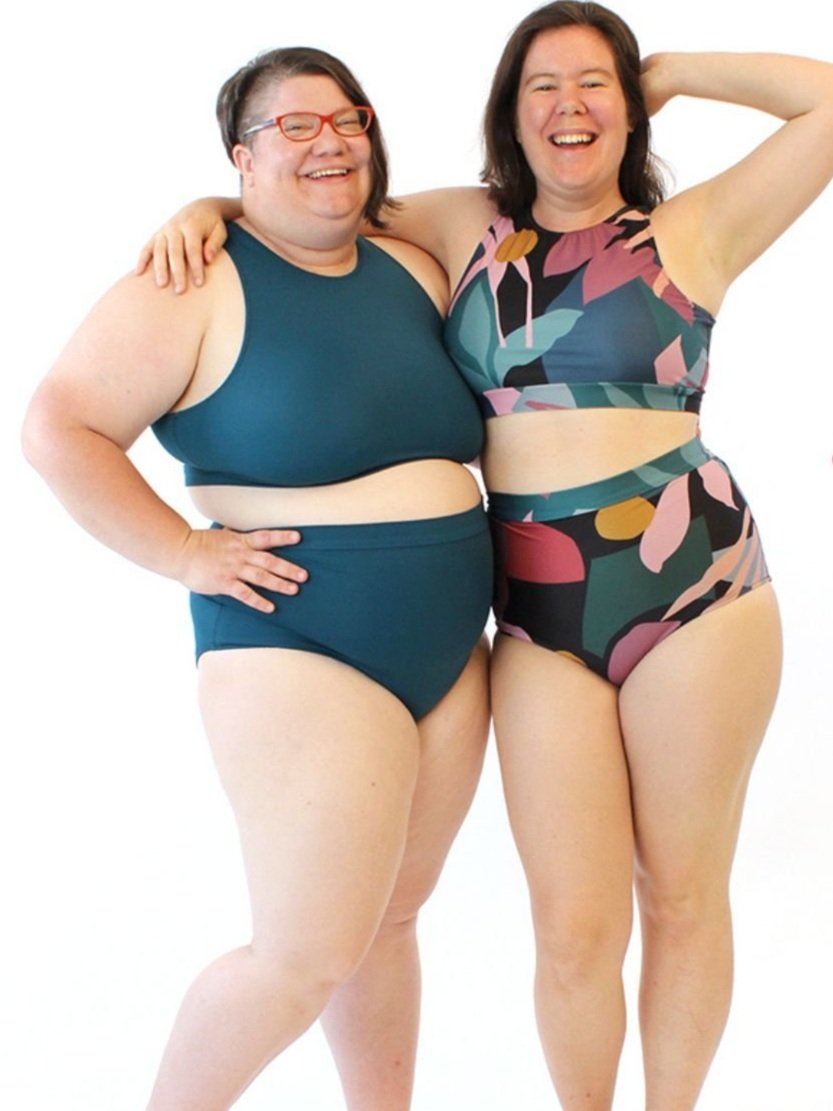
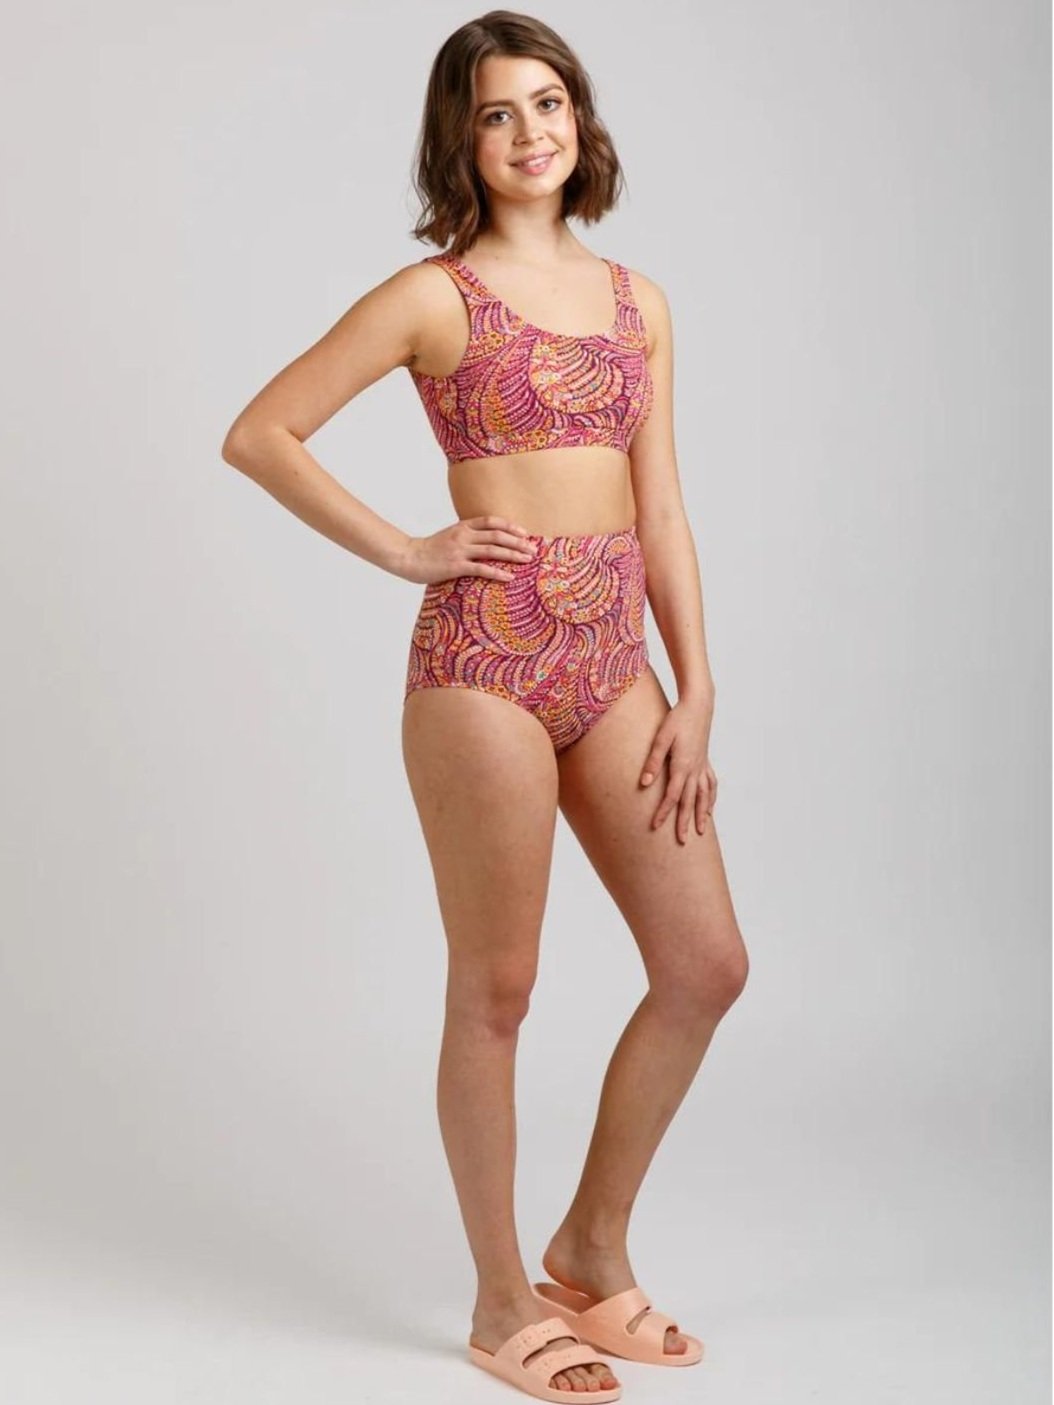
Here’s something shocking that I learned about sewing swimwear: It’s not that hard! There are several well-designed swimsuit patterns to choose from. Sources for swim fabric are more plentiful than there have ever been. All you need are the proper tools and you’ll be on your way to producing lovely swimsuits at a very reasonable cost. By, the way, we now have a Swim Wear Class I’m teaching! The following are my recommendations:

Time To Sew

by Martha West

1. Choose a beginner friendly pattern to start with.
Your pattern should be rated as an easy/beginner pattern. It should be one that runs true to size and has had a track record of success with the greater sewing community. The best way to figure out its success is to check Instagram. If there are hundreds of smiling sewists showing off their creations, you are on the right path. (My favorites: Megan Nielsen Cottesloe, Helen’s Closet Sandpiper, Tilly and the Buttons Coralie)

2. Choose your size based on your measurements and the size recommended by the pattern you’ve chosen. ALL patterns have their own sizing so don’t get hung up on what your RTW size is.

3. Choose swim fabric! You must have an appropriate weight and stretch factor for a swimsuit to work. Don’t bother with sewing something in your stash that’s stretchy. Swim fabric is its own beast, and it has unique properties. You’ll need at least 50% stretch in both directions, and some patterns call for 70% stretch. Usually, you’ll be looking for 90/10 nylon/spandex or 90/10 polyester/spandex fabric. Check your pattern for their requirements. (Good sources are Fabric Fairy and Vogue Fabrics.
4. Choose swim lining fabric! You can use fabric designed as a swimwear lining, or you can use your exterior fabric as the lining. (Good sources are Fabric Fairy, Vogue Fabrics, and Joann)

5. Choose swim elastic. There are two types of swimsuit elastic: polyester/latex and rubber. If you’re just beginning, choose polyester/latex swimwear elastic rather than rubber elastic. The rubber elastic holds up much better over time in chlorine, but it is tricky to sew. (I only use Fabric Fairy elastic)

6. Use a Microtex sewing machine needle. I recommend purchasing 80/12 and 90/14 sizes. That way, if you need a heavier-weight needle for sewing the elastic, you will have it on hand.

7. Use your regular sewing machine and a regular zigzag stitch. Avoid using a serger for your initial suit. There is no need to serge the edges of swim fabric as it never frays and serged edges are more difficult to rip if alterations are needed.

8. Plan on purchasing double the amount of fabric you’ll need so you can make a “muslin” fitting version. You’ll need to double the exterior and lining fabric, but you really can’t make a test swimsuit out of a non-swim fabric and have accuracy.

9. Don’t bother with your iron. Swim fabrics don’t take the heat of the iron or a press very well, so don’t waste time pressing seams. Betcha never thought you’d hear me say that!

Being present for your own self and your community is vital.

The Sewing Hive was one of the sponsors at an event called Midwest Craftcon. We demonstrated how to mend and embellish clothes with simple running embroidery stitches. The keynote speaker spoke about how important it is to connect with the community. We wholeheartedly agree!

So good to see and hear discussions with old pals and meet new folks running handmade businesses, such as Megan of Craftin Outlaws and MWCC, Olivera of WildCat Gift & Party, Natalie of Natterdoodle, Wendy of Hands Skin Care, Toni of TL Yarncrafts, and many others!

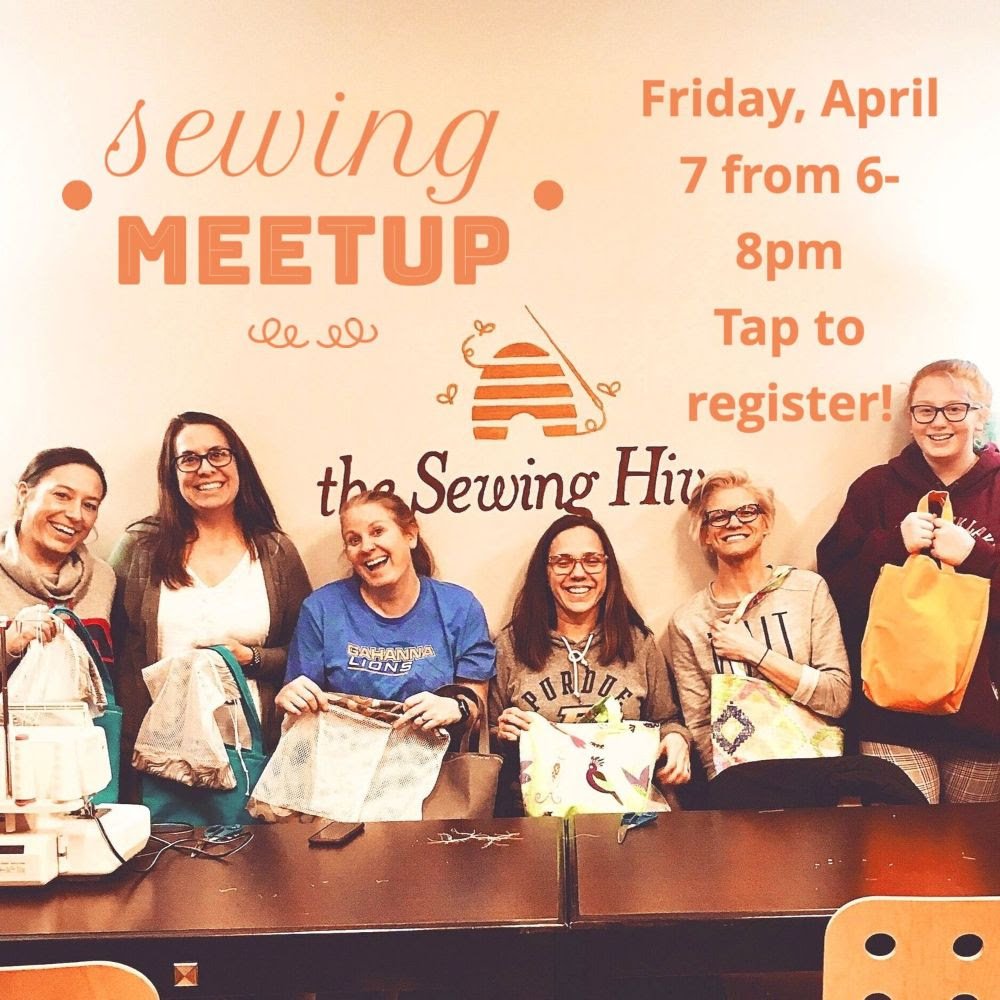
Left image: Sew with us at our Sewing Meetup event and meet some friends with common interests. Click the image for more and the registration link.

Image right: Martha, one of our instructors, is a supporter of The Riverside Hospital Sewing Guild, and she hosted a chemotherapy hat sewing session at The Sewing Hive. We want to thank the Clintonville Spotlight for such an amazing cover story in their March issue! And thank you again to those who came and sewed!
The next one is happening May 20th from 2-5 pm. 

And you can grab some "me" time while the kids are at sewing camp. It will be here before you know it, so register now. Seats are limited!

Sewing is a wonderful way to "meditate" for those who need to keep their hands busy. It's like "fidget spinning," but you're being productive!

Thanks for reading and please share with your community!

Pattern Fitting Tips, by Gail Kelley

One of the reasons I started The Sewing Hive is because I remember being so frustrated with finding beautiful material, mostly when I traveled, and a great-looking pattern, but never having the garment fit me after all the work I had put into sewing. With a busy corporate sales job, I did not have much time to devote to understanding what was wrong, but over the years, I attended many workshops and seminars to learn what I was doing incorrectly.


What I learned was that the patterns I was sewing were 2-4 sizes too small for me and that a purchased pattern is just a starting point. I needed the skills to grade and alter the pattern to fit me. I hear this frustration often, so we are on a mission to allow you to sew garments that fit!


Let’s talk about how to create a great fitting pattern:
Rule #1: DO NOT PURCHASE THE PATTERN BASED ON THE SIZE YOU PURCHASE IN A STORE BOUGHT GARMENT….. pattern sizing is not the same as Ready To Wear! Sorry, it seems as though I just yelled. (I can wear a size 6 or 8 in pants purchased from a store, but in a pattern, I’m a size 12….) This is a common frustration with beginning sewers.
The first step is to get a good set of measurements, and we can help with that and understanding how to read a pattern’s size chart. Three major measurements are listed on most patterns: bust, waist, and hips. You’ll need to have these measurements before you purchase a pattern. What type of garment you are making determines which of those measurements you should use to pick the pattern size; For a top or dress, use your bust measurement, and for a skirt or pants, use your hip measurement.
You will most likely be grading the pattern between sizes, as commercial patterns use standardized sizing. They get larger and smaller proportionally. As the bust measurement gets larger, the shoulder seams are farther out, and the waist and hips get larger.


Unless you find a pattern with multi-cup bust sizing, remember that most patterns are based on a 2” difference between your full bust measurement and your chest wall measurement, also called a High Bust measurement. If your bust measurement is more than 2 inches larger than your chest wall, you may need to learn how to make a Full Bust Adjustment. Once you learn how to do this, you can apply this new skill to any pattern you choose. Once you learn what adjustments to make, you can apply them to all your patterns, each time getting easier!


If you want to learn how to fit a pattern, please sign up for a Pattern Fitting class and bring your pattern. Your measurements will be taken, and you will learn how to apply your measurements to the pattern!
The second important lesson I learned was that the fabric needed to fit the pattern’s intended drape……but I’ll save that for next time. Time to get sewing!

What Kind of Robe Are You?

What Kind Of Robe Are You? Take this short quiz to learn. Grab a pencil and paper to write down your answers, then check the list below the quiz to find out what kind of robe you really are!

What Kind of Robe Are You?

Have a little fun and take the quiz!

 I like my coffee:
A. black or with cream
B. with yummy flavors
C. I only drink tea
D. to be cocoa with marshmallows

First thing in the morning I:
A. get my beverage
B. shower
C. check my texts
D. do yoga or go outside to be one with nature

In my free time, I’d rather
A. read
B. go shopping
C. do some DIY projects
D. watch YouTube videos

I like to give gifts such as
A. gift cards
B. jewelry
C. candy
D. something funny

The vacation of my choice would be at
A. cabin in the woods
B. a fancy resort
C. the beach
D. theme parks across the USA 

My favorite outfit is
A. a flannel shirt, jeans 
B. a glamorous ensemble with lots of sparkles
C. a fluffy sweater and leggings
D. joggers and a hoodie
  
My favorite flowers are
A. roses
B. Bird of Paradise
C. Queen Annes Lace
D. daisies


If your answers were mostly A’s you are a warm, soft wrap-robe.
You love your quiet time and hanging with your family and pets. Look for flannels or fleece in plaid or with a holiday-theme and a pattern with big pockets. This long one has a zipper front and would be great in a fleece, by Butterick Patterns.

If your answers were mostly B’s you are a dressing robe. Here’s a pattern by Mood Fabrics.
Beauty and glamour are what you are known for. You like to take your time putting on makeup and trying new hairstyles. Look for florals or fabric with a little sparkle in cotton lawns, silks, or satins, add some piping with contrasting cuffs and collar.

If your answers were mostly C’s you are a caftan. Here’s a fun one by Simplicity.
Everything you do is with passion, and breaking the rules is not new to you. You like running around in the house and sometimes outdoors by the pool in your long breezy coverup and not much else. Look for bright colors and large-scale motifs that express your personality. You don’t even need a pattern for this type of robe. It’s that easy to make!

If your answers were mostly Ds, you are a bathrobe. Melly Sews has a free tutorial here.
When your friends are around they can depend on you to crack a joke or bring something fun to do. You like to make people happy. You are a zippered bathrobe that’s perfect for throwing on after stepping out of the shower or when you need some decompression time. It’s great to make people happy, but you need to remember your own self-care. Look for soft pastels or bright citrus colors in 100% cotton terrycloth. Add a front zipper or a hood. 

Now, let’s make a robe. We have robe classes here.

The Marlo Cardigan Sweater: A Pattern Review by Martha West

When it was still 90 degrees outside, Jamie and I picked a theme for our posts for October.  That theme was “Cozy Sewing”.  I decided to set out a bit of a challenge for myself to sew a sweatshirt that looks “upscale”.  I spend most of the winter in sweatshirt fleece because it is so warm.  But, it does look like something that should be worn at the gym.  I guess that 2.5 years of pandemic attire I’m ready to look a little more dressed up.  

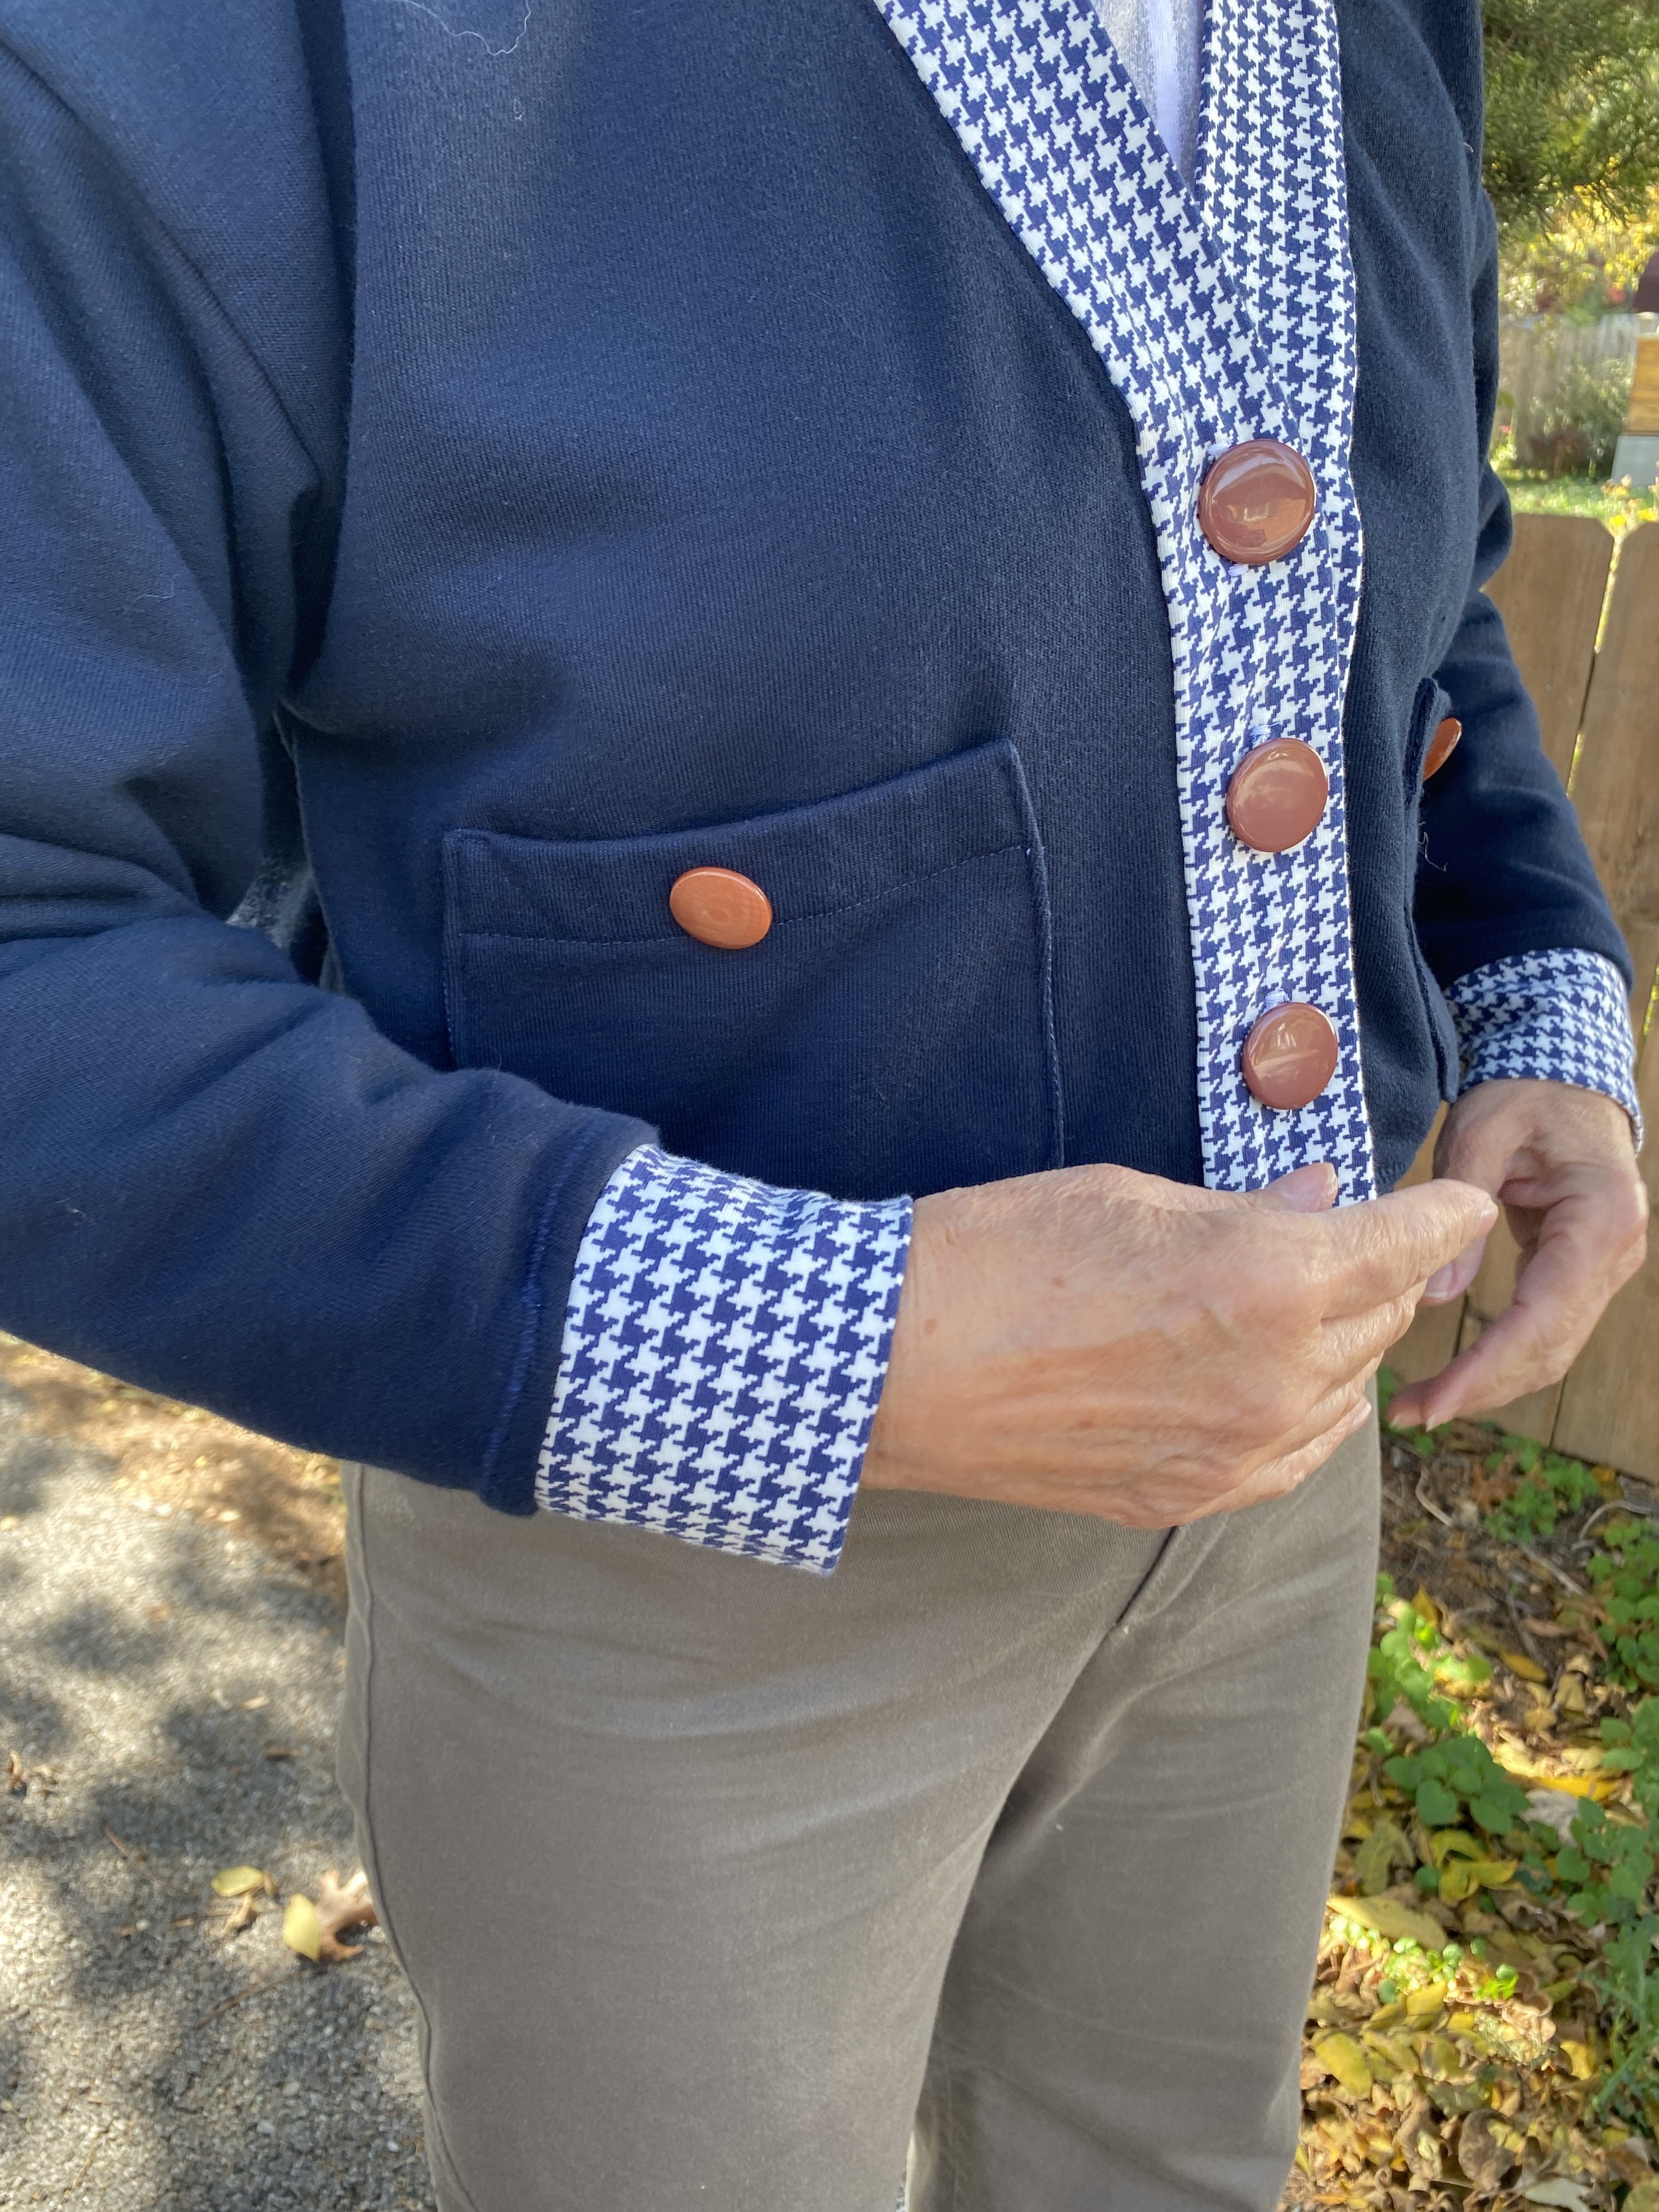
I chose the Marlo Cardigan pattern by True Bias.  This is a great-looking sweater and a pretty fast sew.  I made both the long and cropped versions last year so it’s a Tried-and-True (TNT) pattern for me.  The thing that’s really unique about this pattern is that it is designed so that the main body of the sweater can be made with either a knit or a woven fabric!  The bottom band and the binding must be made out of a stretchy knit, but the body can be made out of non-stretch wool or a cozy sweater knit.  

This is important in the design of my “sweatigan” because sweatshirt fleece has very little stretch.  Particularly fleece that is more densely woven and, hence, warmer.  I used a 14oz Champion Sweatshirt Fleece (from Nick of Time Textiles  nickoftimefabric.com) that I purchased last winter.  It’s a lovely fleece but it’s not very stretchy.  

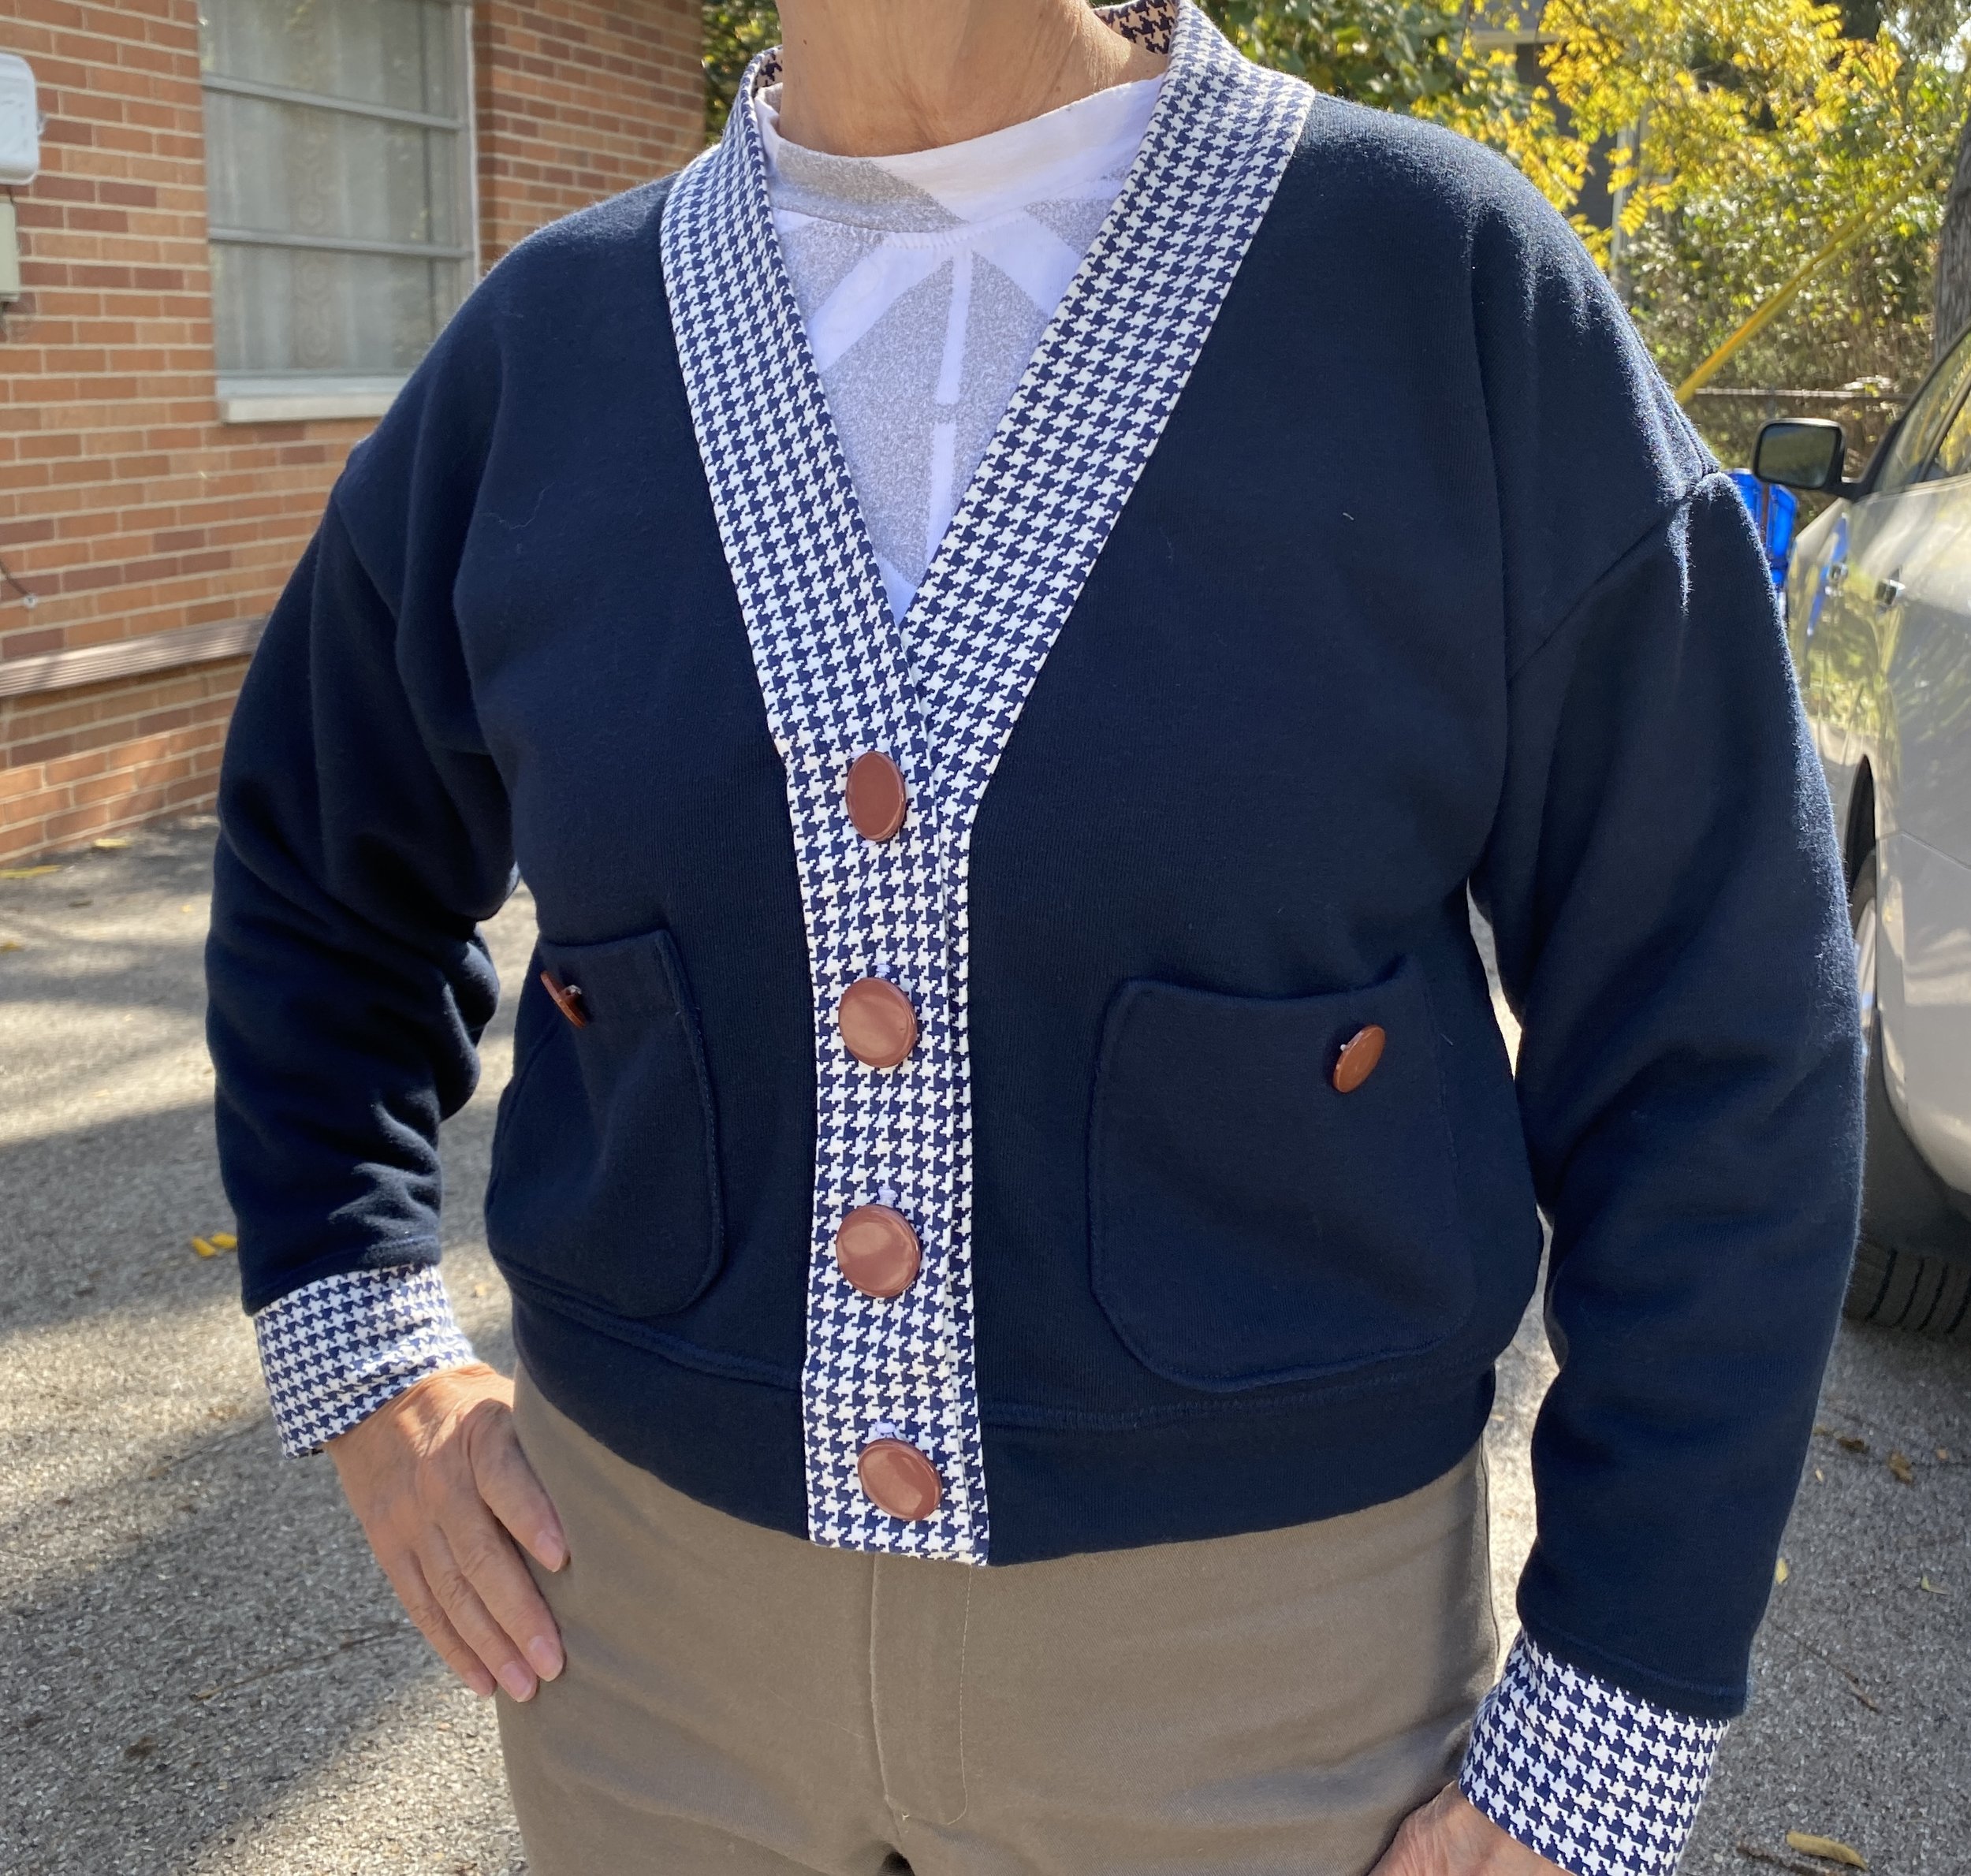
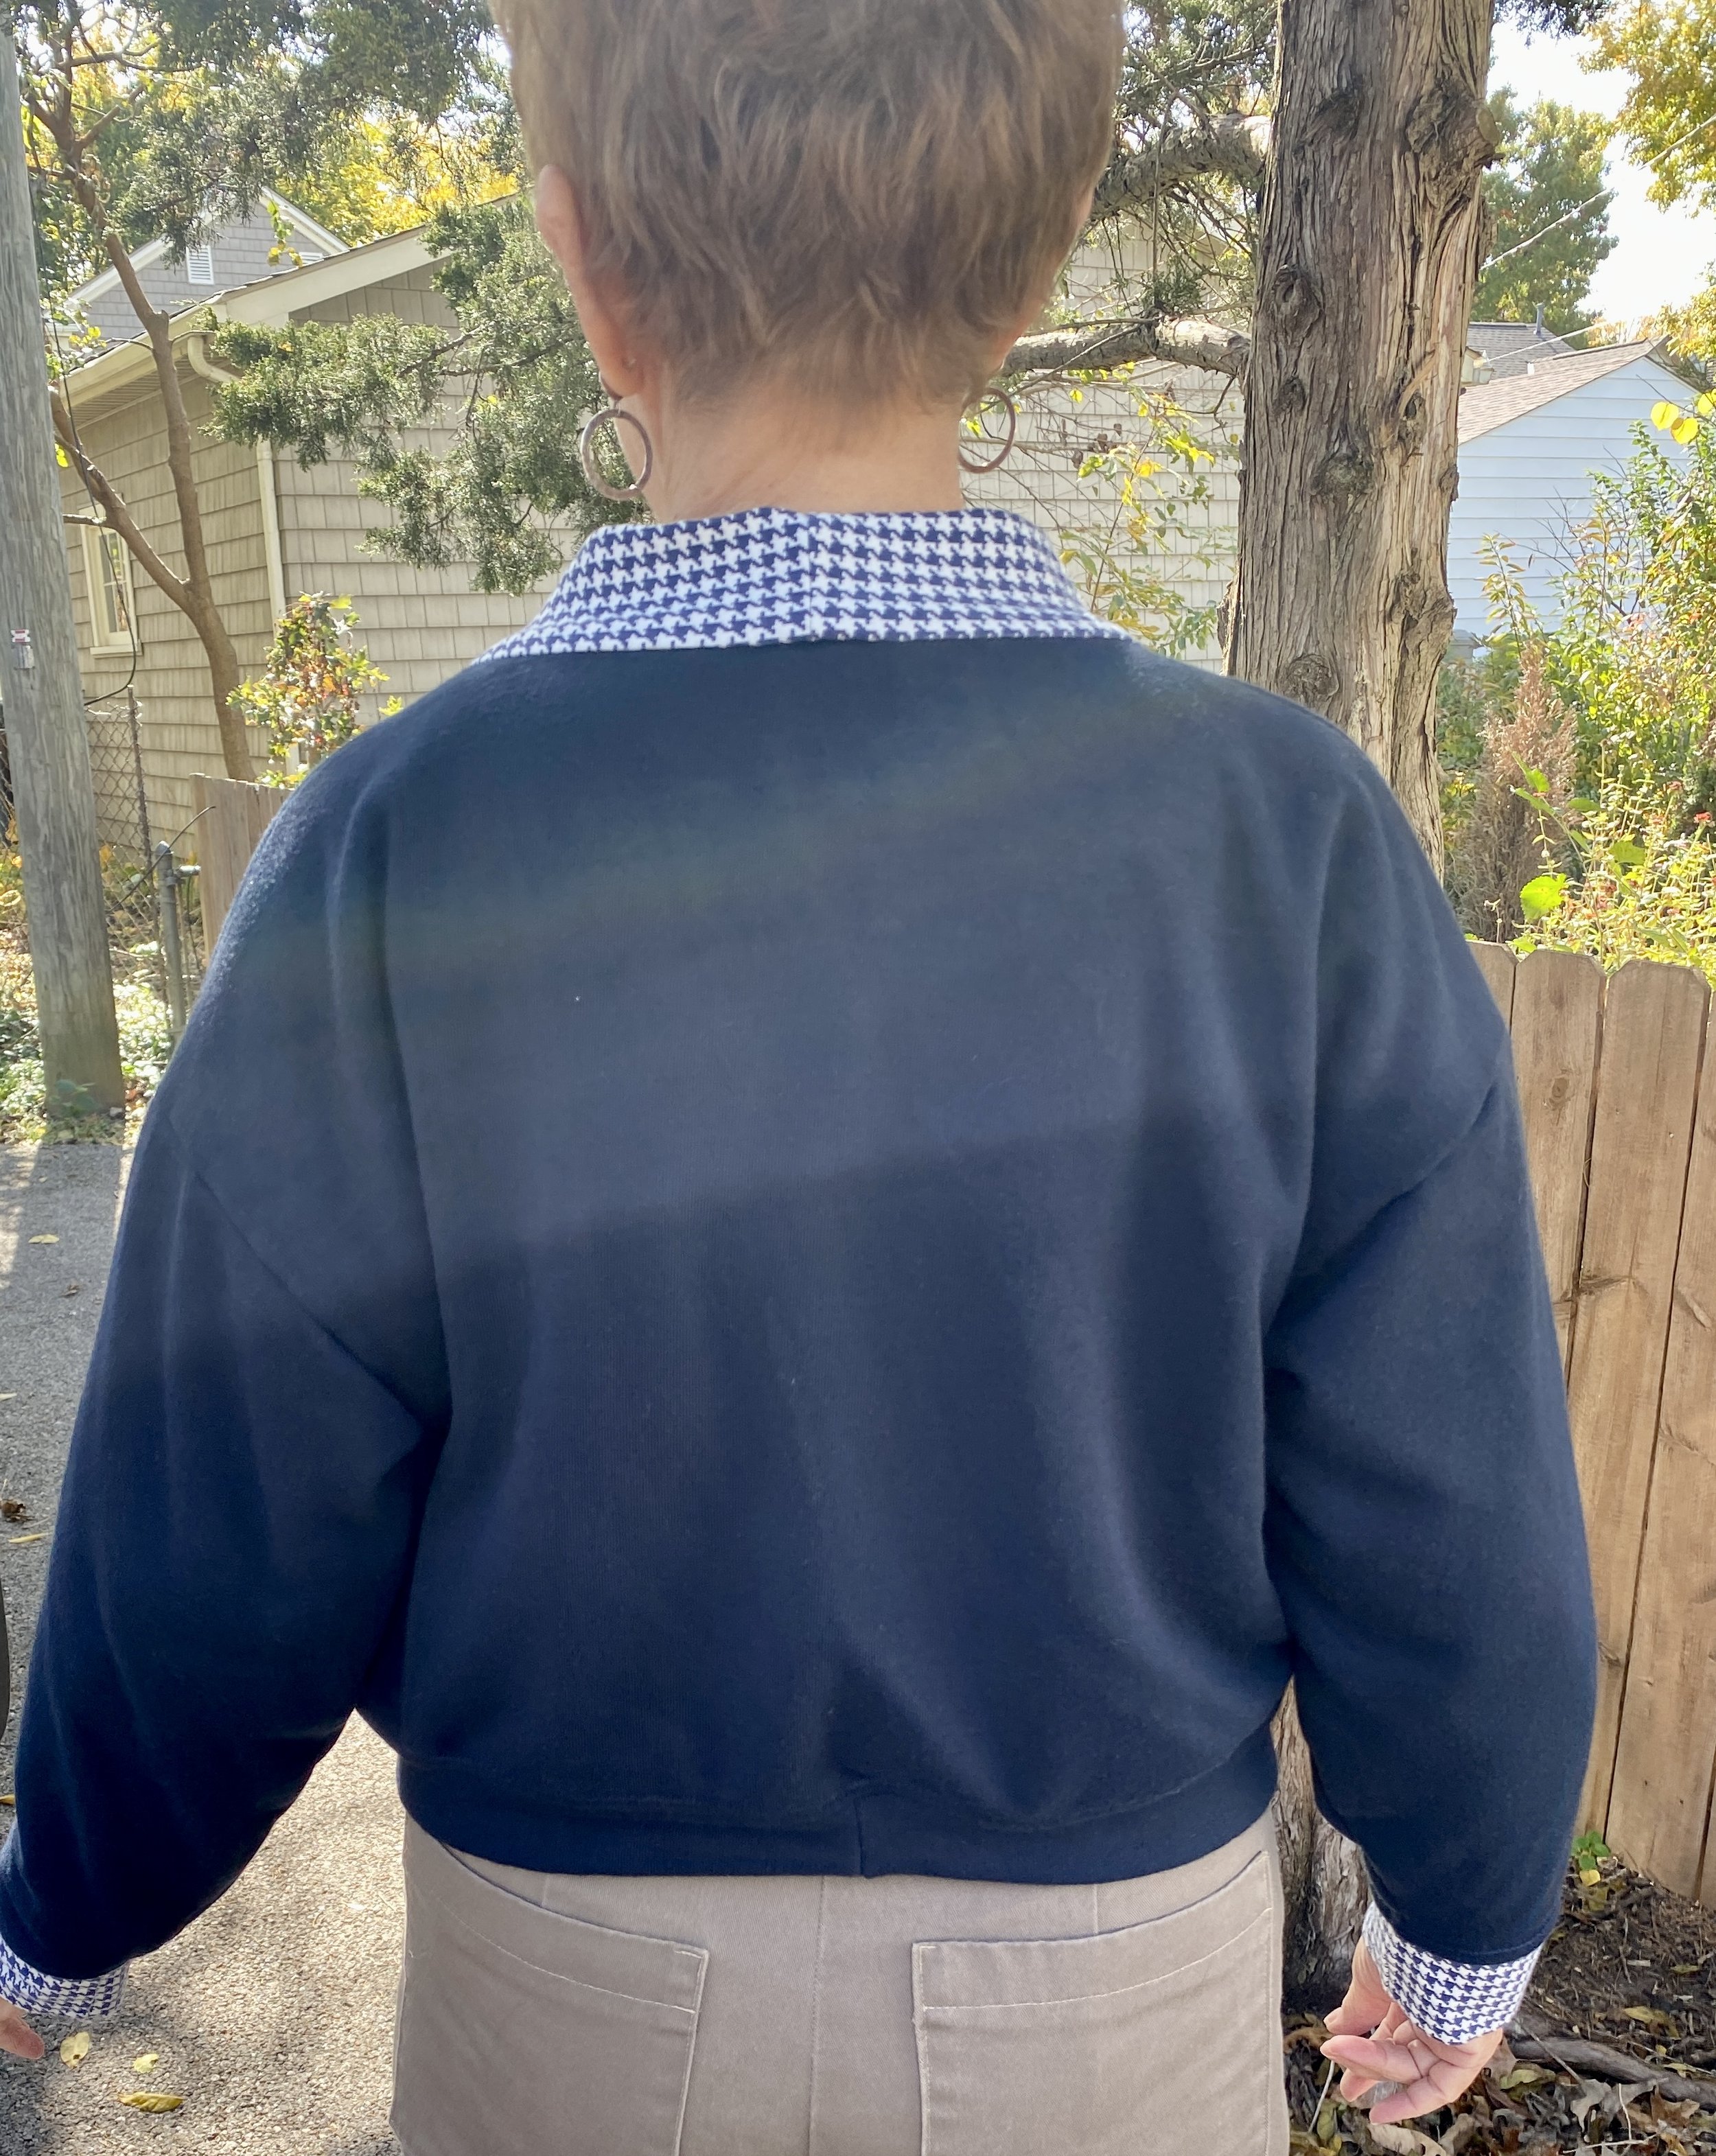
I wanted to use a stretchier fabric for the cuffs and front binding and I also wanted to upgrade the look of the garment so it didn’t just look like another sweatshirt.  So I selected a heavy-weight jersey in a houndstooth print from Vogue Fabrics (VF225-16).  Please note: a heavyweight jersey is different than a single jersey.  It is much more densely woven with lots more structure.  A lightweight jersey would have been unsuitable for the garment as it would be too lightweight to withstand the weight of the sweatshirt fleece.  Other options are double jersey (NOT double brushed jersey) or ribbing or possibly scuba if it has enough stretch.

I also decided that adding the pockets which are meant for the longer version to my cropped cardigan.  I’m so glad I did.  Placing the buttons on the pockets also help tie the contrast band to the solid colored cardi.

As I was sewing I was worried that the heavyweight jersey would be too lightweight but it turned out great.  I love wearing my “sweatigan” and feel a little bit dressed up in it.  I used some vintage buttons I had in my stash.  I believe they are the cherry on top of this delightful dessert of a sweater.  

I can’t say enough about the Marlo Cardigan pattern from True Bias.  If you’ve thought of jumping into sewing with sweater knits, this pattern is for you!  And I teach a class that uses this pattern as one of the options.  I hope to see you in class during the chilly months ahead!