Getting Cozy Through History, by Julie Burnsides Diaz

Isn’t it nice to wake up on a crisp fall morning, slip on your favorite fuzzy slippers, maybe a pair of fleece lined leggings and a nice, heavy sweatshirt to go fetch the newspaper? While we wrap up in our oldest, softest, most comfortable clothes in our house, or even our driveway, we would never dream of wearing them out to a nice dinner. Our ancestors felt the same, and the realm of “undress” or at-home wear encompasses a variety of cozy options.
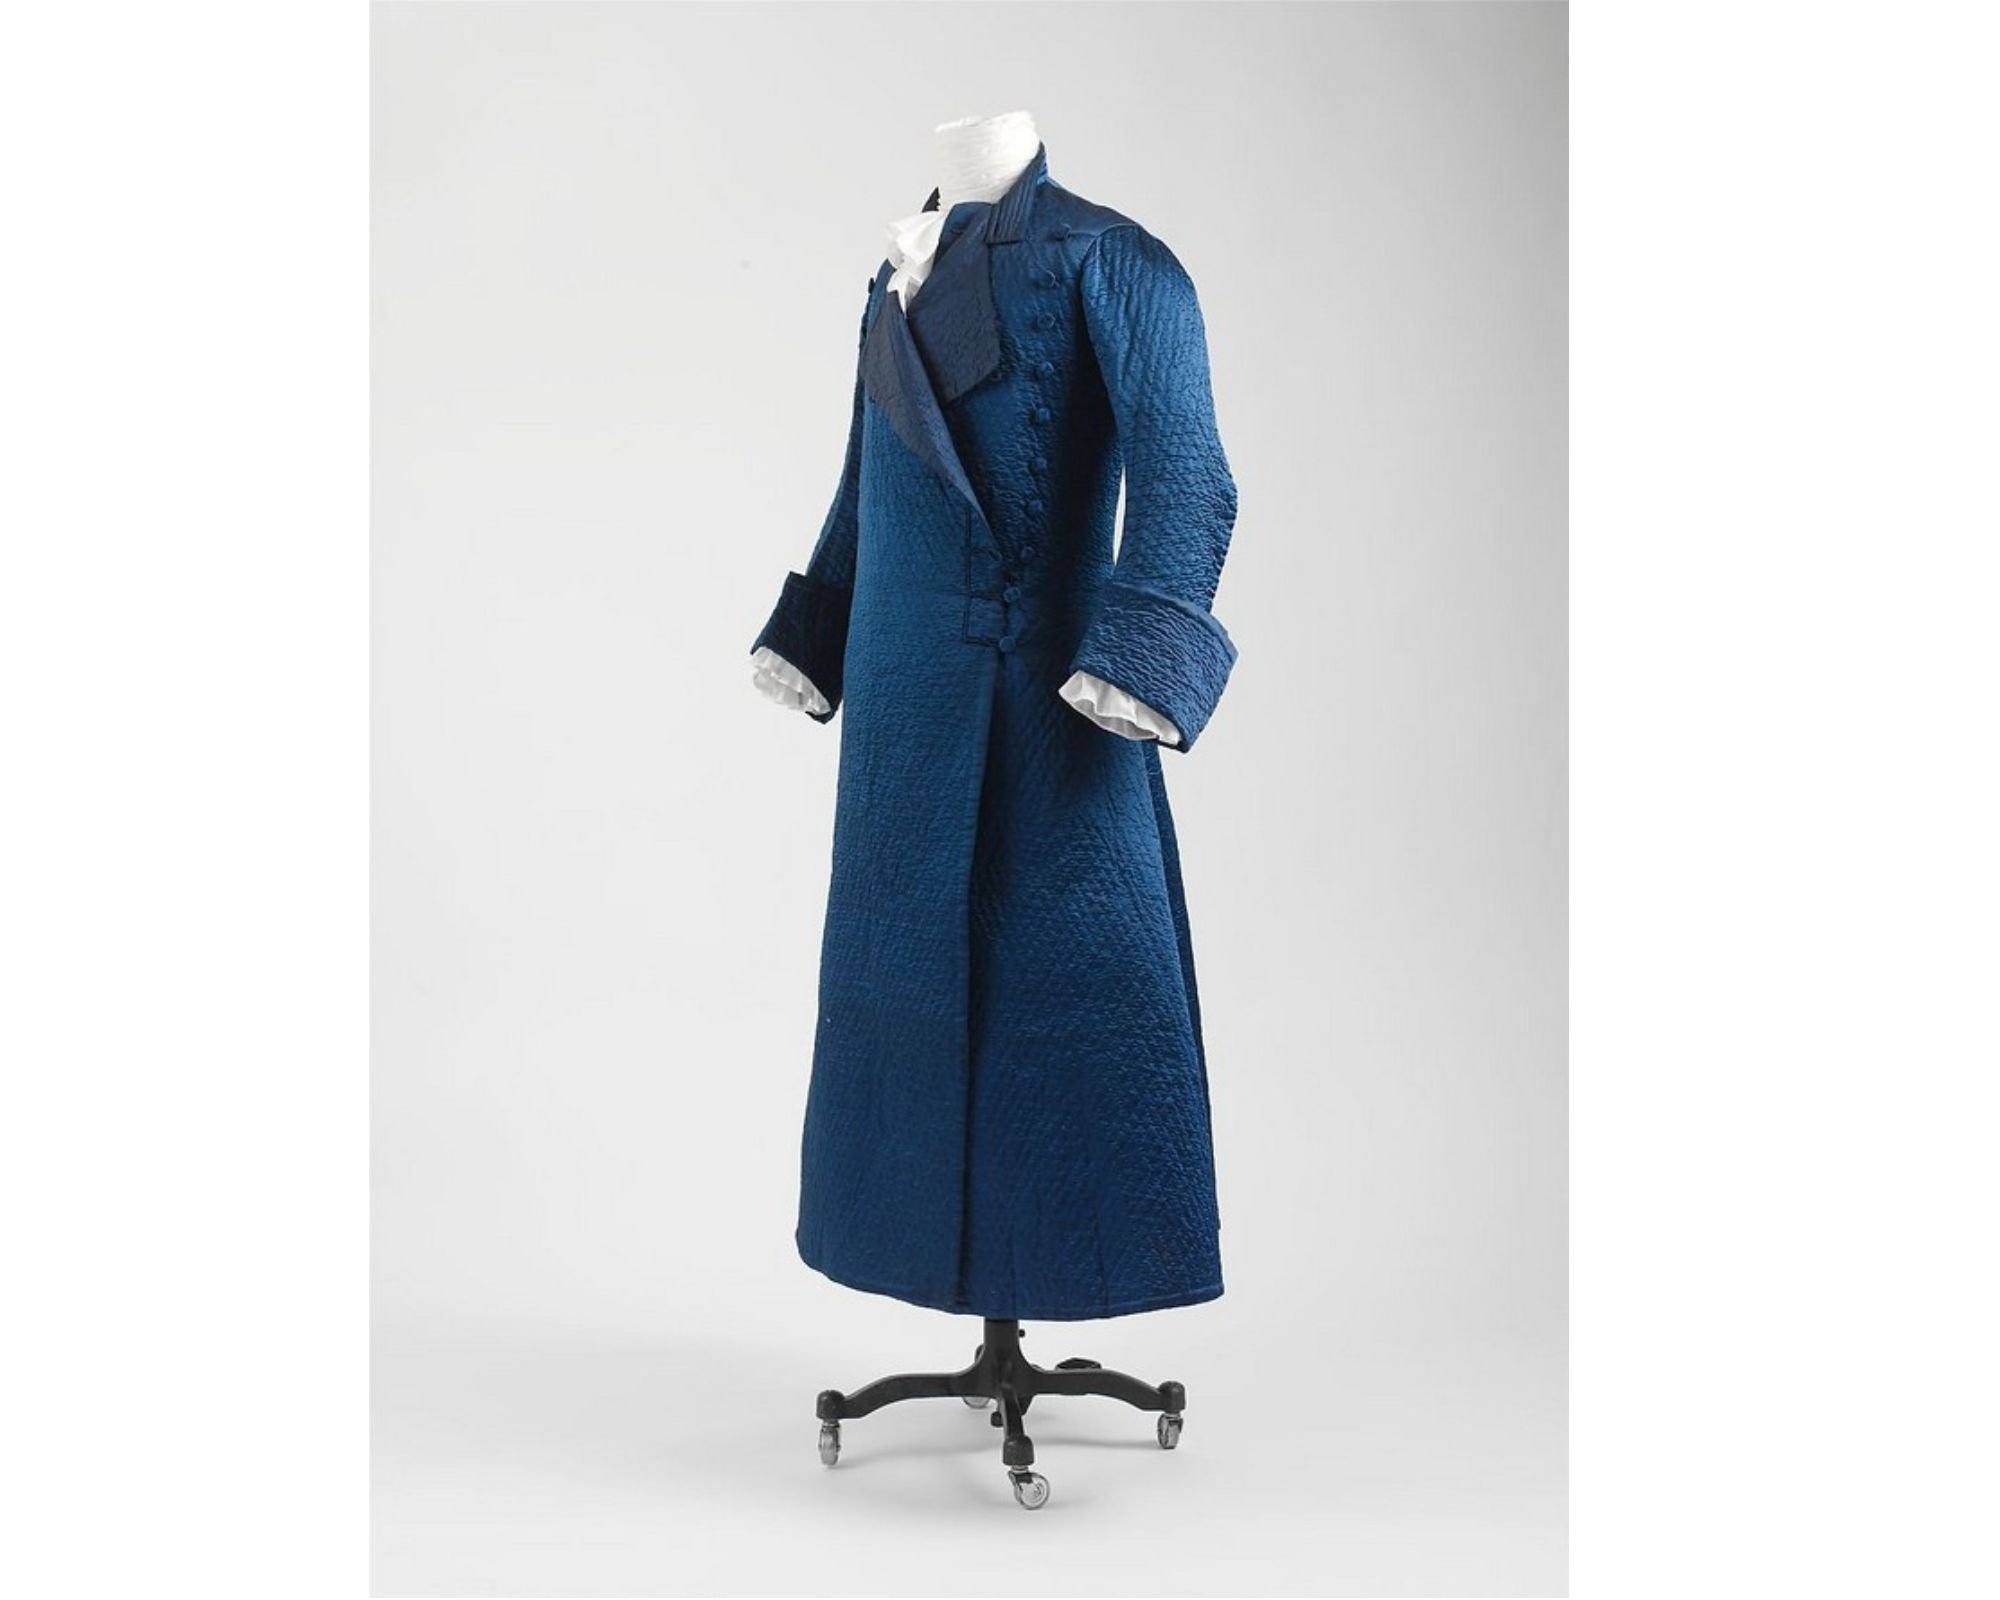
In the days before thermostats and climate control, a fireplace could only do so much to combat the winter chill. In the 18th century, once you’d taken off your daytime clothing, you might wrap up in a quilted banyan like this blue one on the right. Banyans were the precursor to a bathrobe or dressing gown, and were often worn for receiving informal visitors or spending time with family at home.

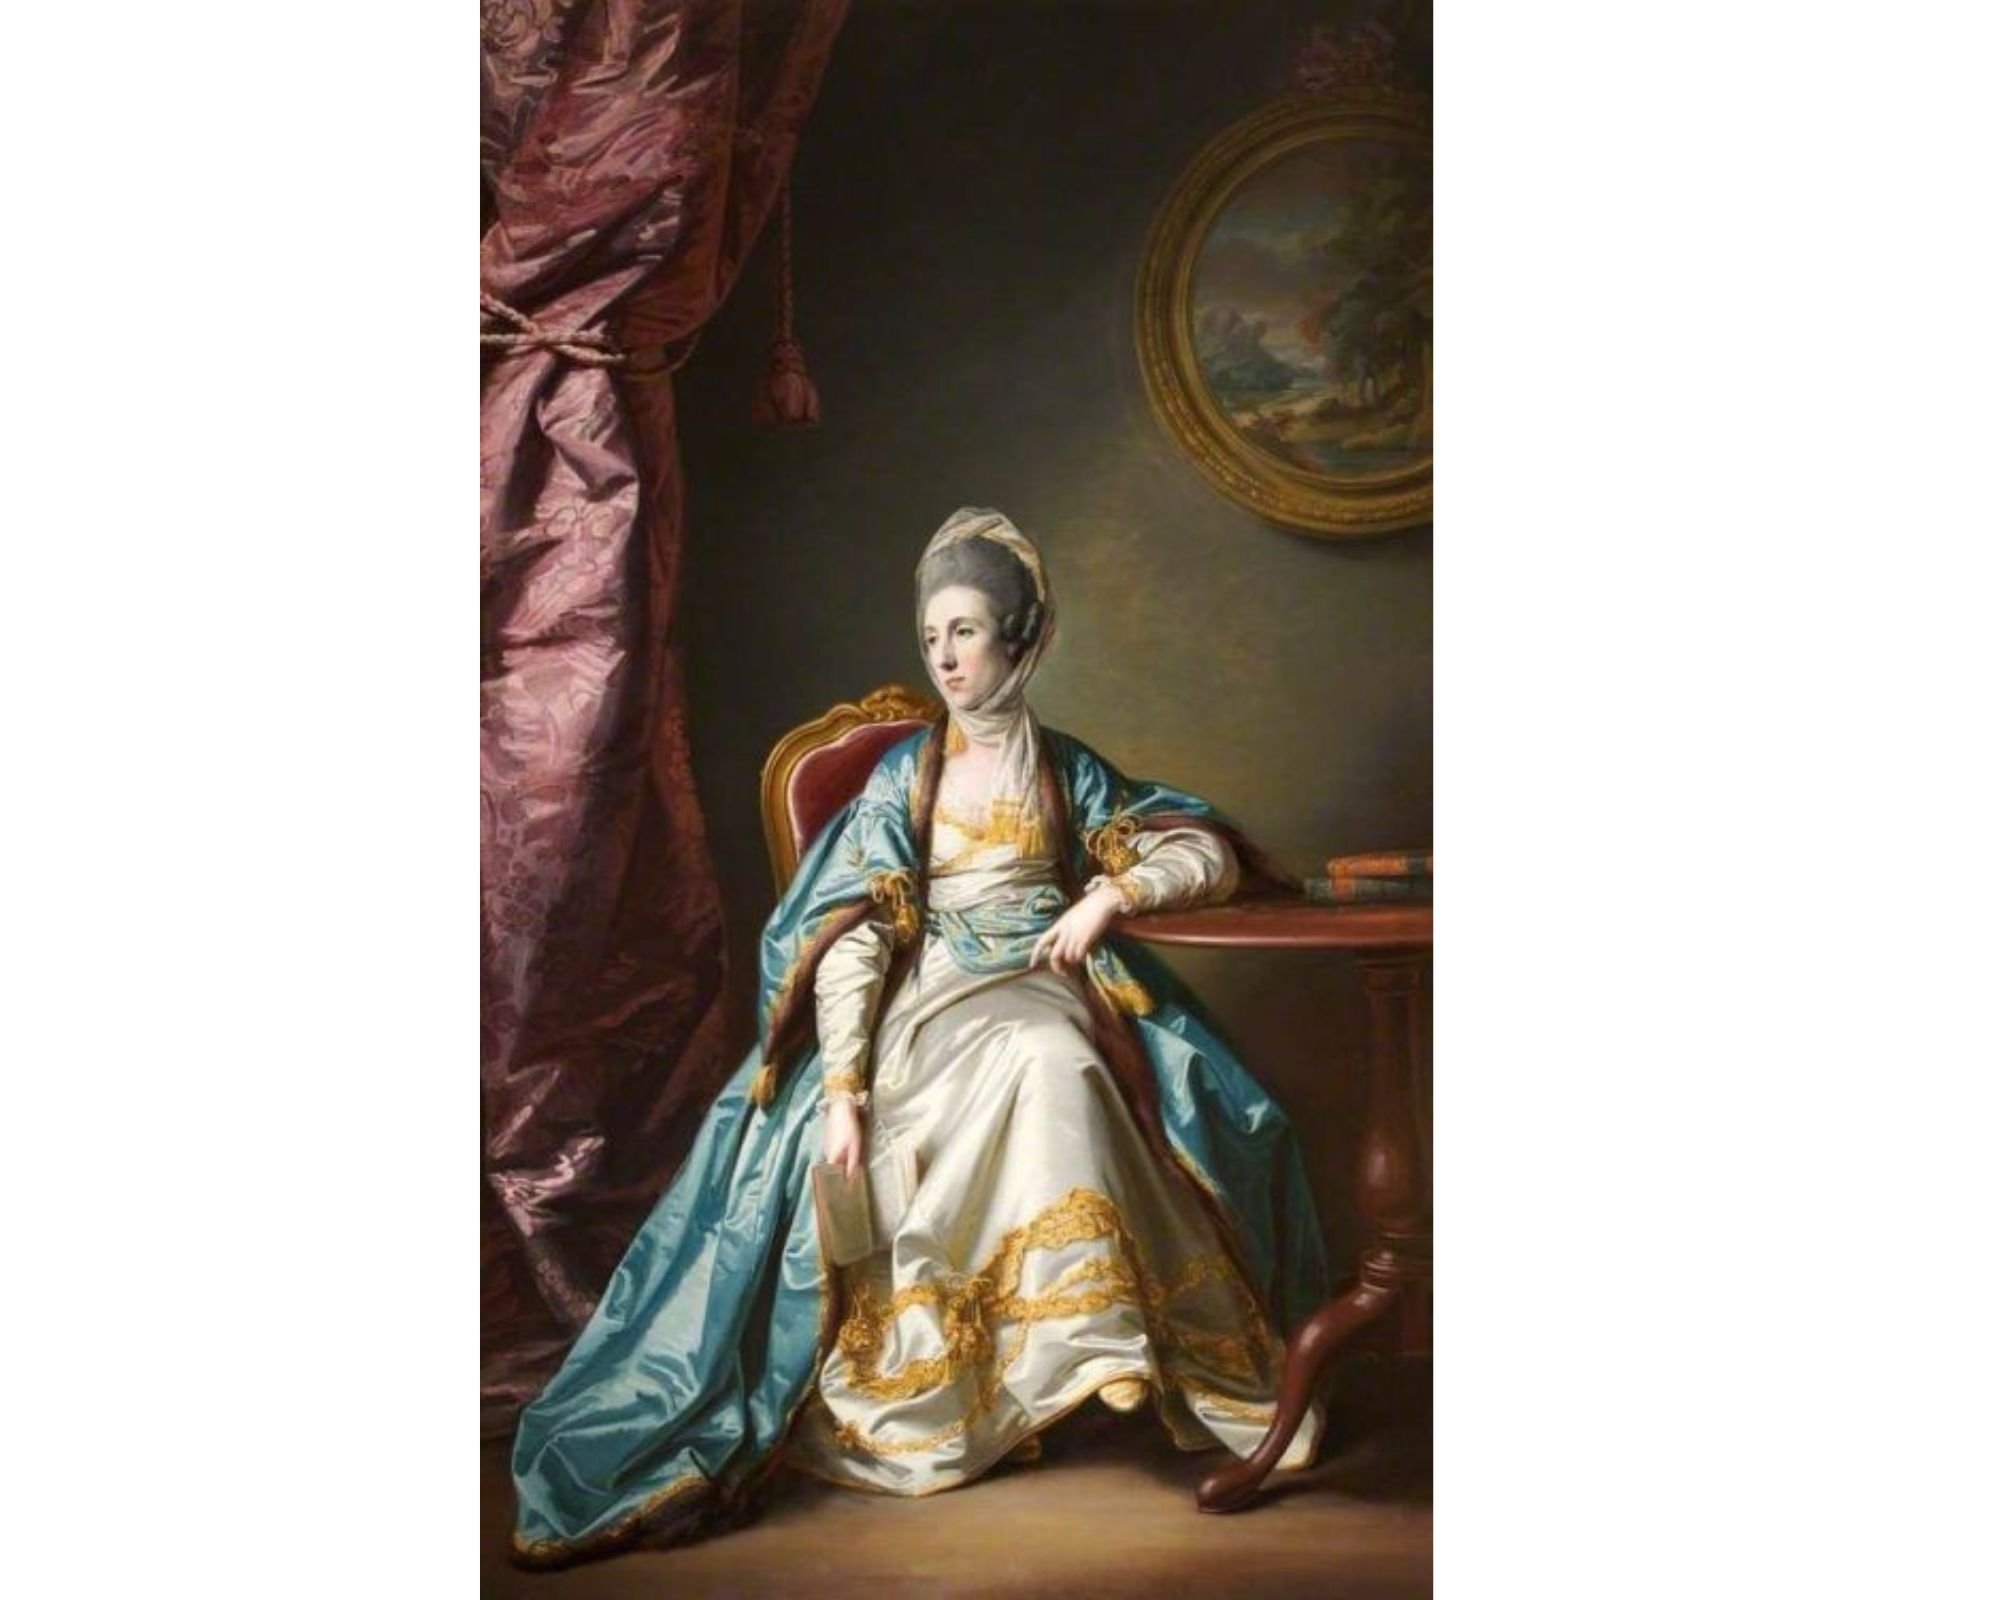
A wrapping gown, sometimes called a “sultana” might be made of expensive silks and lined with sumptuous furs. Catherine, Lady Leicester, chose have her portrait painted in her sultana, displaying her sophistication and wealth in the above image on the right. Imagine posting an Instagram selfie in a Dior bathrobe!

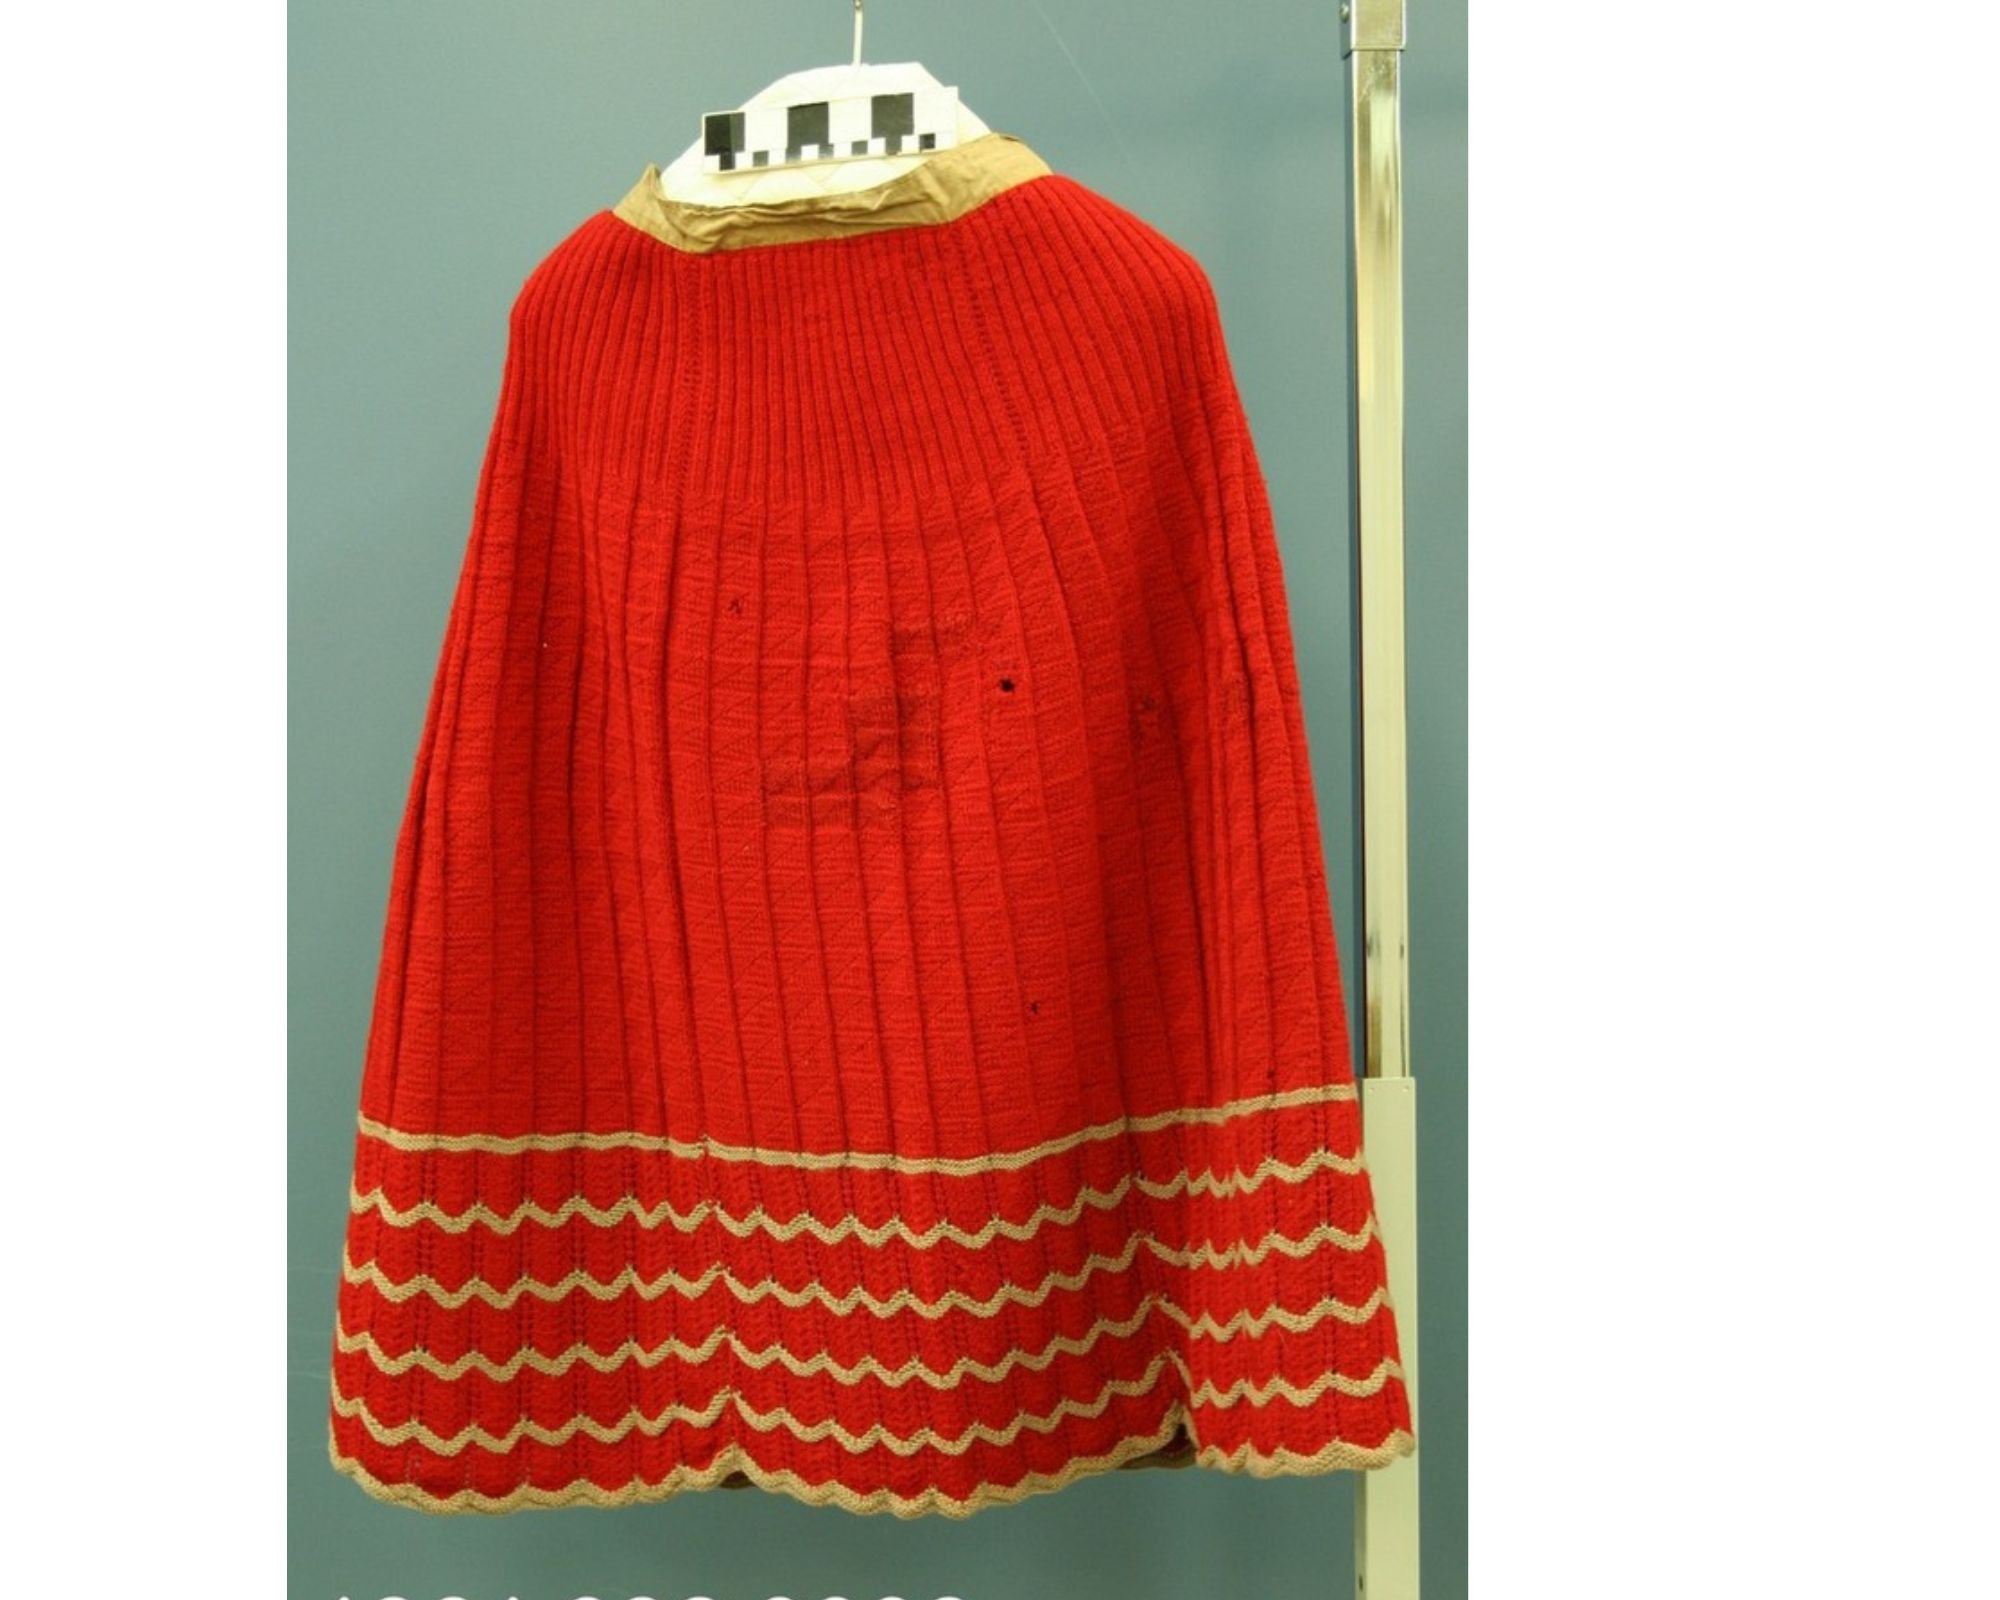
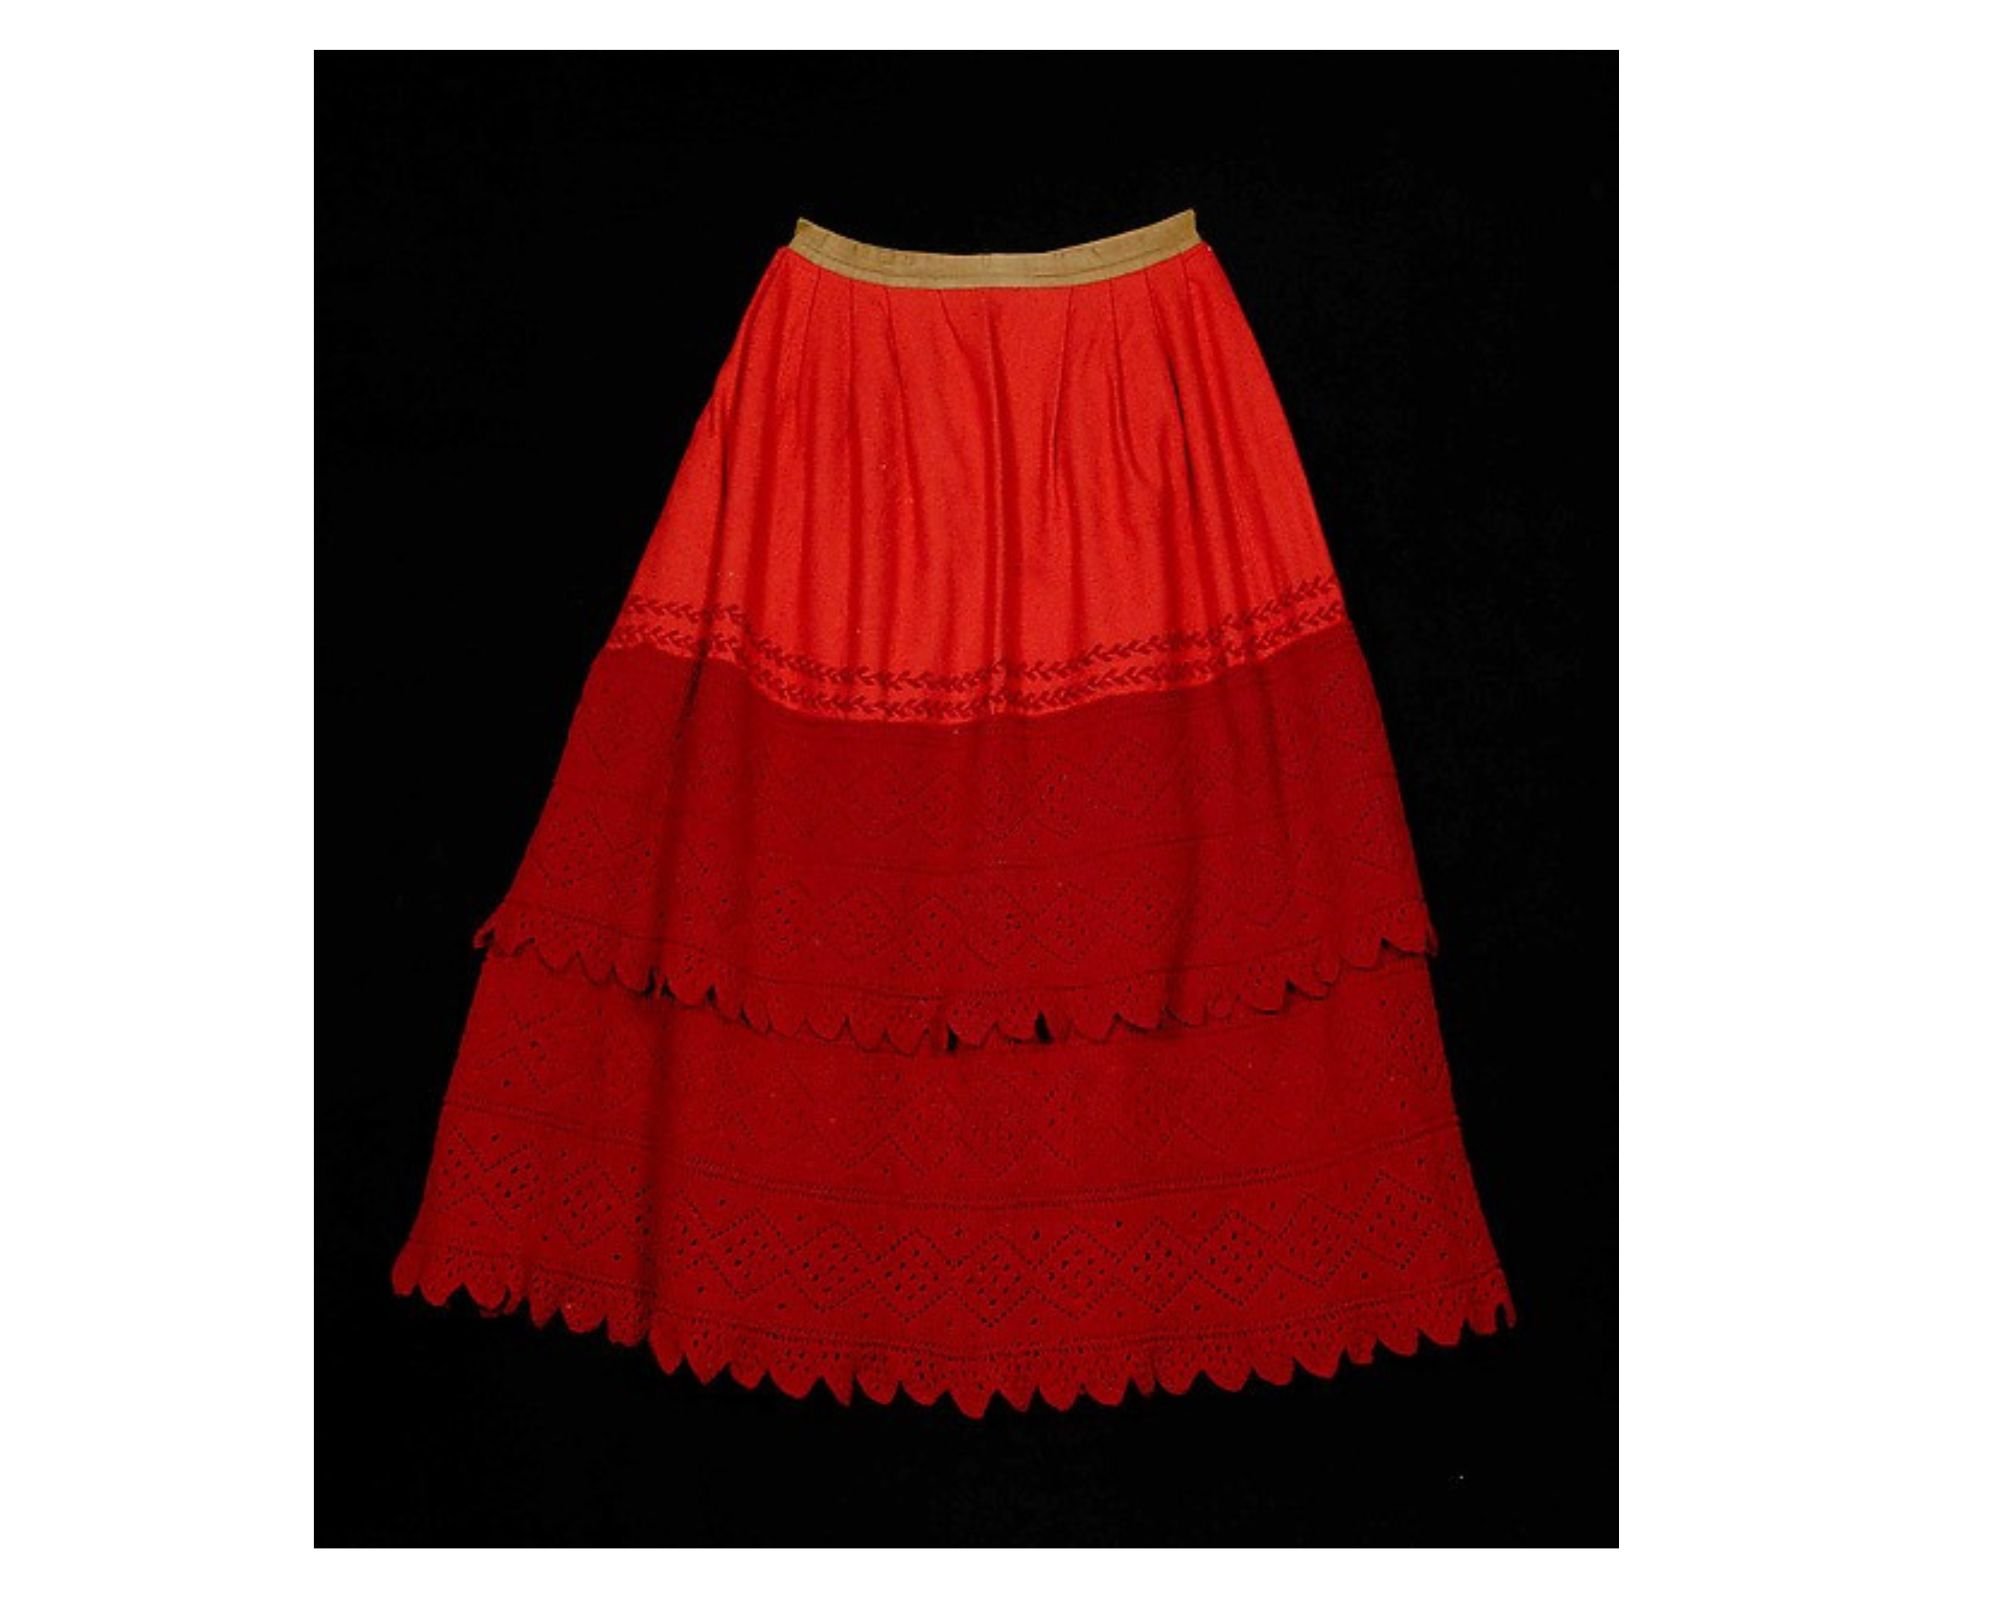
Once skirts got bigger, into the mid-19th century, the air circulation under a hoop skirt could lead to some unpleasant drafts. Women fought the chill with a fad for red petticoats. They might be knitted, crocheted, made from wool flannel, quilted, striped, or any combination thereof (Left: Missouri History Museum 1961.098.0003, ca 1860. Right: Metropolitan Museum of Art 2009.300.7721a, 1865-70)

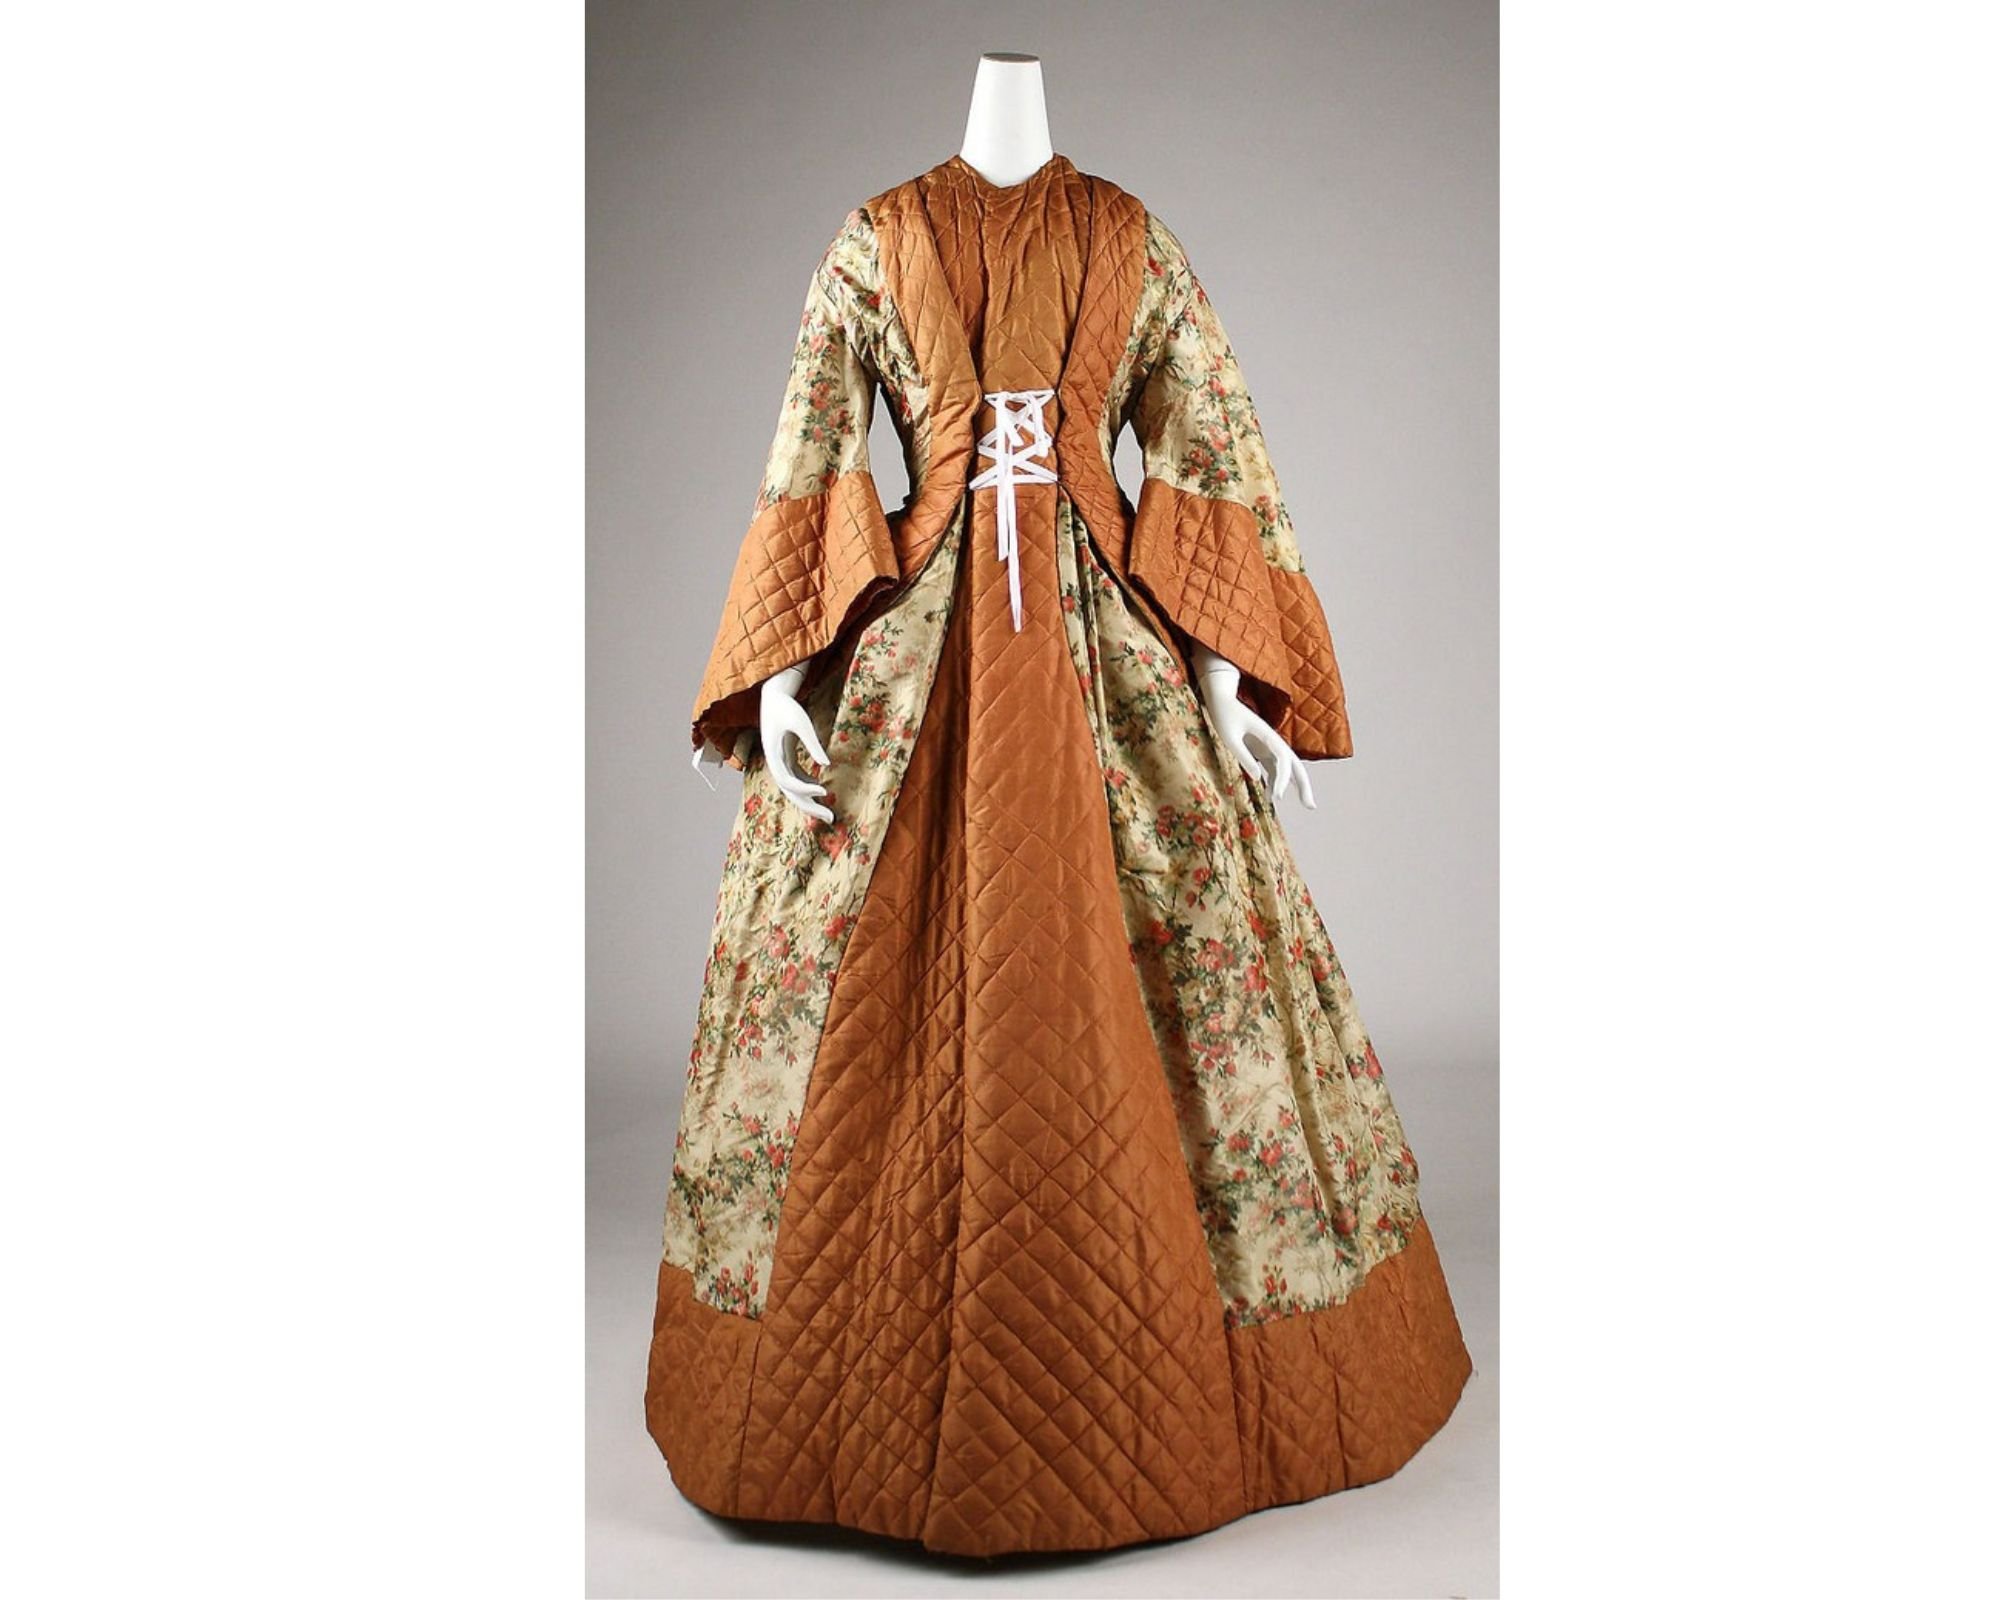
The wrapper, an un-fitted dress that didn’t require a corset or hoop underneath was a popular choice for at-home wear. Its gathered waist that often tied or laced shut was practical for maternity wear and heavy housework, and probably provided a welcome respite from the confining nature of fashionable clothing. This one, with its rust-colored quilted silk accents is the ultimate in cozy

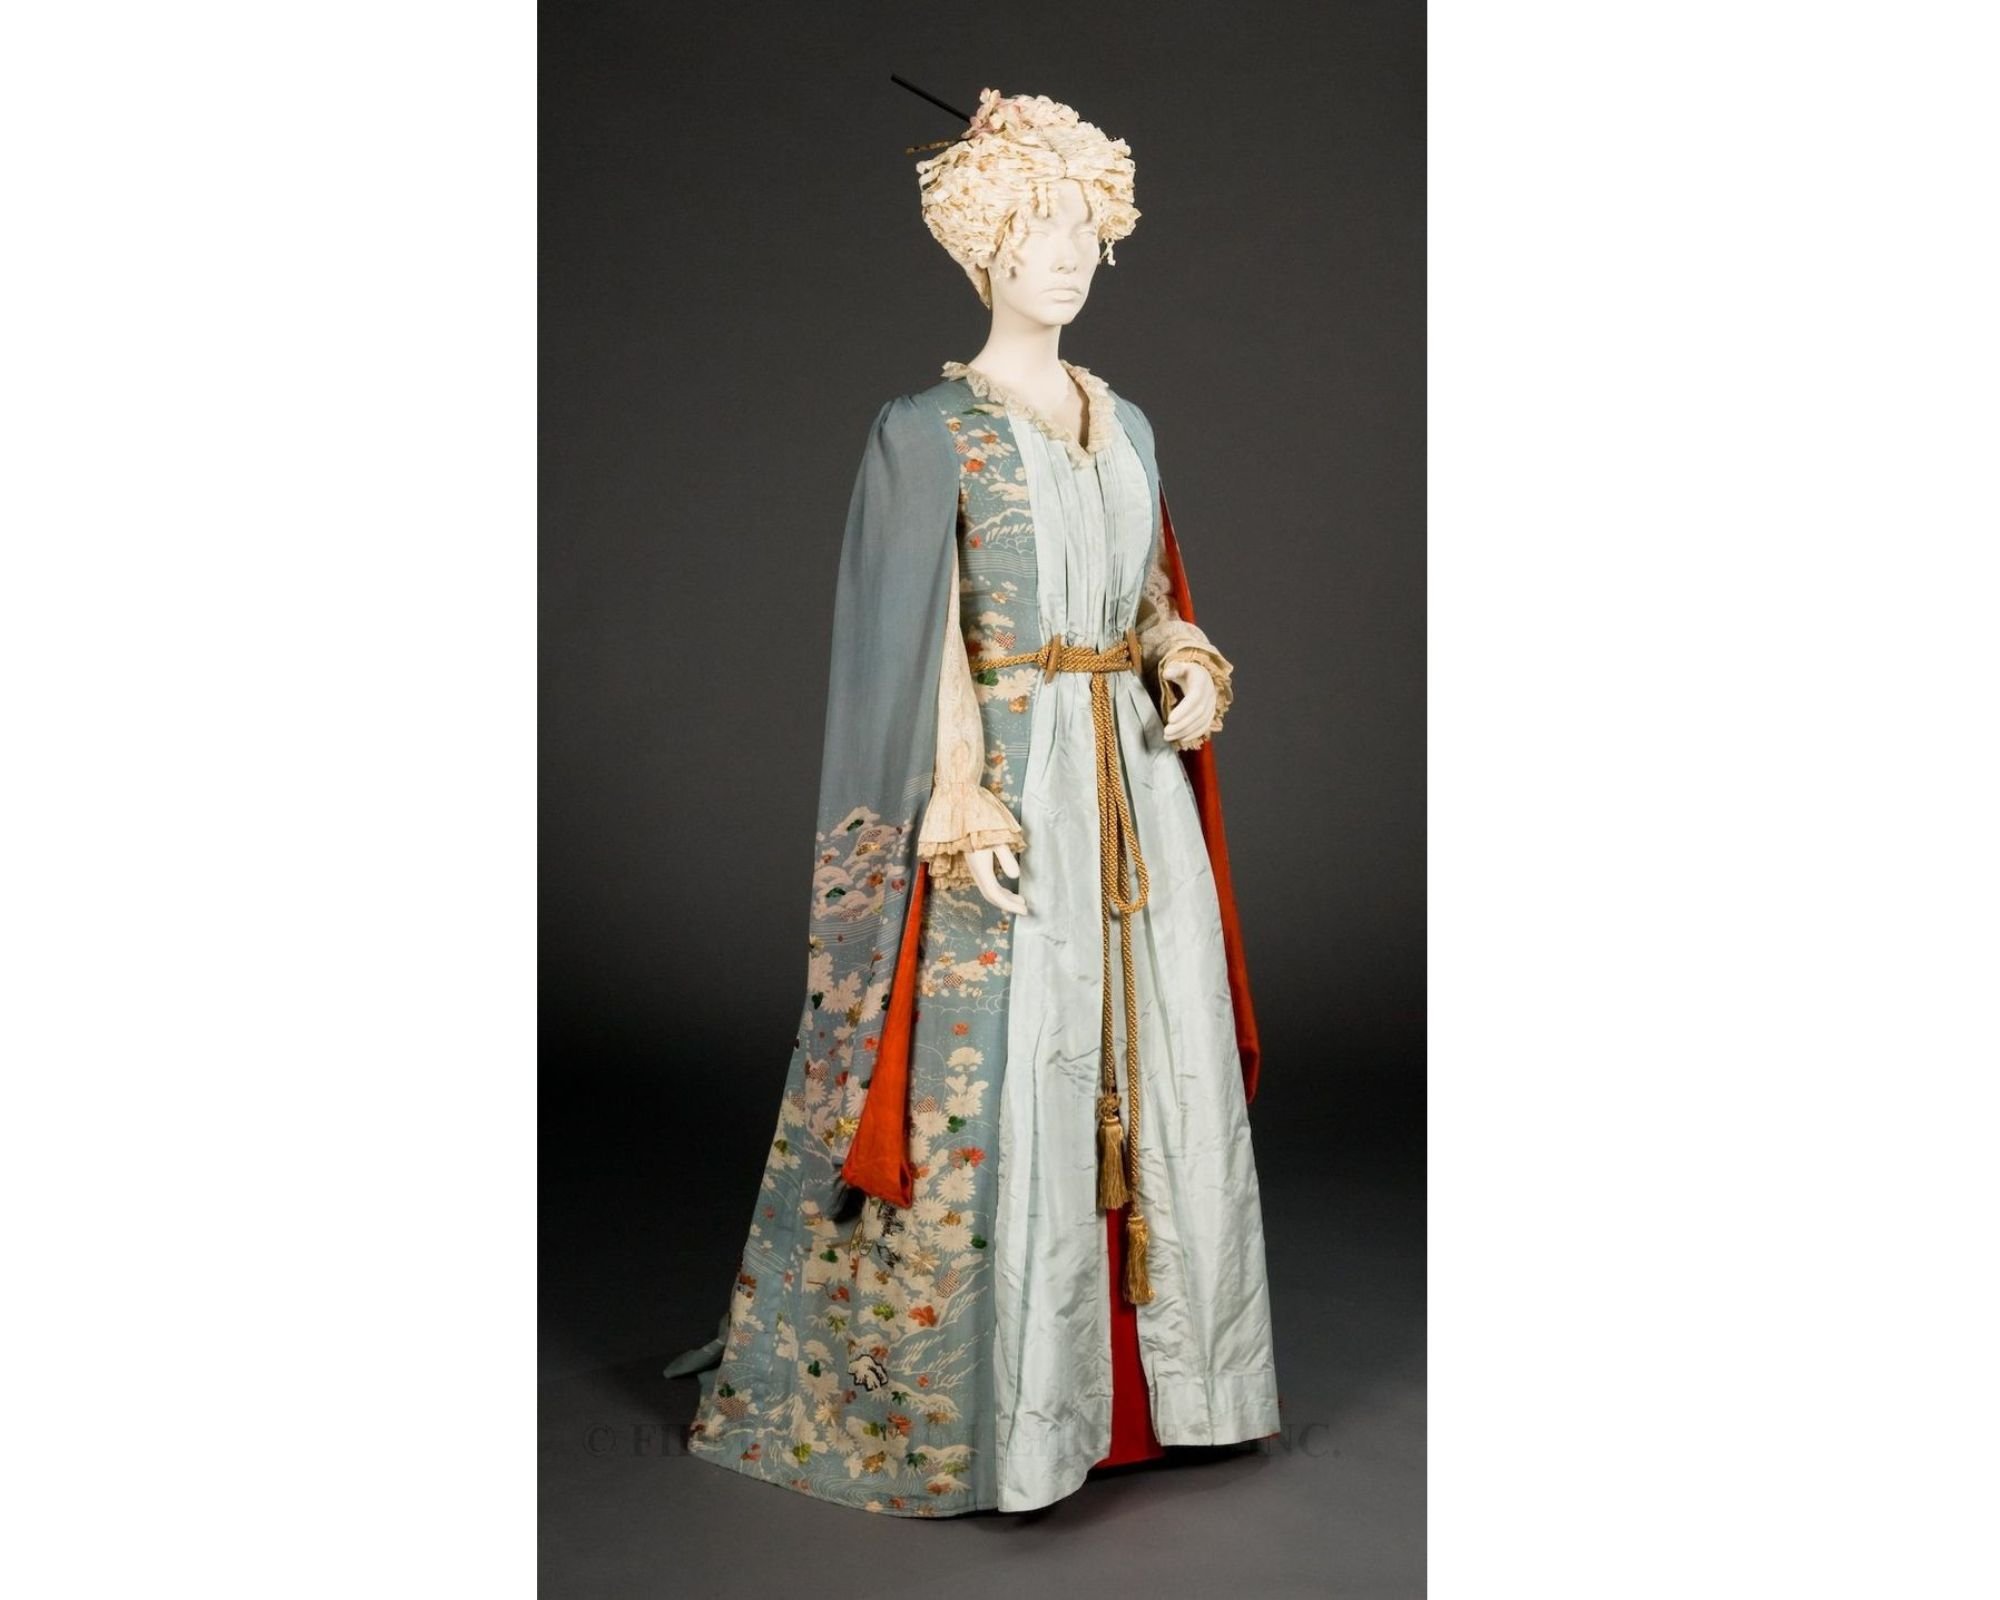
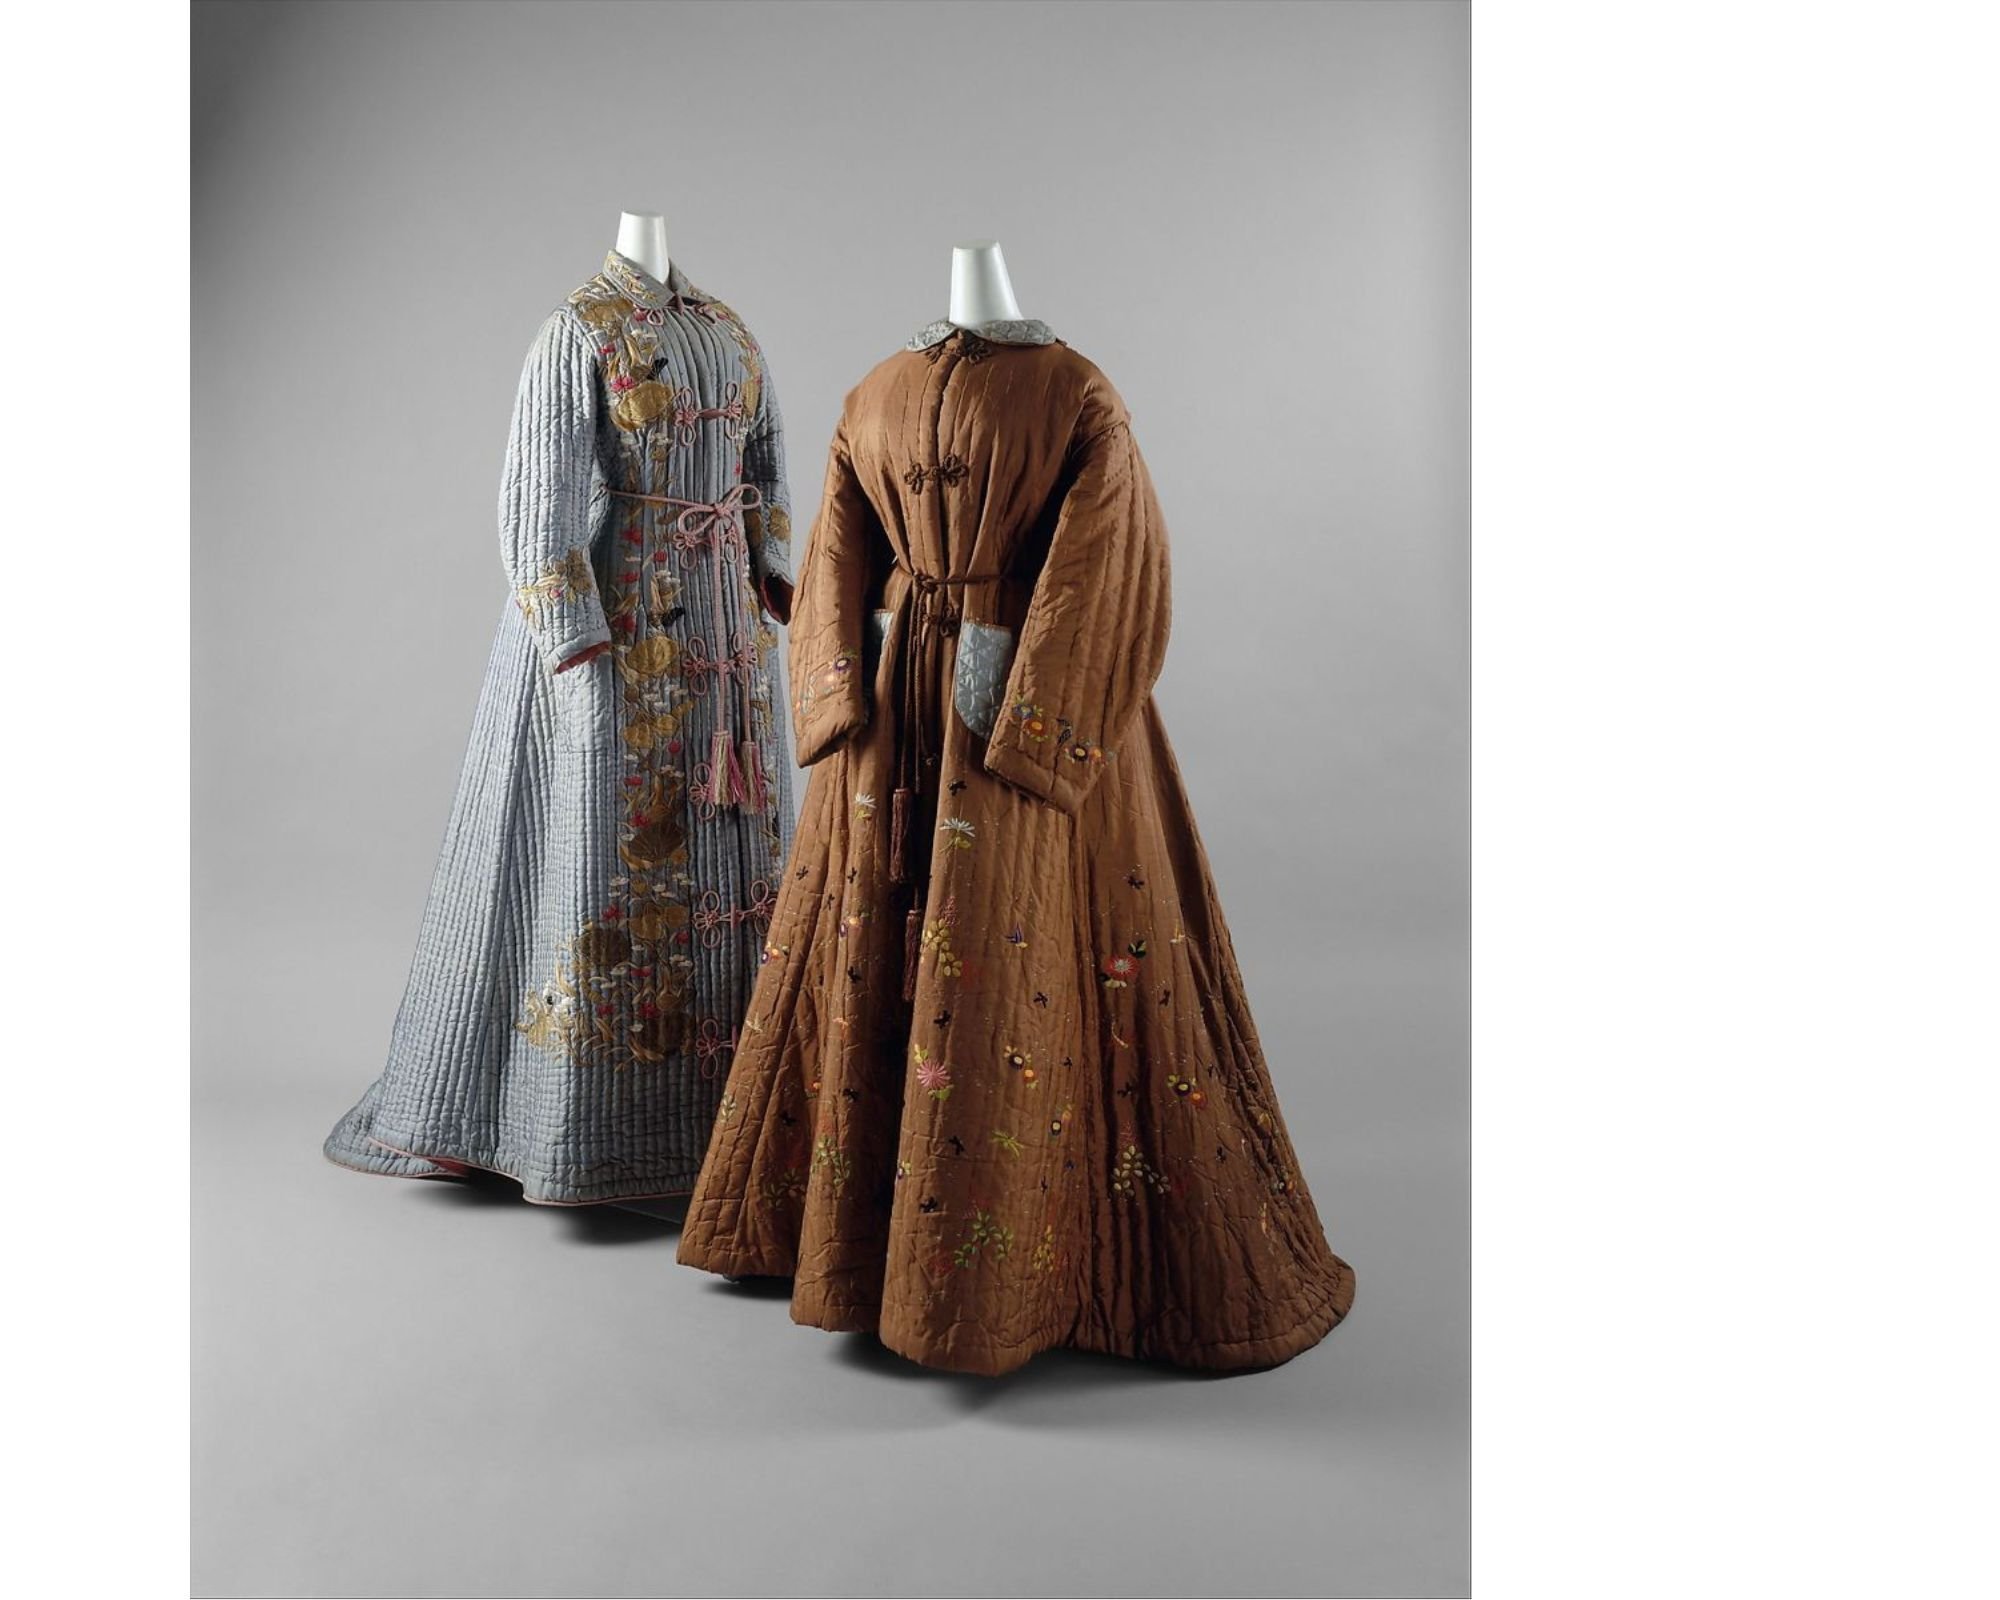
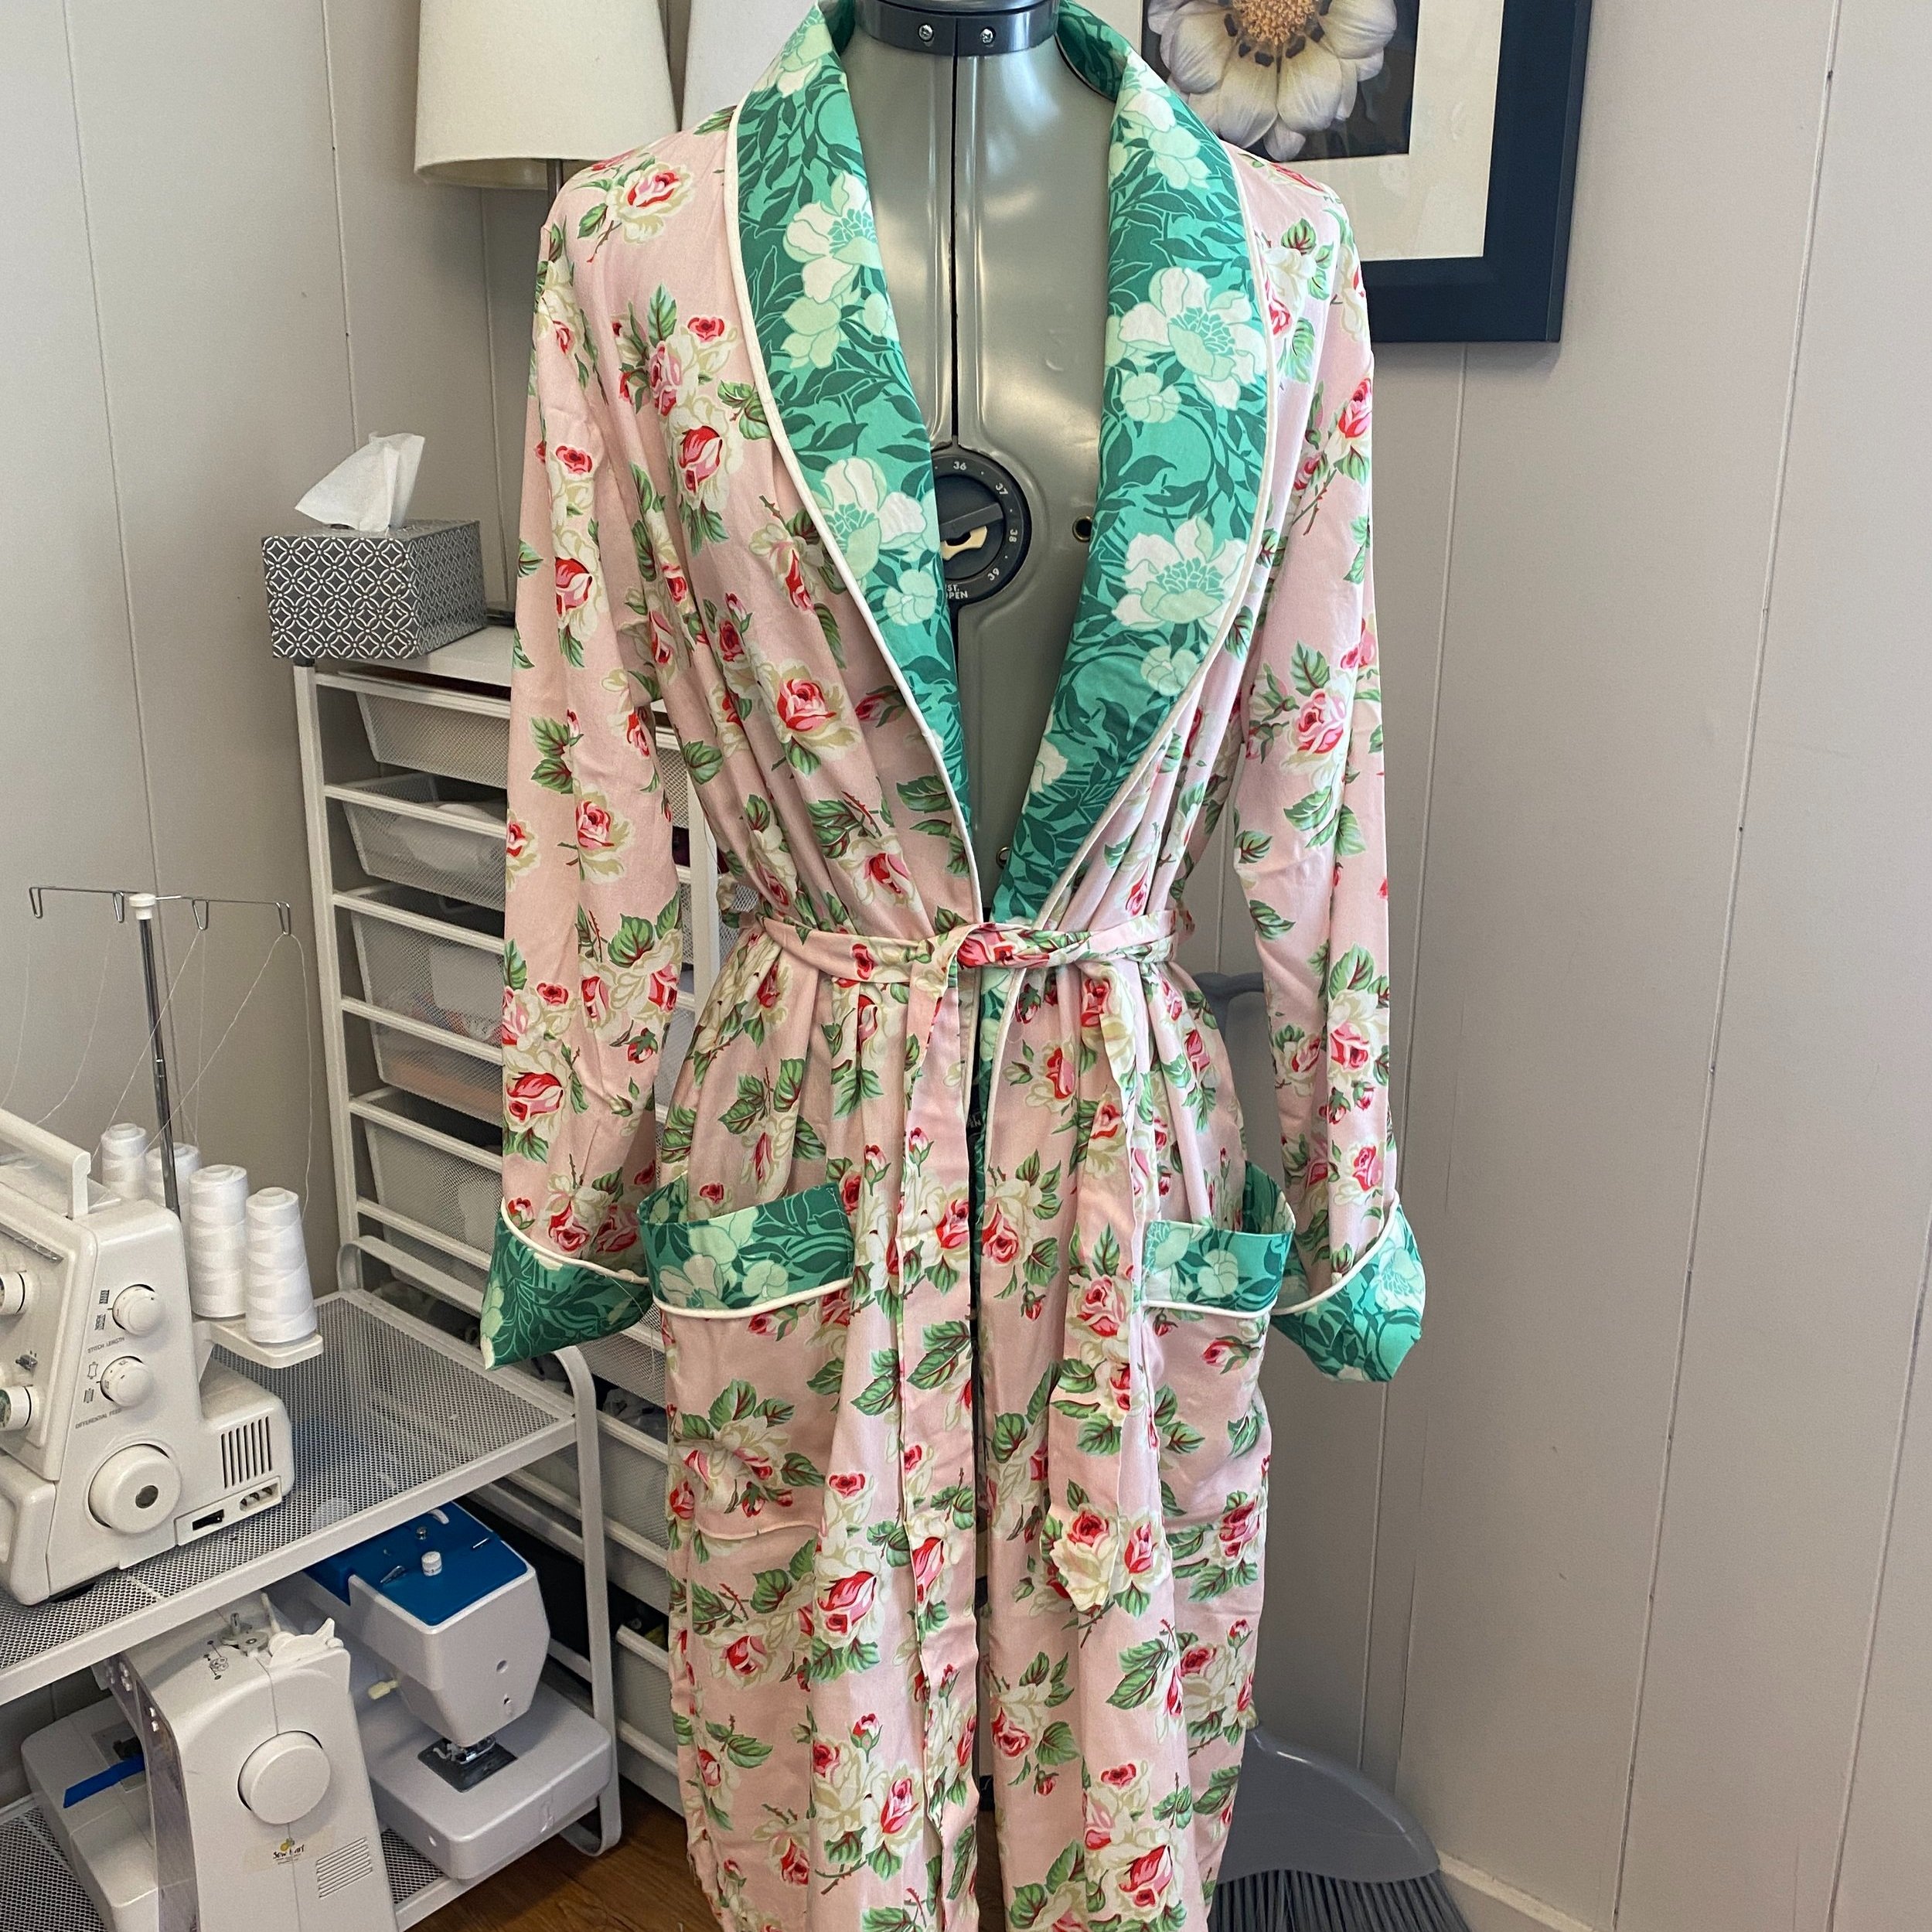
The forced opening of Japan to Western trade in 1853 increased the appetite of white consumers for imported Asian goods. Dressing gowns based on traditional kimono designs but cut in Western silhouettes became very popular, like this one from the FIDM Museum (Middle image FIDM 80.40.1, ca 1885) and these two from the Met (Right: Metropolitan Museum of Art 1970.83ab and 1975.227.7ab).

Love what you’ve seen? Want to add some historical cozy to your modern wardobe or your costume closet? Book a private class with Julie for yourself and a few friends, or a one-on- one lesson if you prefer, and get to work on elevating your loungewear to the level of art!
Student Makes

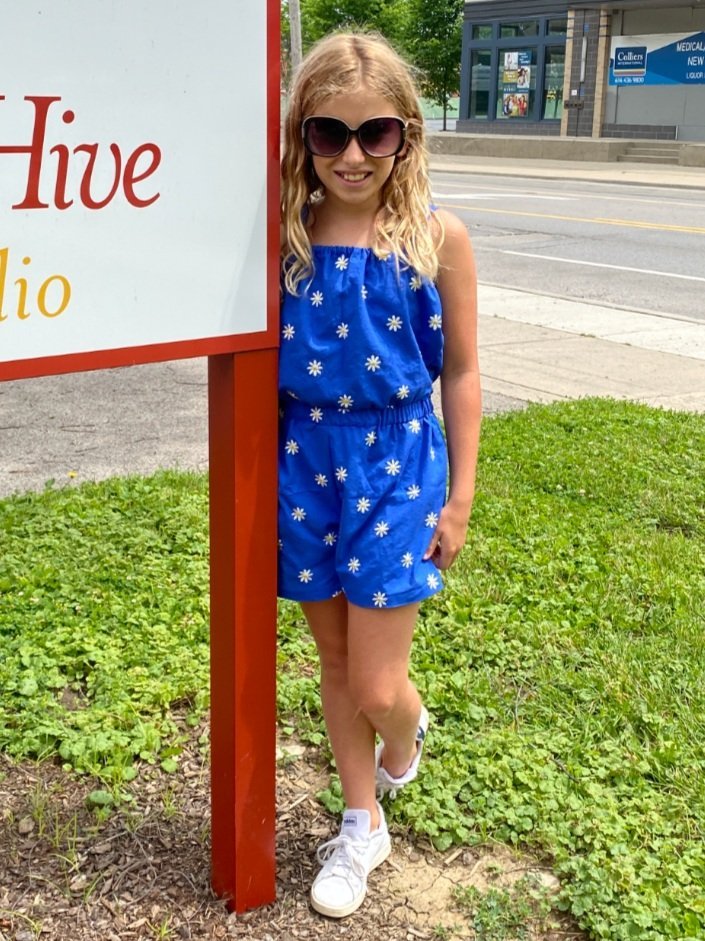
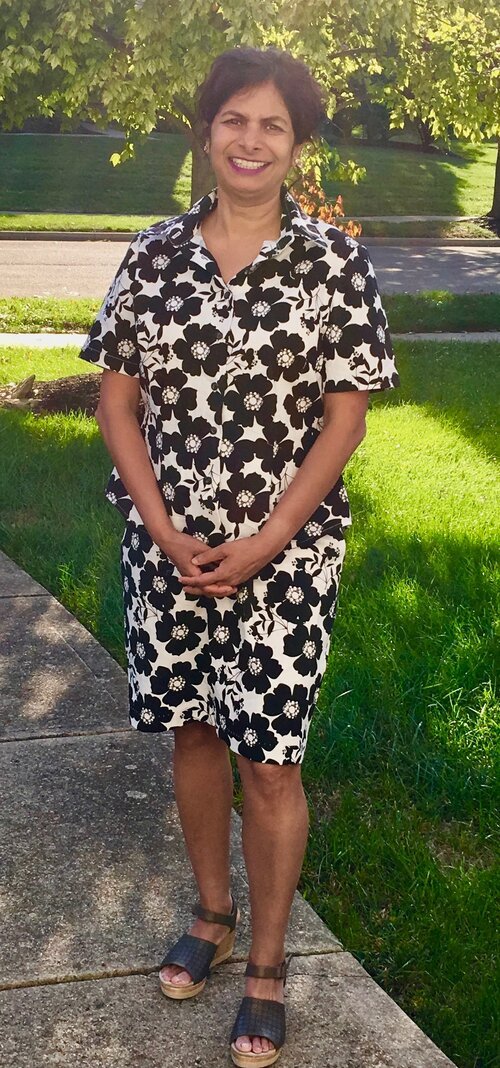
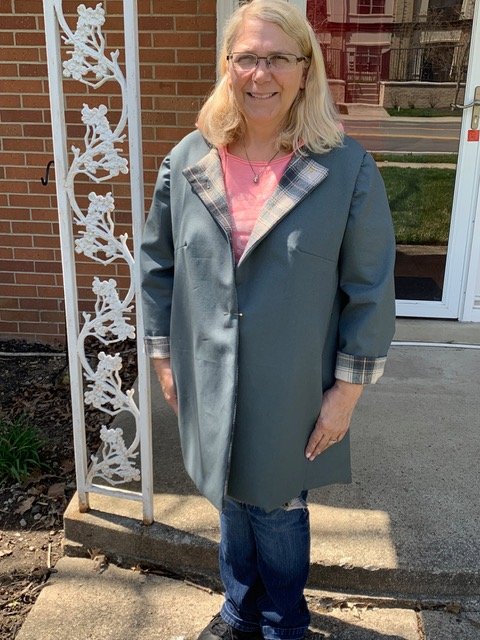
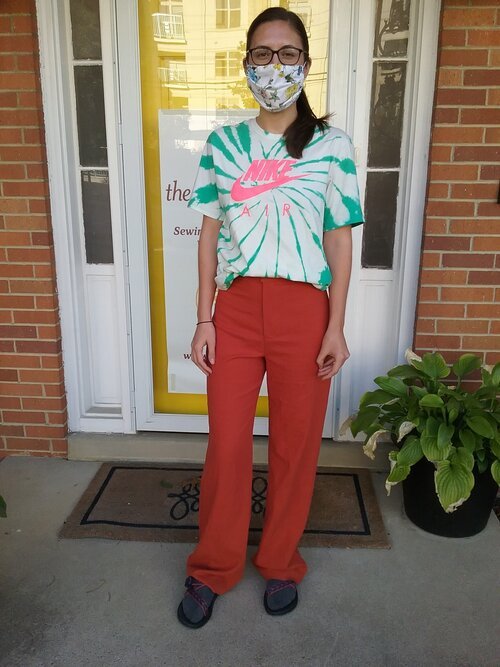
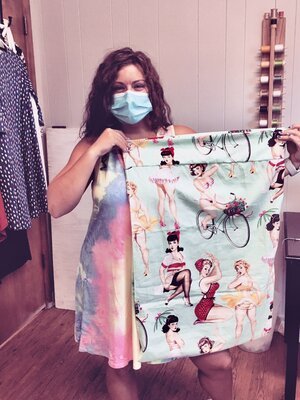
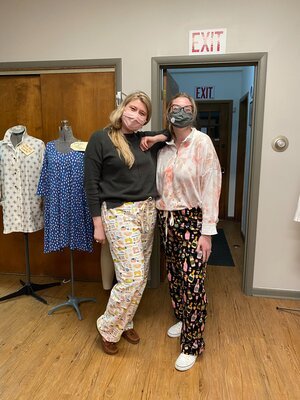
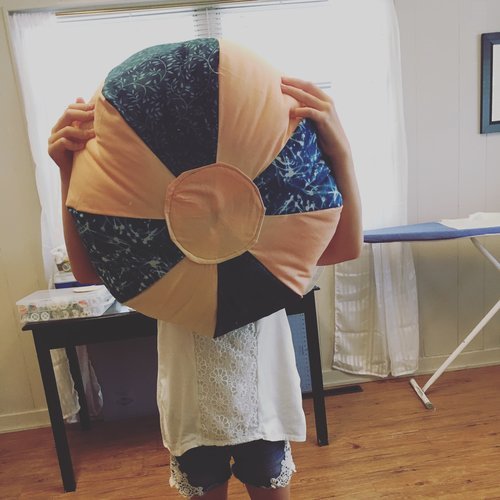
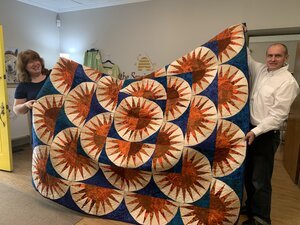
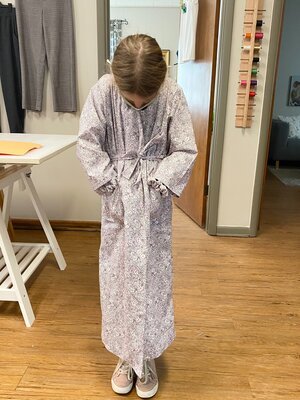
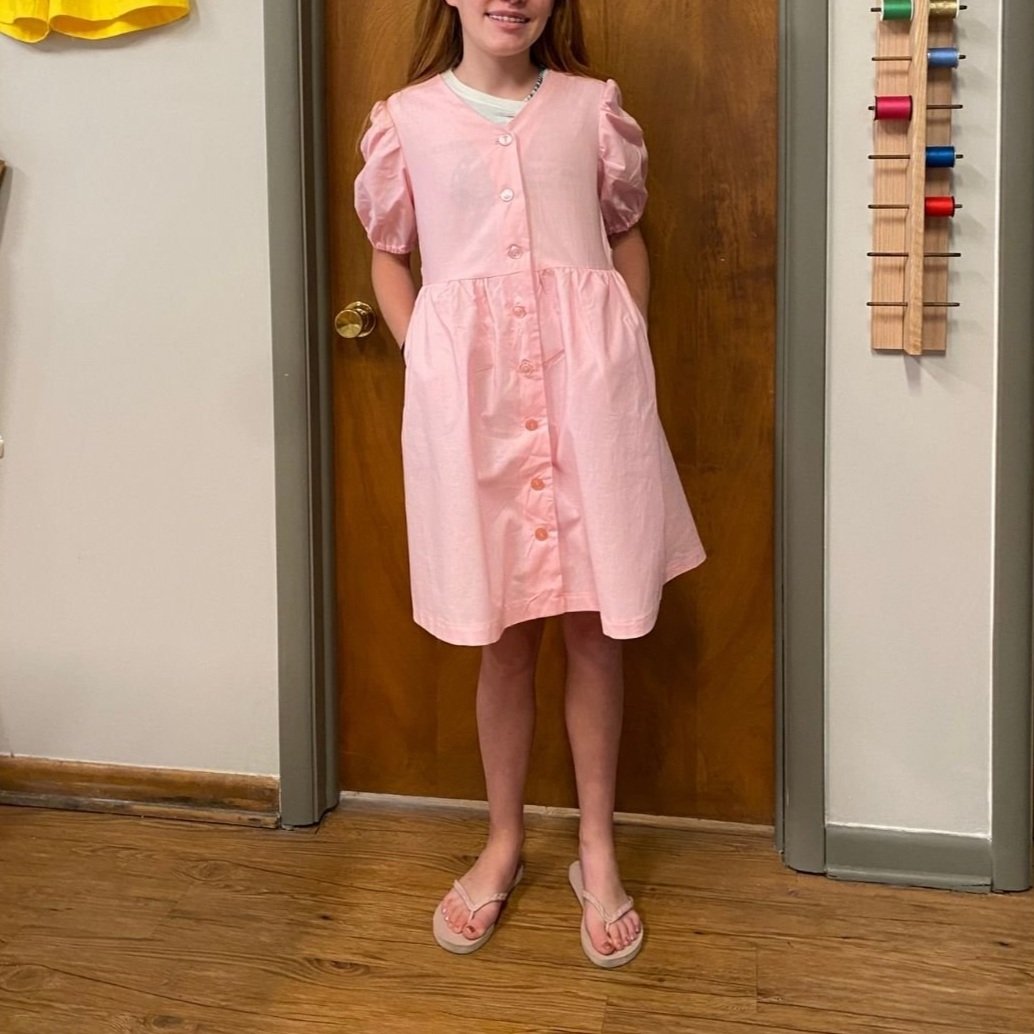
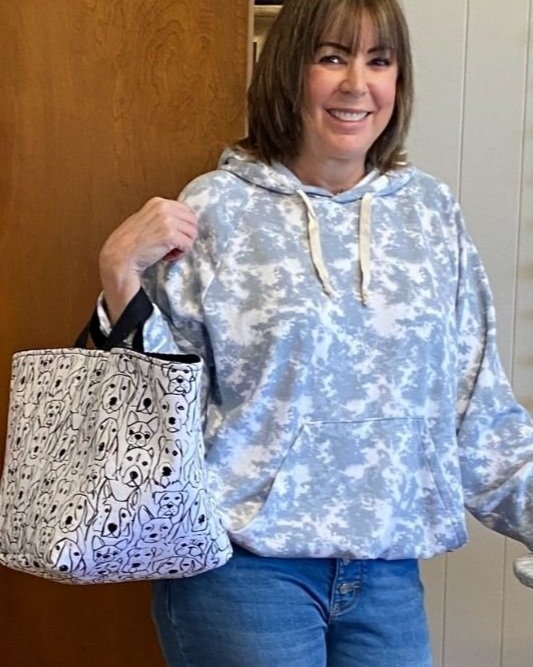
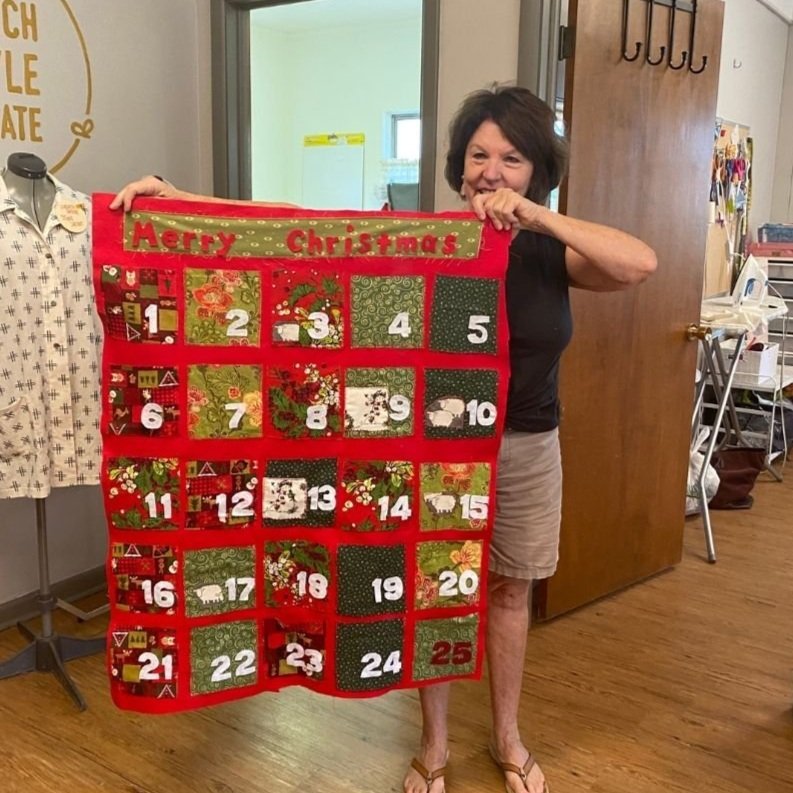
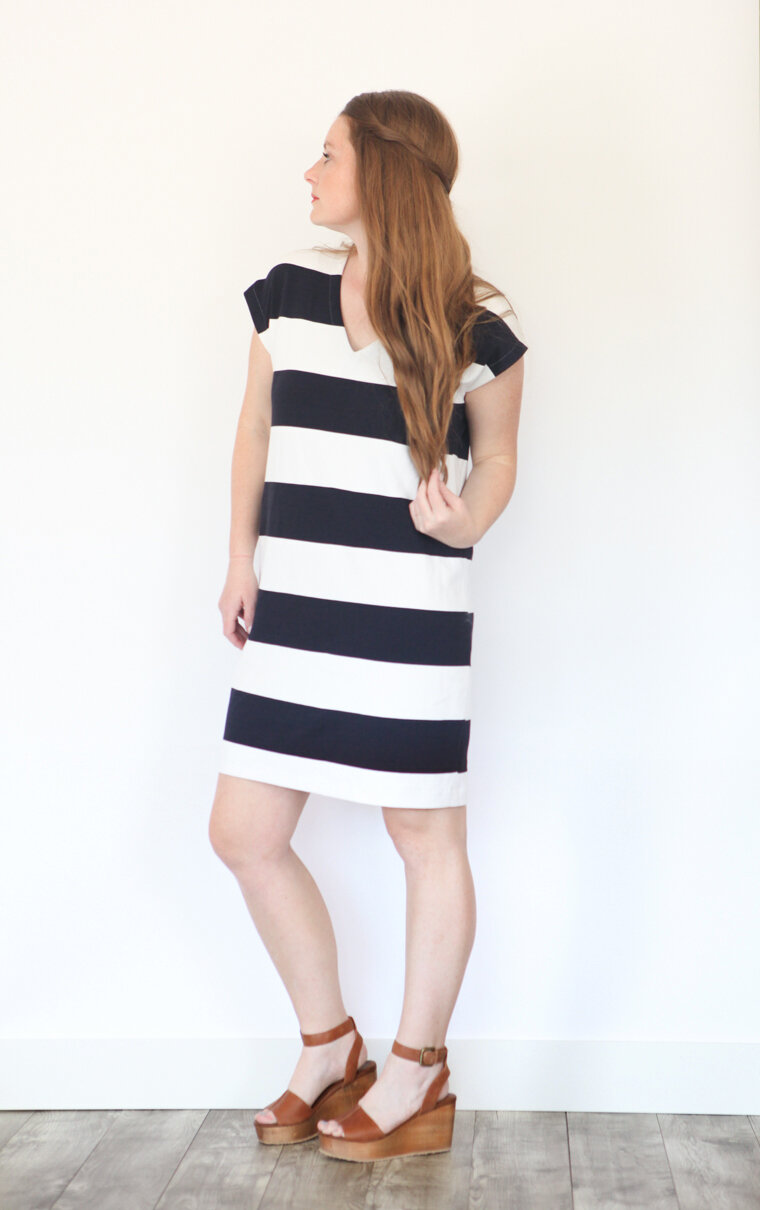
We are so proud of our students and we want to share what they’ve made. Have an image you’re alright with us sharing in this Student Makes album? Send us a photo with a note saying we can share it here.

Your Sewing Journey - What are the classes to become a garment maker?

We get asked this question a lot, so we know there’re many more of you wondering what classes you should take to get started sewing…..and we know we have a lot of classes, so it can be slightly overwhelming!

If you are a beginner (never have sewn, or sewn very little), then we recommend this path:

First : Our Stitch Style Create for Adults, or Children. This is a 5 week class that teaches you the basics of a sewing machine, you make 4 projects, and it ends with an understanding of commercial patterns.

Second: Our Easy Woven Shirt or T-Shirt. This is a one session class and we suggest doing the knit T-shirt so you get a taste of knit fabric sewing.

Third: Our Classic Collared Shirt (Button up Shirt) class. This is a three session class that will really start to enhance your sewing skills. You will learn how to fit a pattern, learn to sew a button placket, buttonholes, a collar, cuffs, seam finishes, and a nice hem. We have suggestions for both men’s and women’s shirt patterns listed.

Fourth: Our Pant Fitting and Technique-classes/pants-fitting-and-sewing-techniques class. This is a two session class in which you will learn the basics of fitting a pant pattern and then move on to sewing a zippered pant.

Think of the above as the Basic Requirements to have a core skill set: then you can branch out to any of our other classes that interest you: we have a ton!

We also decided that we can not know what YOU would like to make, so we offer Adult Skill Building classes where you can pick the garment and we will help you learn how to fit and sew to your style.

We offer classes on pattern fitting and finally creating your own flat sloper ( basic pattern that fits you)

We know this works….we see our students wearing clothes they Stitched, Styled, and Created.

Let’s get sewing!

Fixing My Shirt - And Understanding Why It Needed Fixed

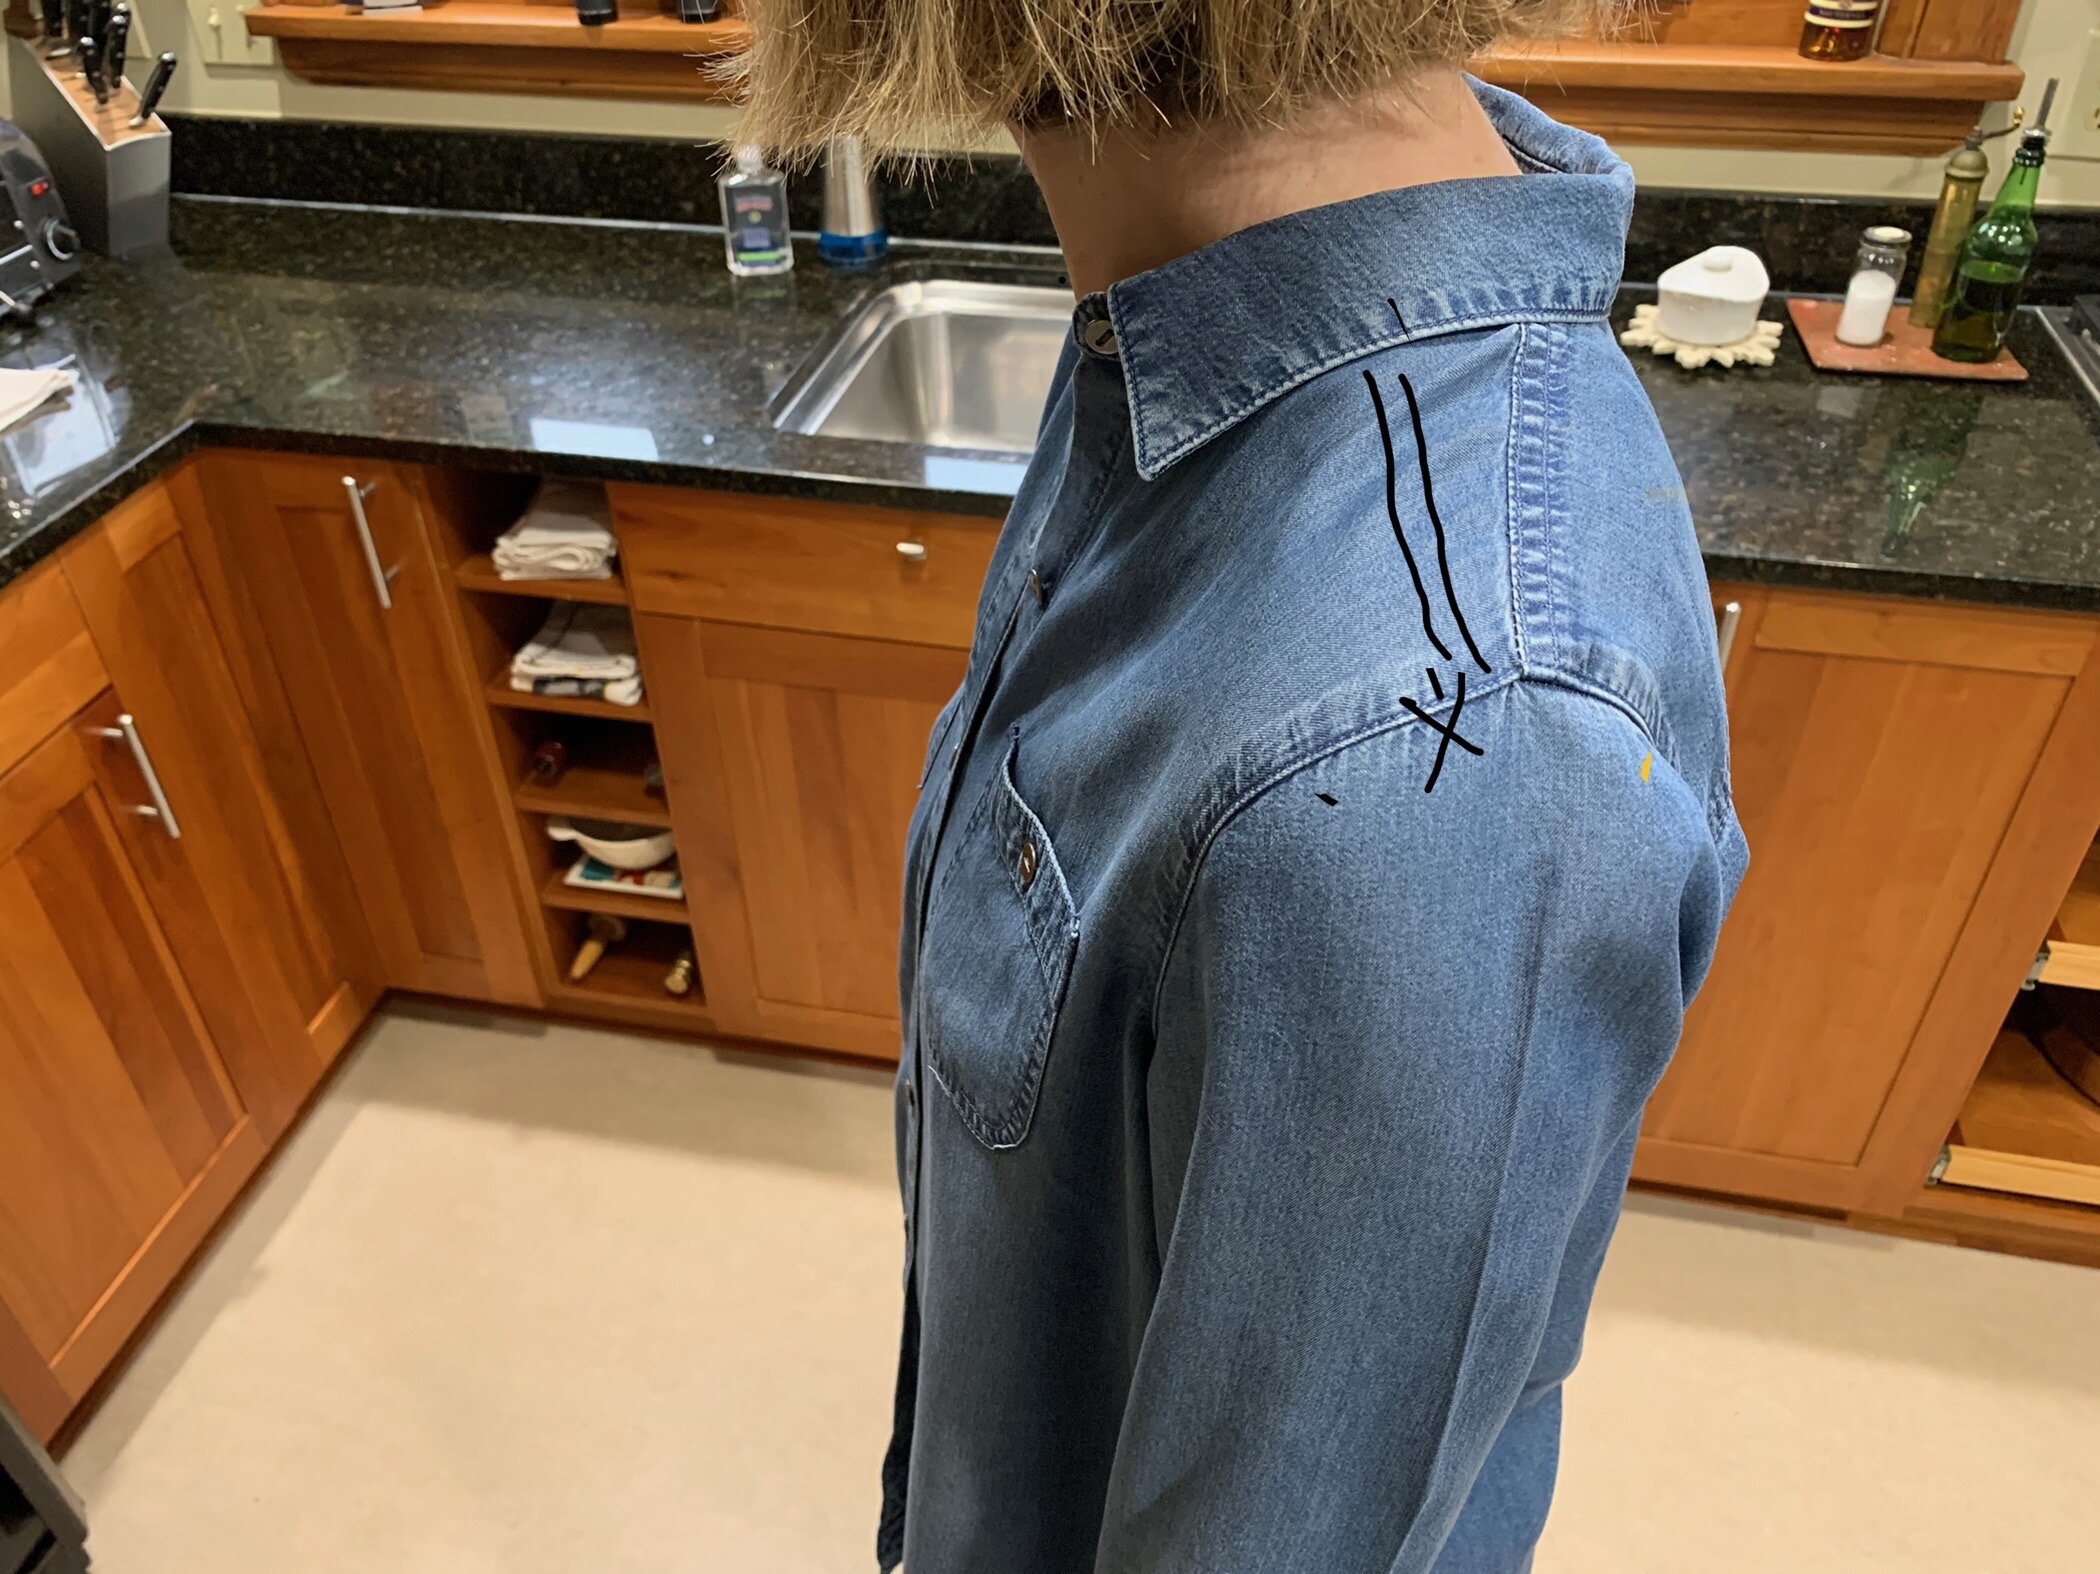
To get through this awful weather, let alone all the other stuff, I am going through my closet and either figuring out how to fix items I never seem to enjoy wearing, or donating them. I have had a J.Jill denim looking shirt for some time. Every time I wore it, it pulled at the front neck line and I spent too much time yanking down the front collar. I knew that what was the problem: as I have aged, my shoulders have rounded and I needed more room in the back of the shirt from the back neckline to the yoke……luckily it had a yoke.

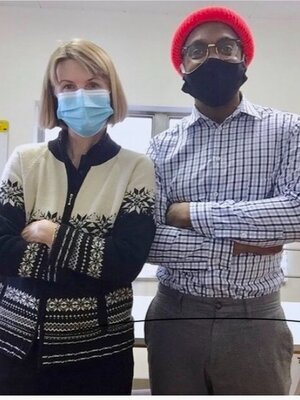
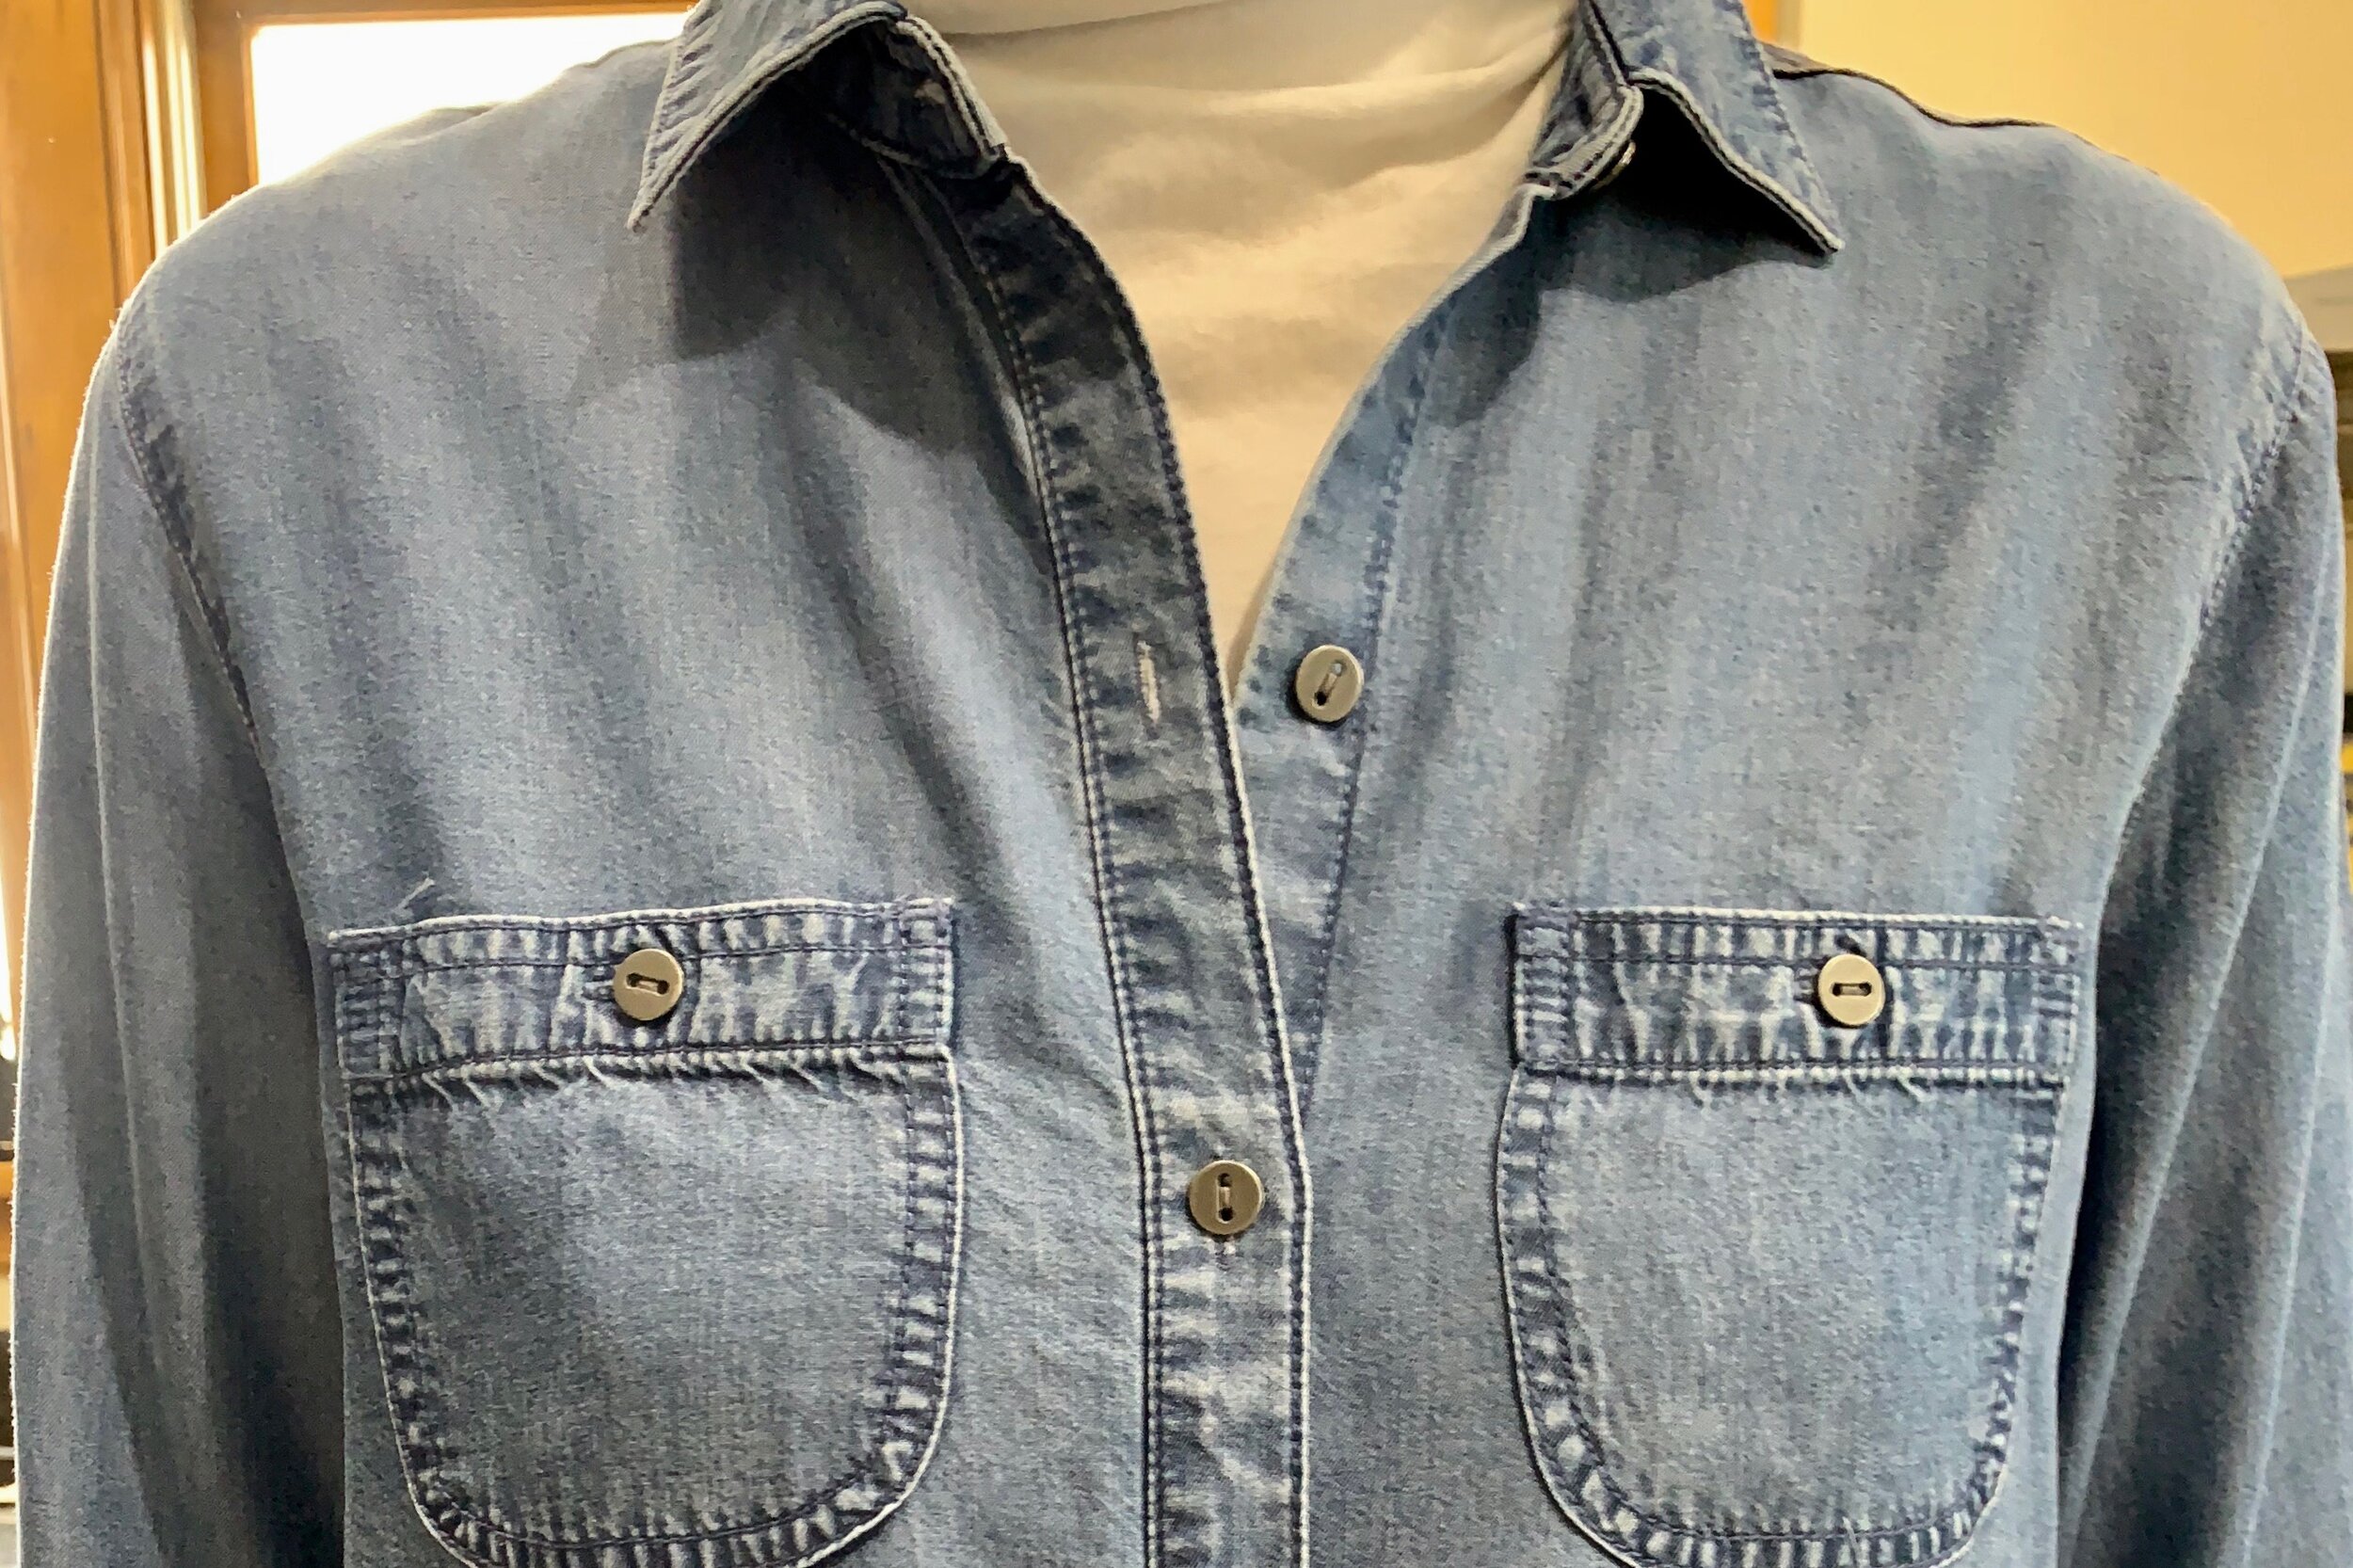
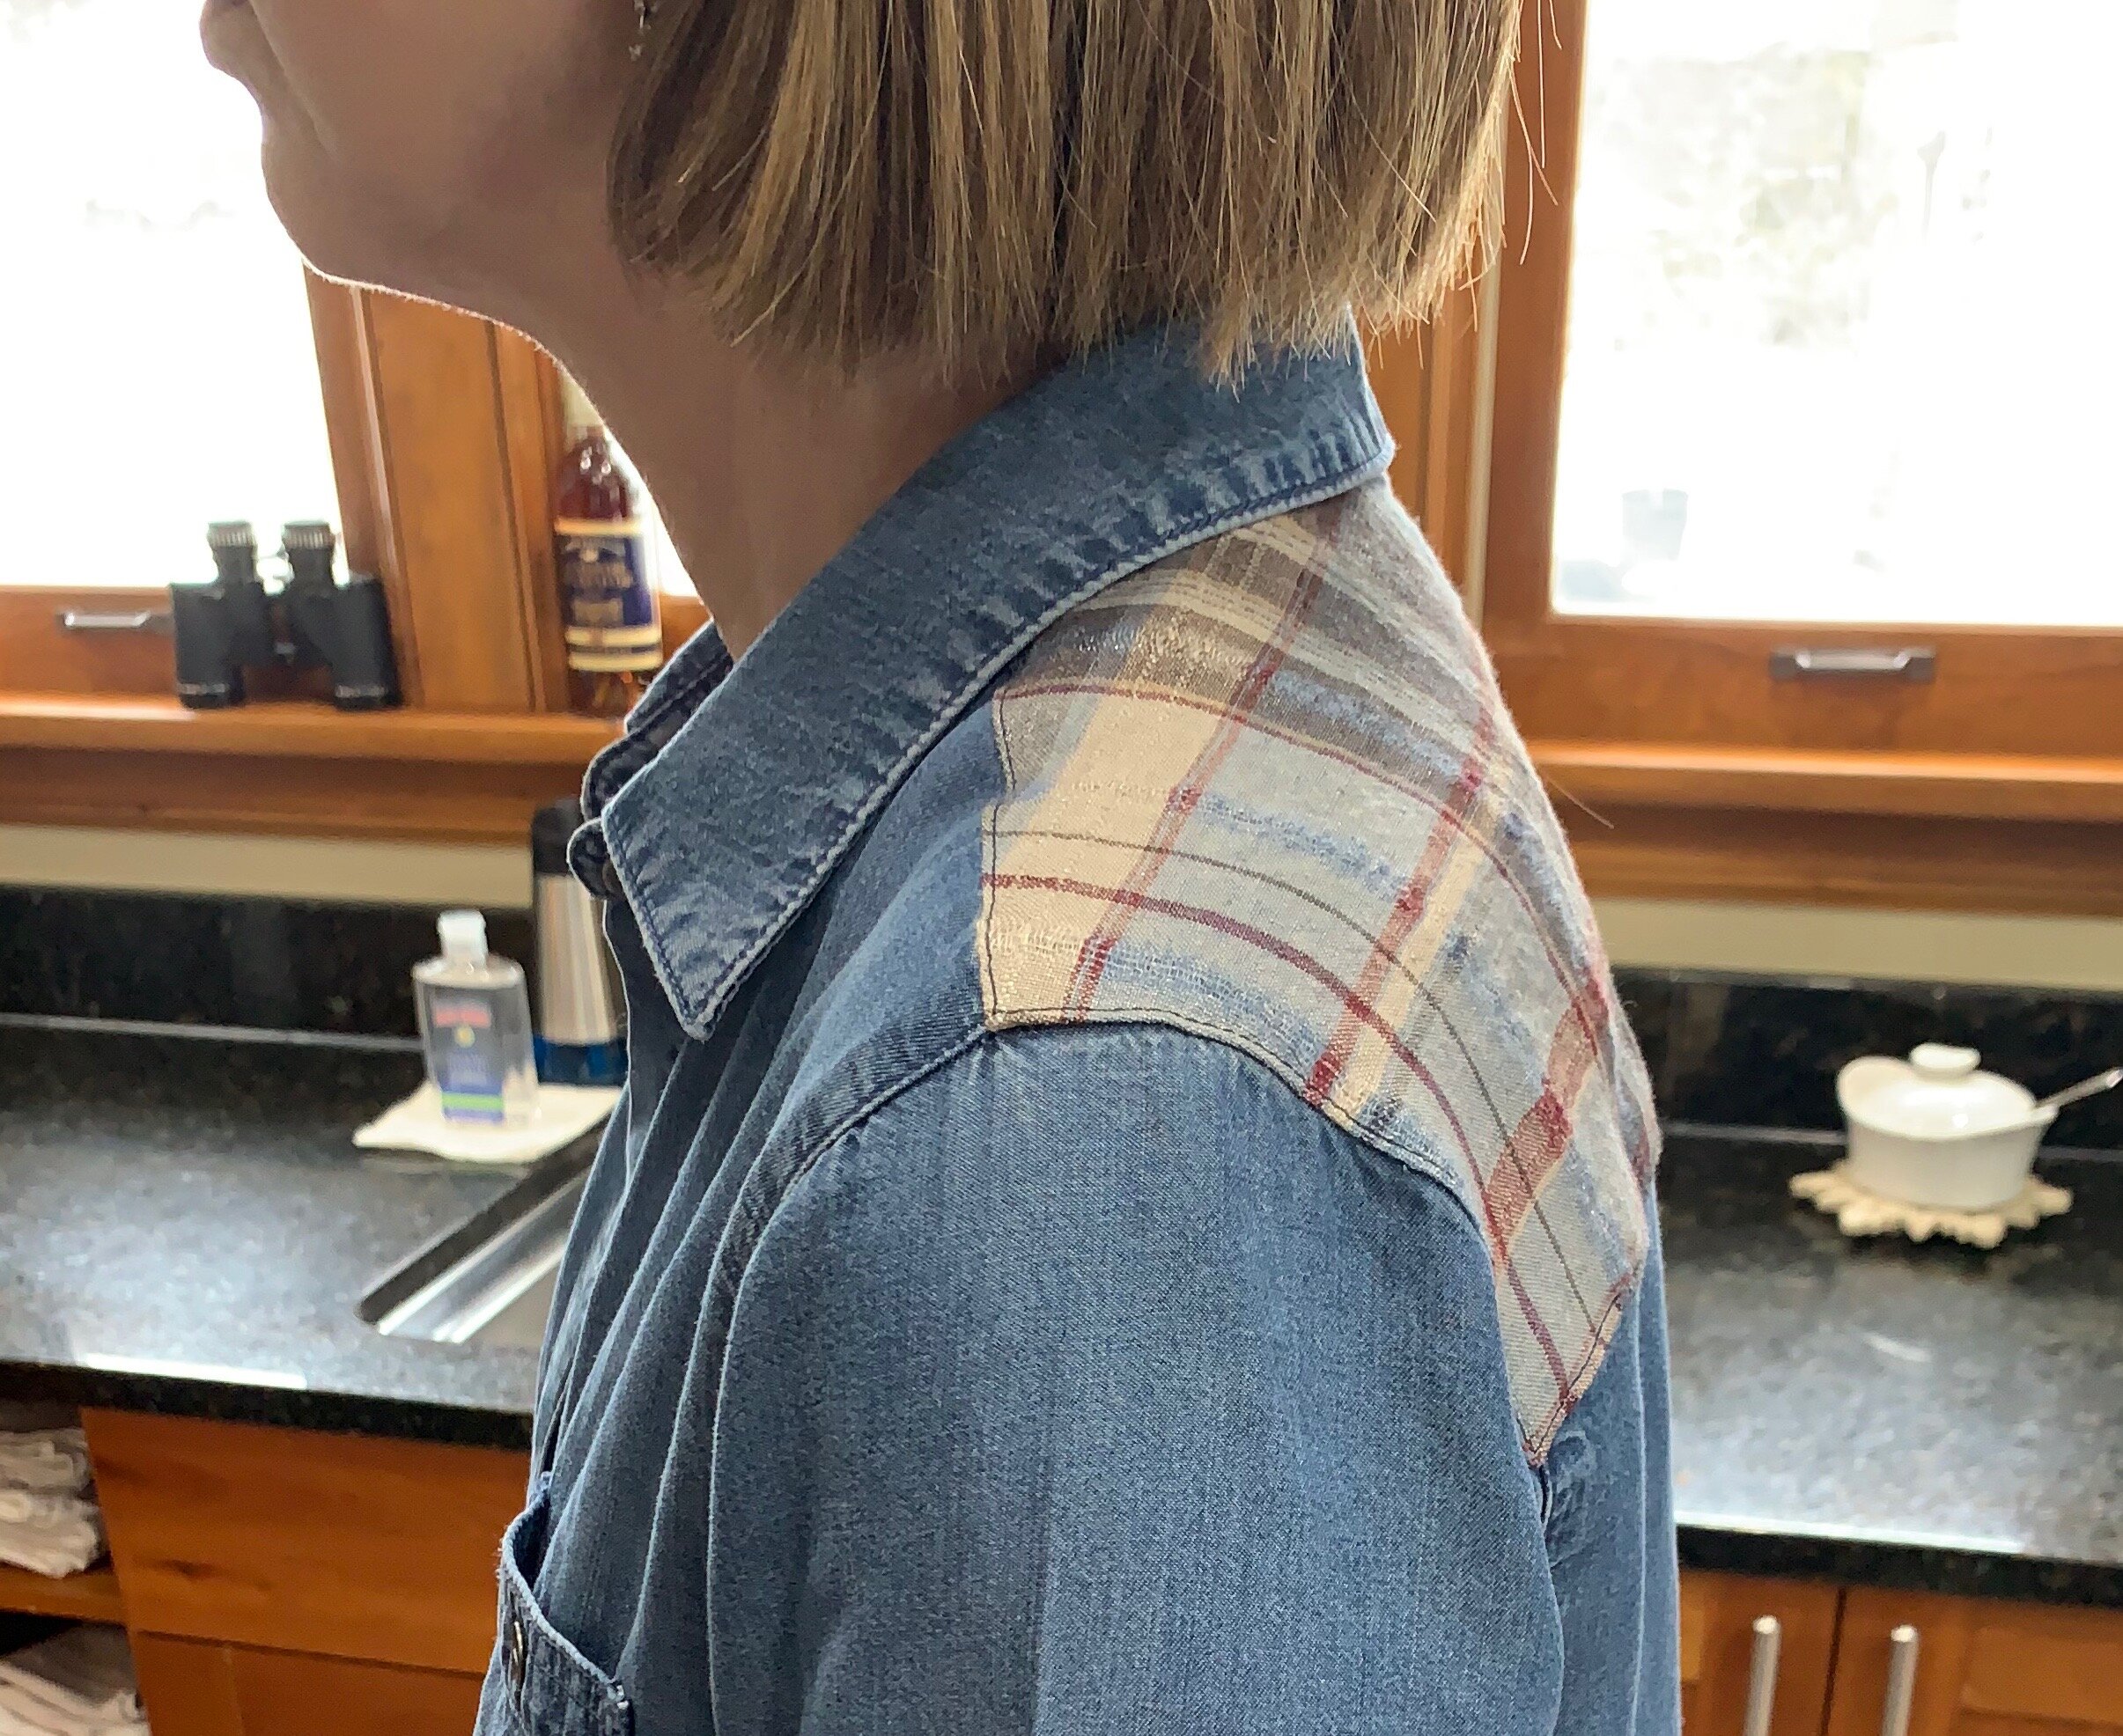
The 3 photos below give you the story. #1 look at the drag lines around the neck. #2 look how far back the shoulder seam is compared to where I have marked in photo #3.

First, I looked through my fabric stash and found a plaid metallic linen that would work since I could not reuse the existing yoke.

I removed the yoke, leaving the collar, front, parts of the sleeve, and back open for a new yoke piece. I made a simple paper pattern of the old yoke. Then I made a slash across the back of the paper from the fold line to the seam line where the sleeve would be sewn onto. I opened this slash up about 1”, taped it down to another piece of paper, straightened the fold line, and finally added additional length to the neckline so the new yoke piece would sit farther forward on my shoulders.

Here is the finished product. The drag lines are almost gone around my neck, the shirt collar is sitting on me more comfortably, and I like the look of the new yoke. Not really difficult, just took some time, but most likely less time then trying to find something else in a store. If you are having similar issues, email us and we will work with you to see what can be done to fixing your favorite garments. Happy Sewing.