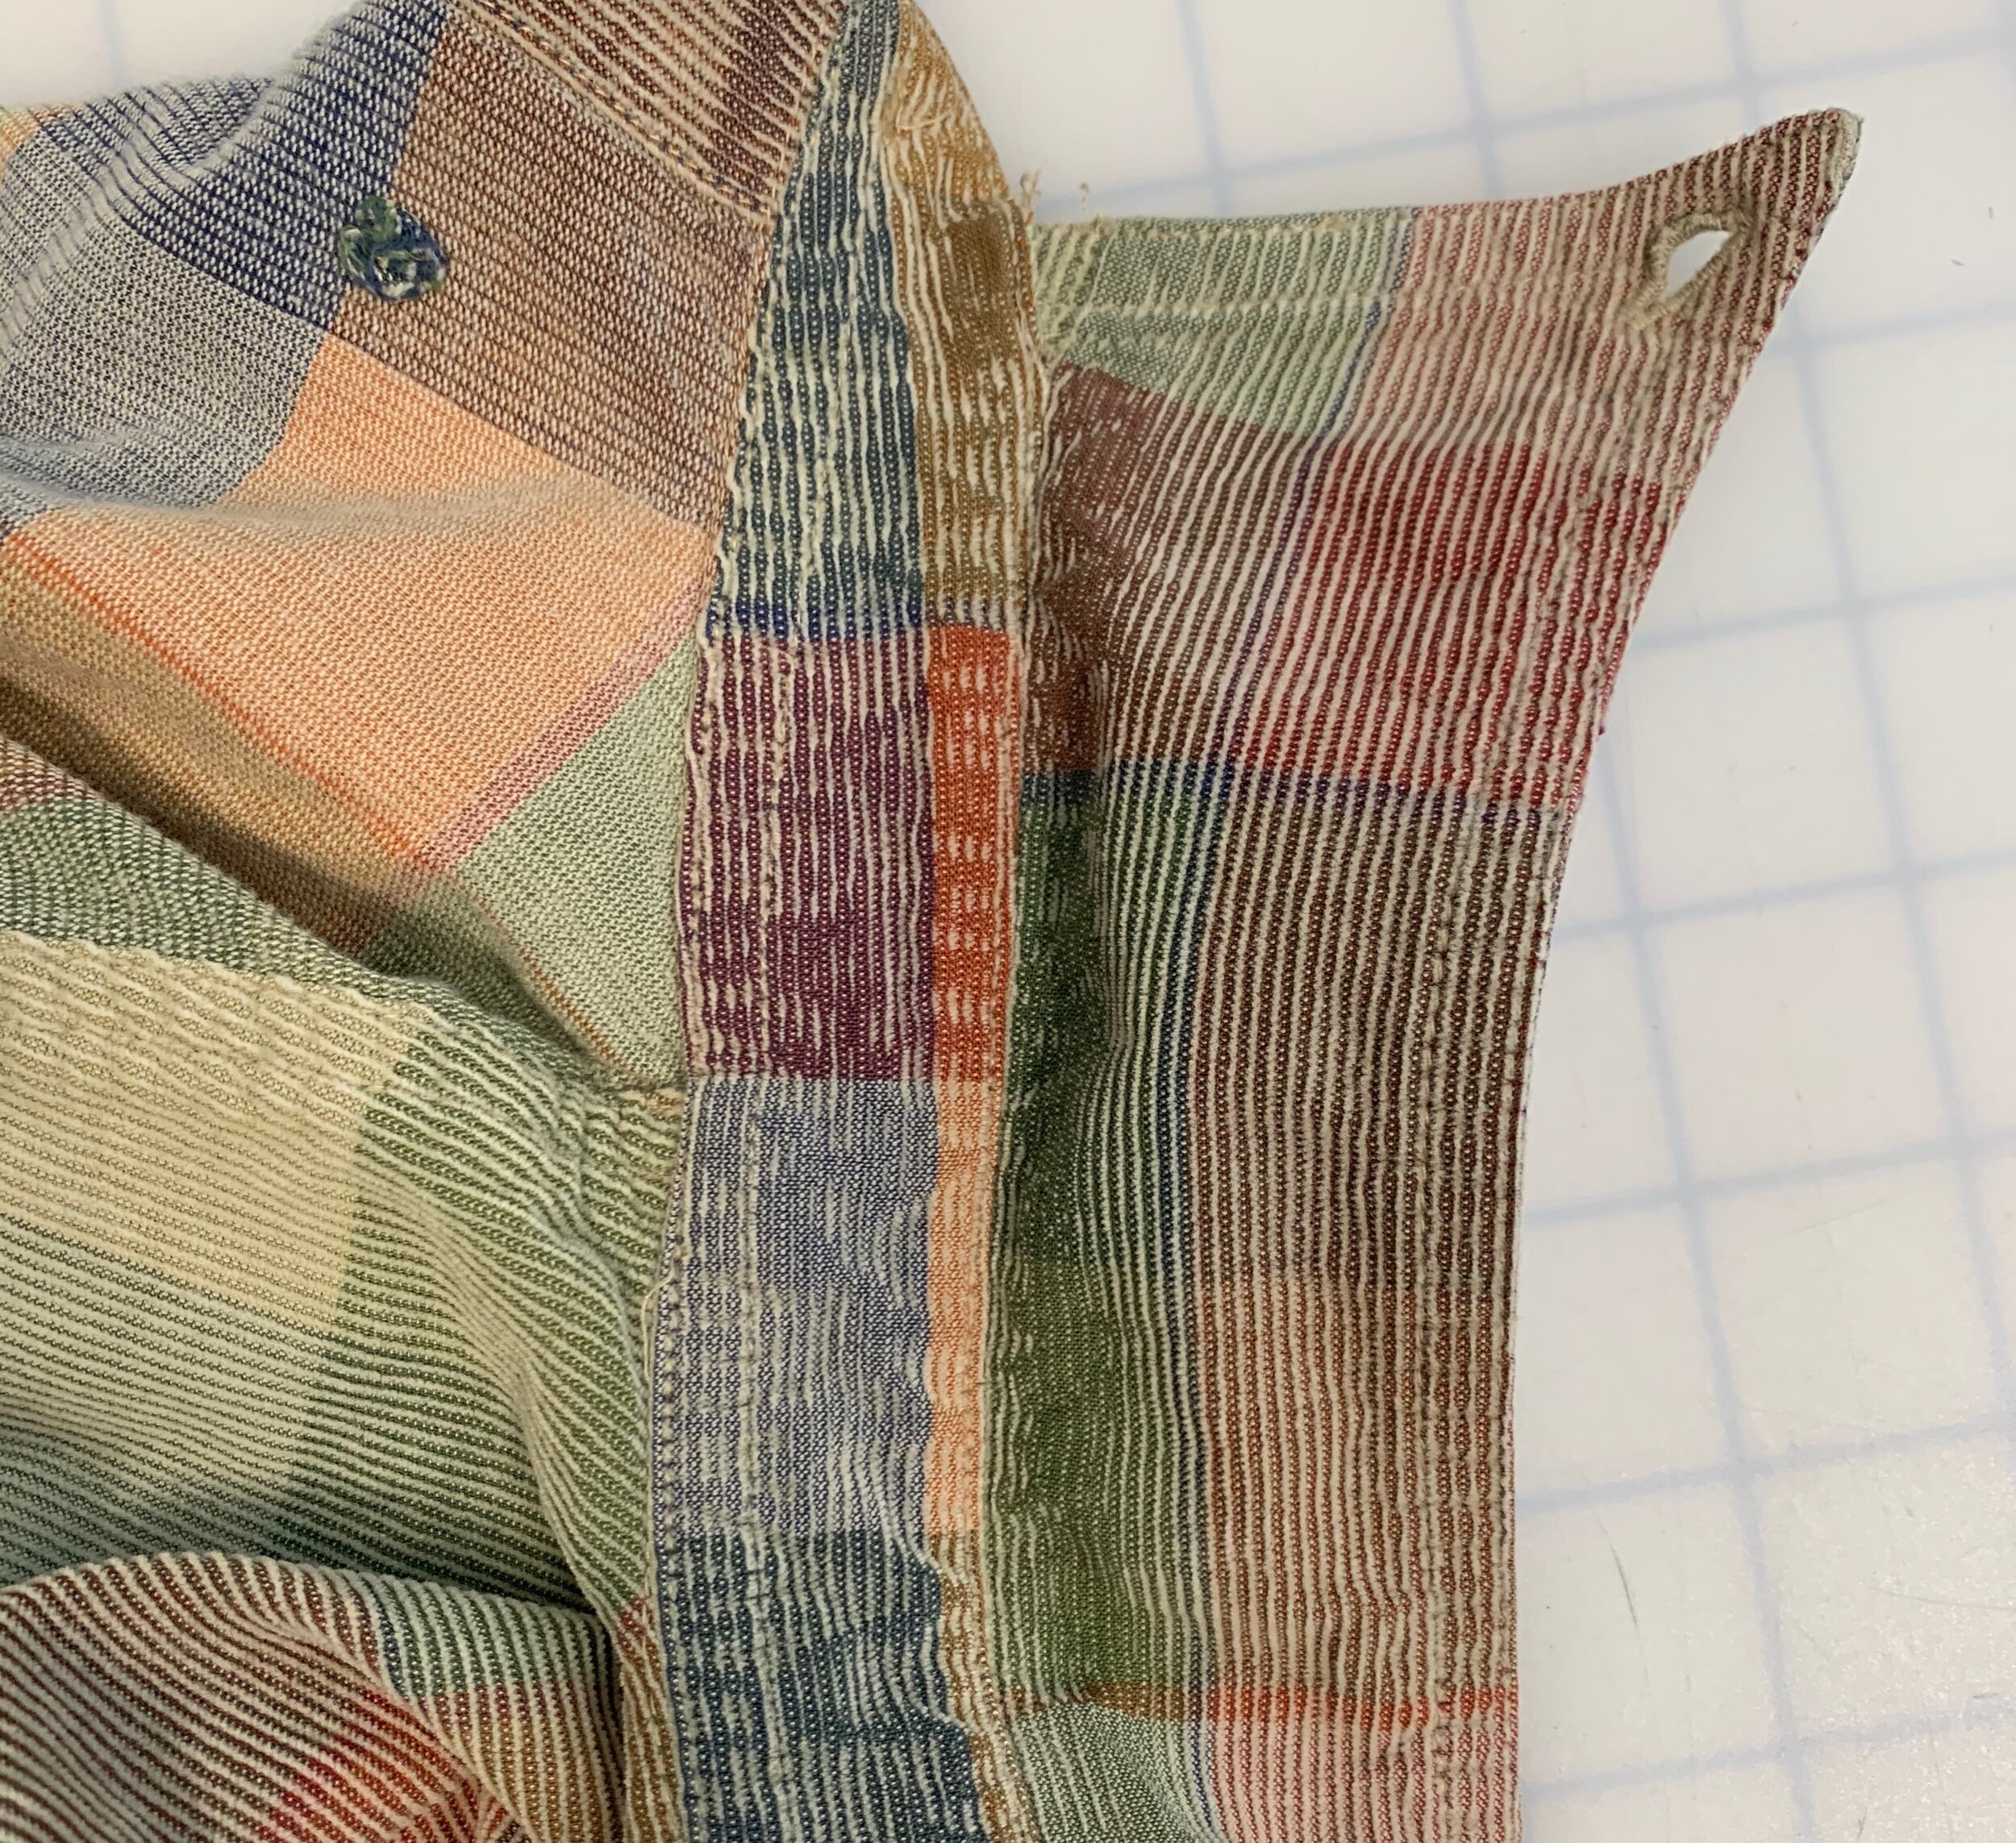
Have a tattered collar on a shirt, here’s how to fix it.
Read moreTips For Buying Your First Machine
Don’t hop on the first one you see!
Sewing Machines and Sergers are being sold by individuals and companies through Ebay, online auctions, Facebook Marketplace and even garage sales.
We thought it would be helpful to give some tips on what features to look for in a sewing machine. Many times, new sewers are coming in to the Studio with machines that are making their new sewing journey difficult.
With all the instructors weighing in here is the list of must haves, and nice to haves:
Don’t Hop to fast on the first one you see!!!!
Read moreLet's Talk Interfacing!
The facts about interfacing !
Read moreDIY A Silk Flower!
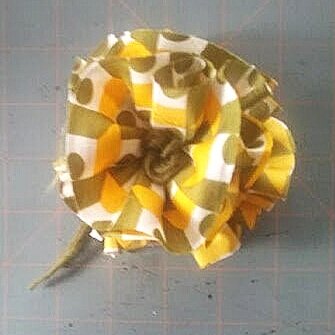
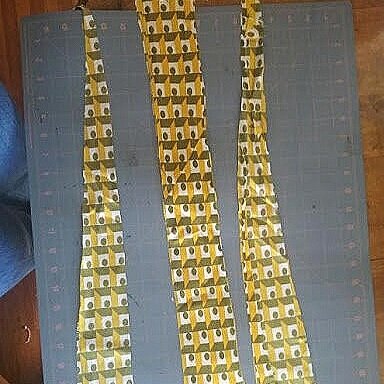
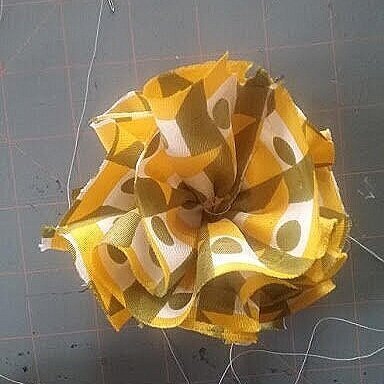
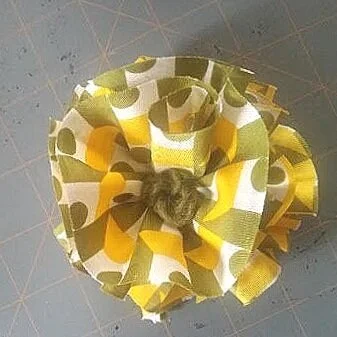
This silk flower is fun to make and it’s a great way to use unwanted neckties!
Supplies needed are:
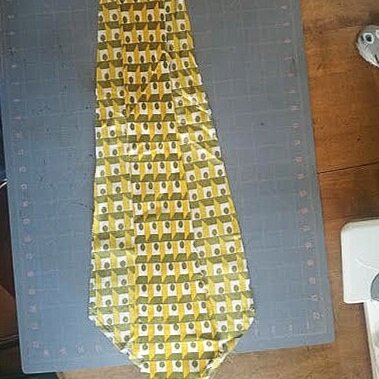
one silk twill or silk brocade necktie, (The best is a wider tie made of silk twill. A silk brocade tie also works but it is a stiff weave so it’s a little more difficult to work with.)
all-purpose thread,
2 feet of embroidery floss or yarn,
2” square of craft felt,
standard long hand sewing needle for the thread
large( doll-making sized) needle for the floss or yarn,
seam ripper,
fabric scissors,
large safety pin if you are making a brooch or a barrette if you are making a hair accessory.
Before you start, pre-wash the necktie if needed, with water and dish soap and hang to dry.
Deconstruct the necktie by removing all the threads, interlining and lining.
Determine the widest width of the tie narrow end of the tie and trim the rest of the tie to this width.
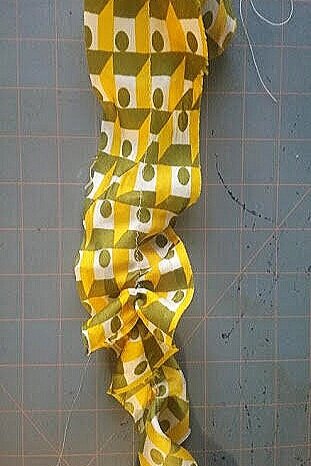
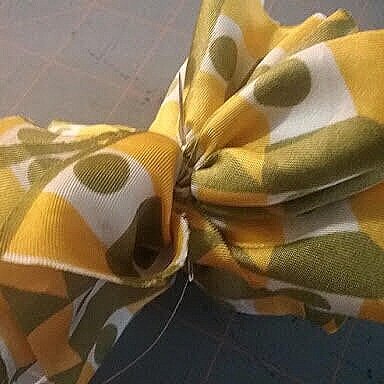
Hand sew ¼” long running stitch or machine sew a basting stitch down the center of the tie.
Pull the thread so it gathers the tie tightly. Don’t cut the excess thread yet.
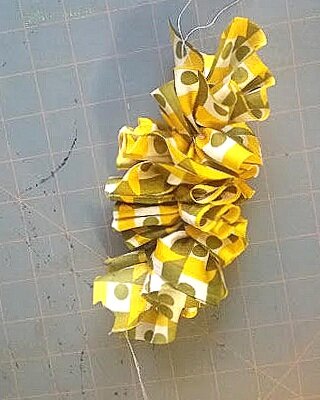
5. Roll the gathered tie strip so the stitching runs down the center of the roll.
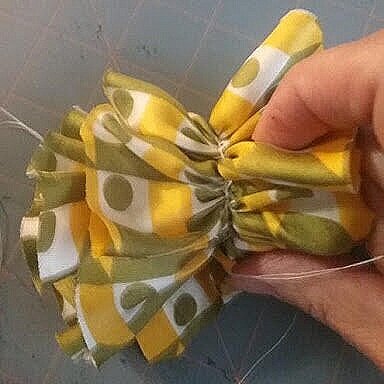
6. Wrap the excess thread tightly around the center of the roll so it covers the stitches.
7. Thread some of the excess threads onto the long sewing needle and make several stitches through the center of the roll.
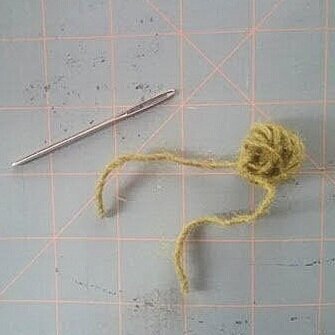
8. Cut about 2 feet of yarn or embroidery floss. Wrap the yarn or floss around the tip of your index finger several times leaving 3 or 4 inches of excess yarn or thread on each side of the wrapped circle. Now wrap the free ends through the center of the wrap a few times to secure. Tie the free ends together.
9, Thread the ends of the yarn or floss circle through a yarn or doll needle. Push the needle through the center of the flower until the yarn circle is flush with one side of the flower. Take a couple of stitches with the yarn tails near the center back of the flower to secure it in place.
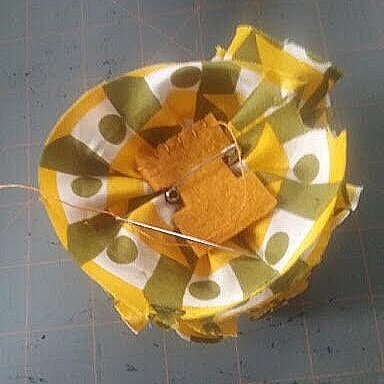
10. Center a safety pin on the back of the flower. Cover with a small square of felt. Hand stitch the felt all the way around the edges to secure the safety pin in place. You could also use a barrette if you’d like a flower for your hair!
Voila!! You have a beautiful accessory.
Video Feature: Pants Fitting Secret!
Martha West and Gail Kelley discuss an important tip and how to apply it when fitting pants.
A New Sewer’s Journey!
Winter White Wool
Meet our most determined, joyful client, Linda I! She truly is one of the funniest, happiest people I have met.
Linda is finishing her FIFTH coat/jacket to be started and completed in the last 18 months. To flesh out the picture, I met Linda about two years ago when she was taking a pants class at a fabric store and I was the instructor. She came with the pants already cut out and I really thought maybe a raccoon had nibbled the fabric away. (Sorry raccoons, and yes, Linda has already read this before I published.) After a few hours I asked if she was left handed, so that explained the tortured fabric and her tortured left hand using a right handed scissors.
Linda became one of our very first customers. Not one to be happy just to stick her toe into the water, Linda plunged right in to learn everything she could about sewing outstanding garments. Recently retired, she had a beautiful white wool fabric, purchased many years ago while she was working, and she wanted to make a jacket. After seeing the beautiful fabric, we talked about maybe working on some linen first.
The very next project was the Kelly Anorak trench with lining. Never one to shy away from a tough fabric if that was the correct fabric, Linda sourced a water resistant material from Seattle Fabrics, and the lining from Liberty of London. Zippers, snaps, grommets….she gamely tackled it all. She has a beautiful light weight trench she wears proudly.
Test Jacket
Pink linen: she loves pink….check out the glasses
Kelly Anorak with Lining
Water resistant fabric from Seattle Fabrics, lining from Liberty of London
Next she felt confident to tackle the Winter White wool jacket, shown at the top of the page. She used the same basic jacket pattern from Vogue. The jacket is beautiful, including gold metal buttons with her monogram. A little expense that goes a long way to making something special and distinctive.
Next project was a white wool winter coat, belted, with fake fur buttons that add flair and Linda’s distinctive style.
White Wool belted coat……the photo does not do it justice.
Linda is a shirt and jeans kind of laid back girl, so project five was a shirt. We believe that a woven shirt is a great skill builder: topstitching, buttonholes, fitted shoulders, plackets, collars, cuffs. The results are pretty great, with rounded pearlized buttons. Her next shirt material is waiting at home, a reversible pink (of course) and baby blue jacquard.
Along with three other ladies, Linda is finishing her French couture jacket. Up next, pants!
Here is what working with Linda has taught us…..it is a great idea to take a basic sewing course if you are a beginner, but never be afraid to dive right in and learn by just SEWING.
