Tips For Choosing Your First Sewing Machine

By guest blogger, Helen Spencer, Founder/Editor of Hello Sewing

guestblogger.jpg

When the time comes for you to finally get your very first sewing machine, you should make sure to make the right choice. That machine will be your most important sewing tool and practically your work partner so it must be reliable, capable and trustworthy.

There’s a lot of different models out there for you to choose from, which means you could have a hard time picking the ideal one for your needs. But if you know exactly what you intend on doing with it and which features will allow you to that, you’ll be able to quickly find your new machine. Here’s how you to choose your first sewing machine.

Know your budget

Before you start your sewing machine shopping adventure, you must first decide what budget you can work with. Sewing on a budget is definitely doable, if you know Ideally you would want to buy the most expensive model you can afford, but if your budget is very big, there’s no need for that. Most of the expensive models have a lot of features that beginner wouldn’t use and they would just get in the way.

On the other hand, if your budget is quite low, you must avoid making one mistake - buying a cheap machine from a store that isn’t specialized for sewing. Instead you should find your local sewing machine dealer and buy a used model from them. Used sewing machines are usually sold in very good condition so you won’t even notice that it isn’t new.

guestblogger1.jpg

Decide what kind of projects you’ll work on

Knowing what you will use your sewing machine for will be the key that unlocks the right type of sewing machine for you according to the sewing blog Hellosewing. Depending on the type of sewing work you plan on doing, certain machines will suit you more than others. There are three main categories of sewing work, and each one requires different features from the sewing machine.

Repairing and altering

Changing the hemline, adjusting the length of sleeves or pant legs, fixing tears and repairing clothing, as well as similar altering work requires a few specific features for your machine to have. First one is the free arm. With it you can sew round, cylindrical shapes like sleeves and cuffs very easily because it helps hold them in place. Second feature you’ll be needing is the blind hem presser foot and the blind hem stitch option. If you get a machine with these three features you will be able to do repairing and altering work without any difficulties.

Home decor

If you wish to use your sewing machine to create unique curtains, bedsheets, pillows and other decorative items, you should search for a machine which has an automatic option for this. This feature will give your home decor items a very professional look. Also, if you wish to sew thicker curtains your machine will need to be able to feed multiple layers of thick fabric.

Creating garment

To sew items like shirts, skirts, dresses and other clothing pieces, your machine needs to be able to sew few important stitches. Zig zag, stretch, and straight stitch will handle any task that you may encounter. An automatic buttonholer will make button sewing much easier, and an option to change the needle position will let you work swiftly and precisely. 

Keep in mind that sewing multiple layers of tough fabrics like denim requires a powerful heavy-duty machine. It will pierce the fabric without jamming or breaking down.

guestblogger2.jpg

Other considerations

Certain characteristics of a sewing machine can be considered trivial, but if they are important for you then definitely think of them one of the deciding factors when making your choice.

Noise

Some models produce more noise than the others, some are very quiet and some are practically silent. If you think that a noisy machine isn’t for you, make sure to check this characteristic before you buy it.

Weight

Extremely light machines are usually a bad choice because they are made of cheap plastic parts and won’t last long. On the other hand, heavier models are usually made of steel and they’re made to last.

Extras

Most machines come with some free accessories. Compare the extras you are getting with each model you are considering to make sure you get the most bang for your buck.

Do you want some non-standard options?

Bright LED lighting is important if you plan on sewing at night, as well as using very dark fabrics. Most of the entry level machines come with very poor light so either pick a machine with brighter light or make sure you have adequate lighting at your sewing space.

Speed control will help you keep the stitching speed constant regardless of the pressure you apply on the pedal.

Needle up and down stop position setting comes in handy because it helps you to keep the needle in the same spot while you turn the fabric. It is also good for quickly removing fabric from the machine.

Automatic 1 step buttonholer will turn buttonhole creating into a piece of cake. Just press a button or turn the dial and you’re done.

Did you like the article? Let me know in the comment section, I appreciate the feedback!
Sewing related Vendors you want to know about

Along with sewing machines shops, fabric shops, and pattern companies, there are still a few other vendors you will want to know. This is not an entire listing, but here are three of my favorites:

ARC Document Solutions -you may remember we tried to have a huge printer in the Studio to print PDF patterns when first opened. We just could not get the hang of all the different settings needed, and, actually, after two visits from a specialist from Kentucky, Arc let us out of the lease.

Good news is that ARC is really easy to get to from any part of town, and they know who we are and what PDF patterns should look like, no explaining needed. Just order your pattern and email to columbus.digital@e-arc.com. When the large paper sheets are ready for pick up, they will advise you by email. Cost is around $3/per 3’X4’ sheet, which is nice study paper. NO MORE TAPING.

The Finest Edge - Mobile Sharpening - Lou, the owner, was here for our grand opening last year and we found out that if it cuts, he can sharpen it. If you are finding that you have to use some force to cut, then your scissors need sharped. Go to Lou’s website to find out where his truck will be next.

www.finestedgesharpening.com .

WithOut A Trace - Unfortunately, this company is not local, they are based in Chicago and very easy to work with. I was so lucky to find them when a stray ash fell on a beautiful new pair of wool gaberdine slacks and left a hole. I roamed the web looking for youtube videos, and then stumbled on Without A Trace. One of their services is reweaving: finding some threads within the original garment to reweave the hole. Their work is unbelievable. They put a pin where the hole was, or you can’t find the hole. I have sent them sweaters, and recently a pretty new jumper that I sliced open with a seam ripper….ugh. I’ll show you the After when I get it back. Now, since a TV show started with the same name, you need to add reweaving to the search or you will get lots of scrolling about the TV show. Here is there website:

www.withoutatrace.com.

If you have a favorite vendor that makes your sewing easier, let us know about them via email and we will collect and do another blog in the future……best.

Gail

Holiday Gift Tutorial:

IMG_0942.jpg

Rope Bowls

Ages: 9 and up. Parents may want to supervise, due to little fingers having to be so close to the needle and presser foot in the first steps.

Supplies: 
At least 18 yards of cotton blend closeline rope can make a 4” tall with 10” diameter bowl.
I found mine at Meijer in the laundry basket supply section of the store.
All-purpose thread in any color or combination of colors
Sewing machine that does zig-zag stitches
A pencil or chopstick for starting out, so your fingers won’t get in the way
*Optional, pompoms acrylic craft paint or ½” wide strips of woven light-medium weight fabric and various thread colors. Mix it up and have fun!

Instructions:
Set your machine to the widest zig-zag setting. 
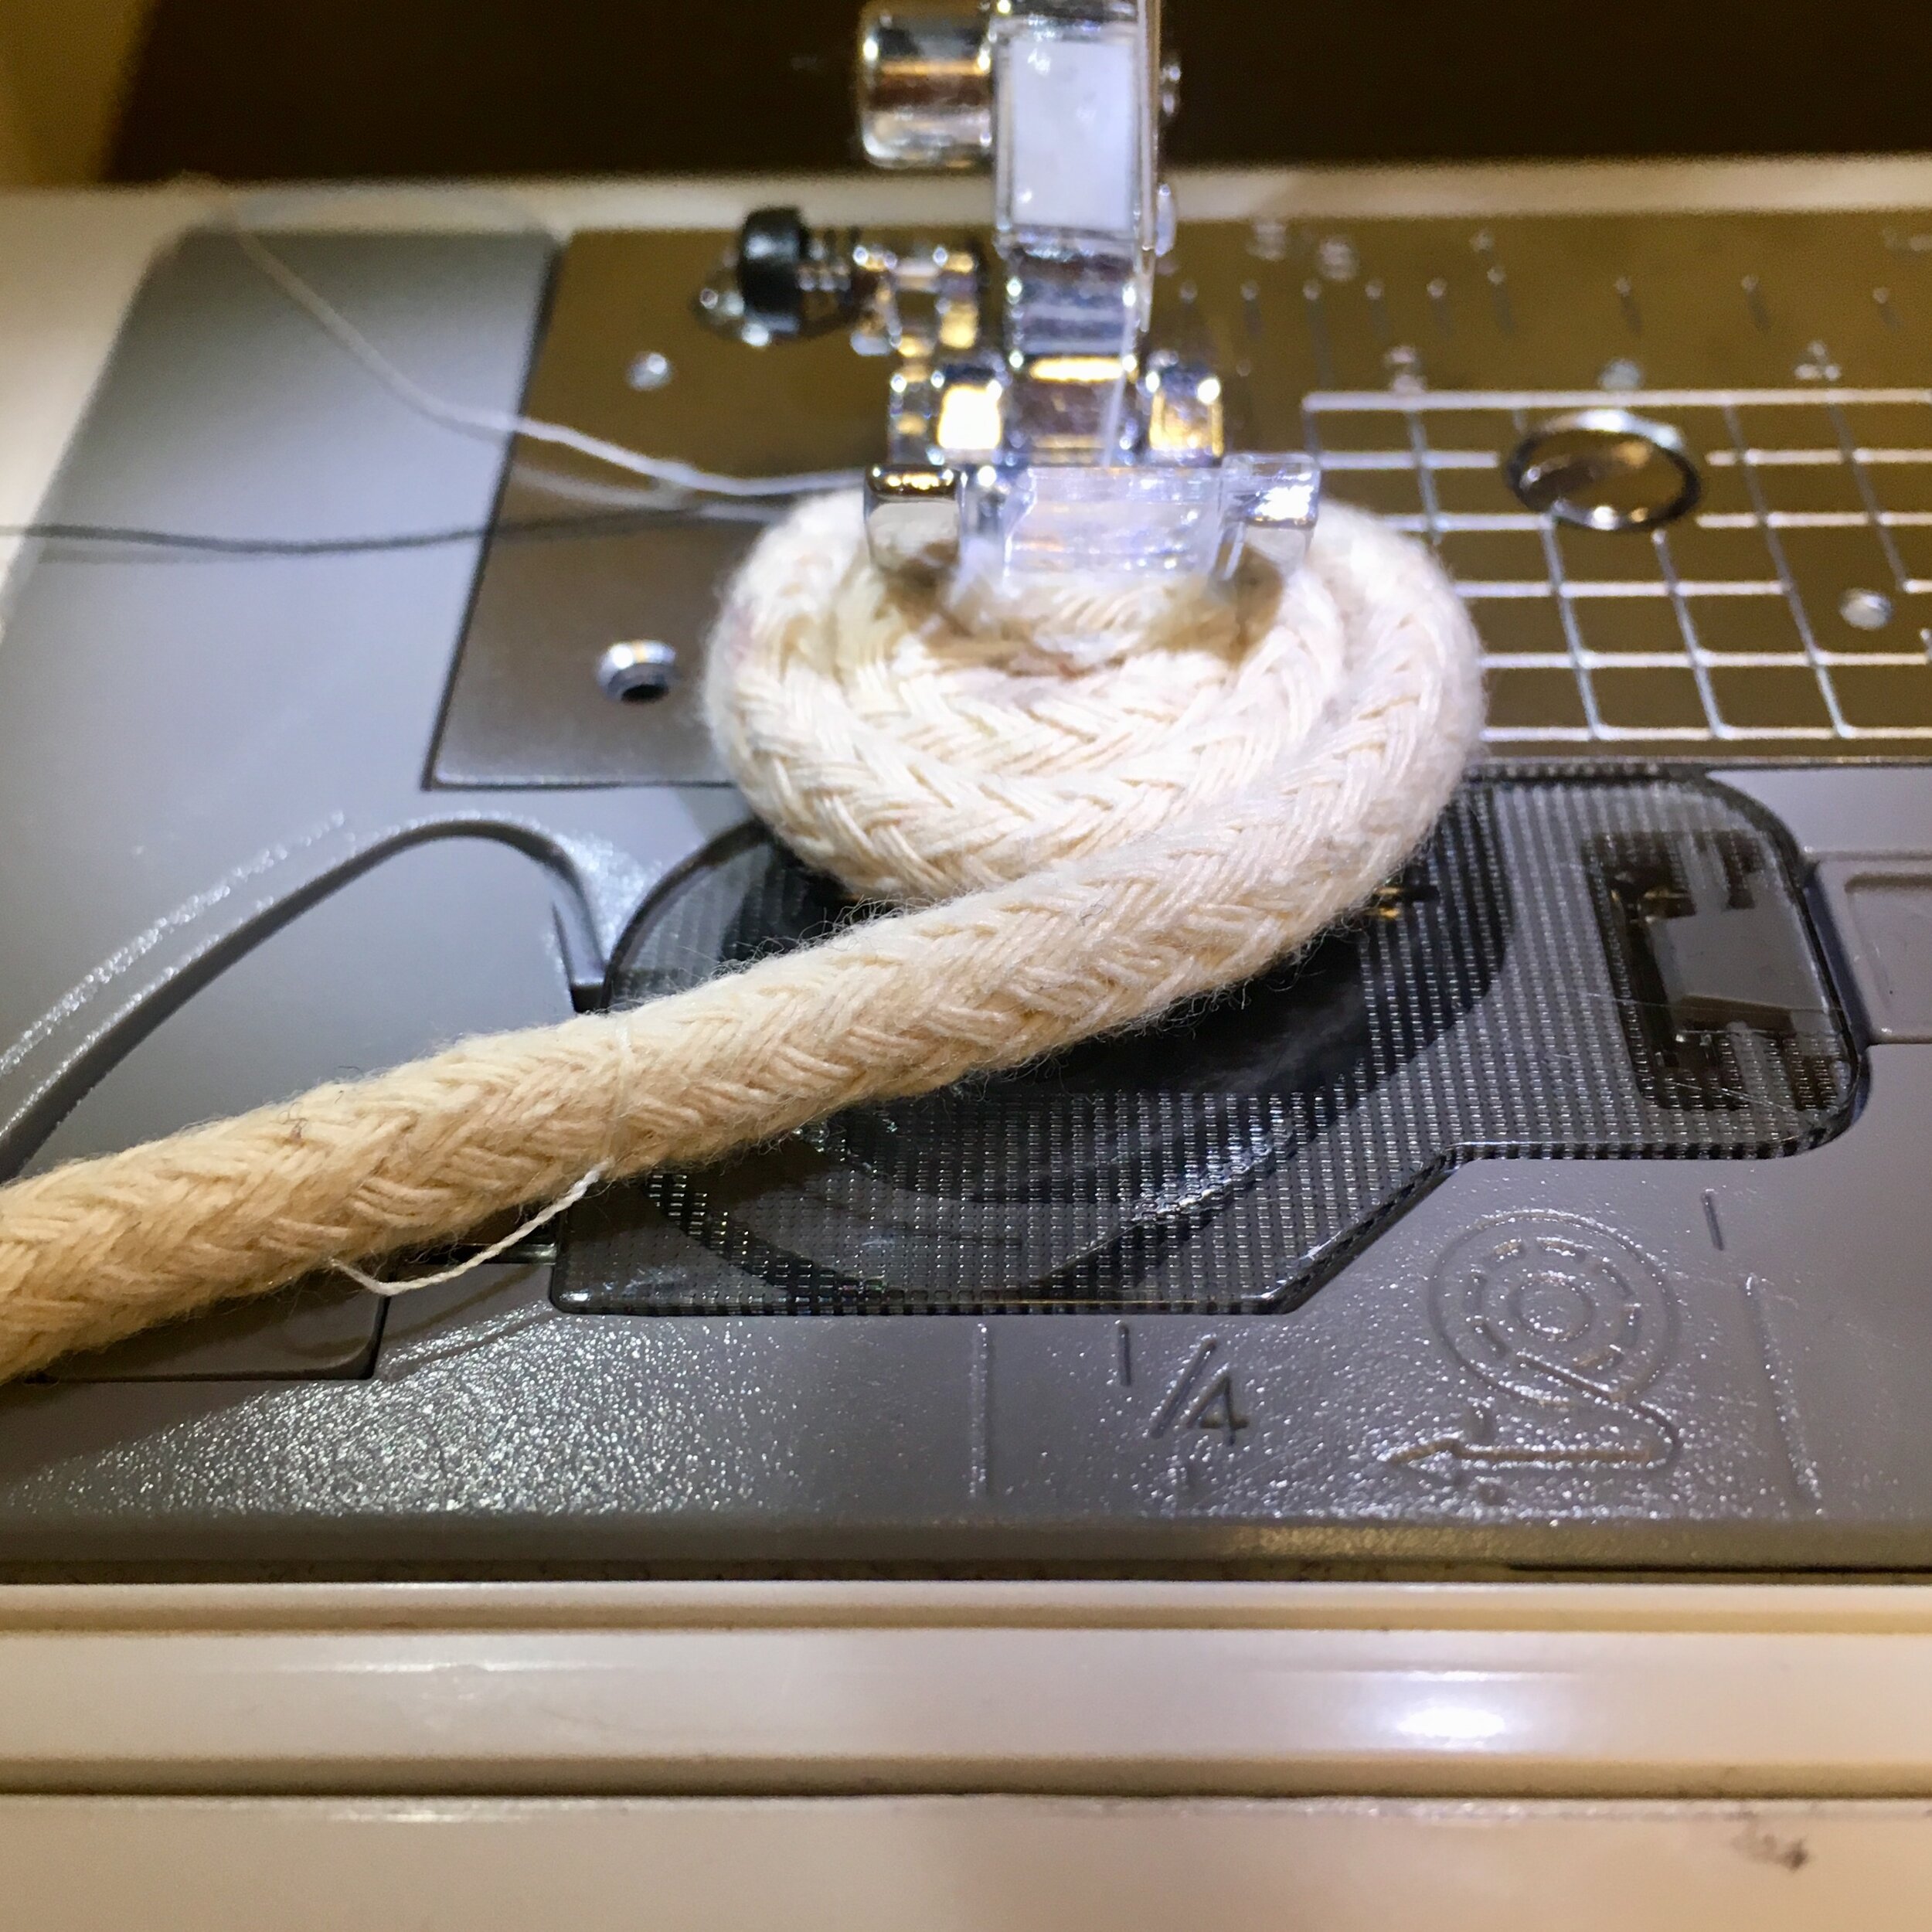
Coil one end of the rope clockwise, until it’s about the same size as a quarter. 
Sew across the diameter of the coil and use a tool to help push it along, so your fingers don’t get in the way. Raise the presser foot lever with the needle down and adjust the coil, so you can sew across in another direction. Repeat this until it feels like it’s going to stay together. 

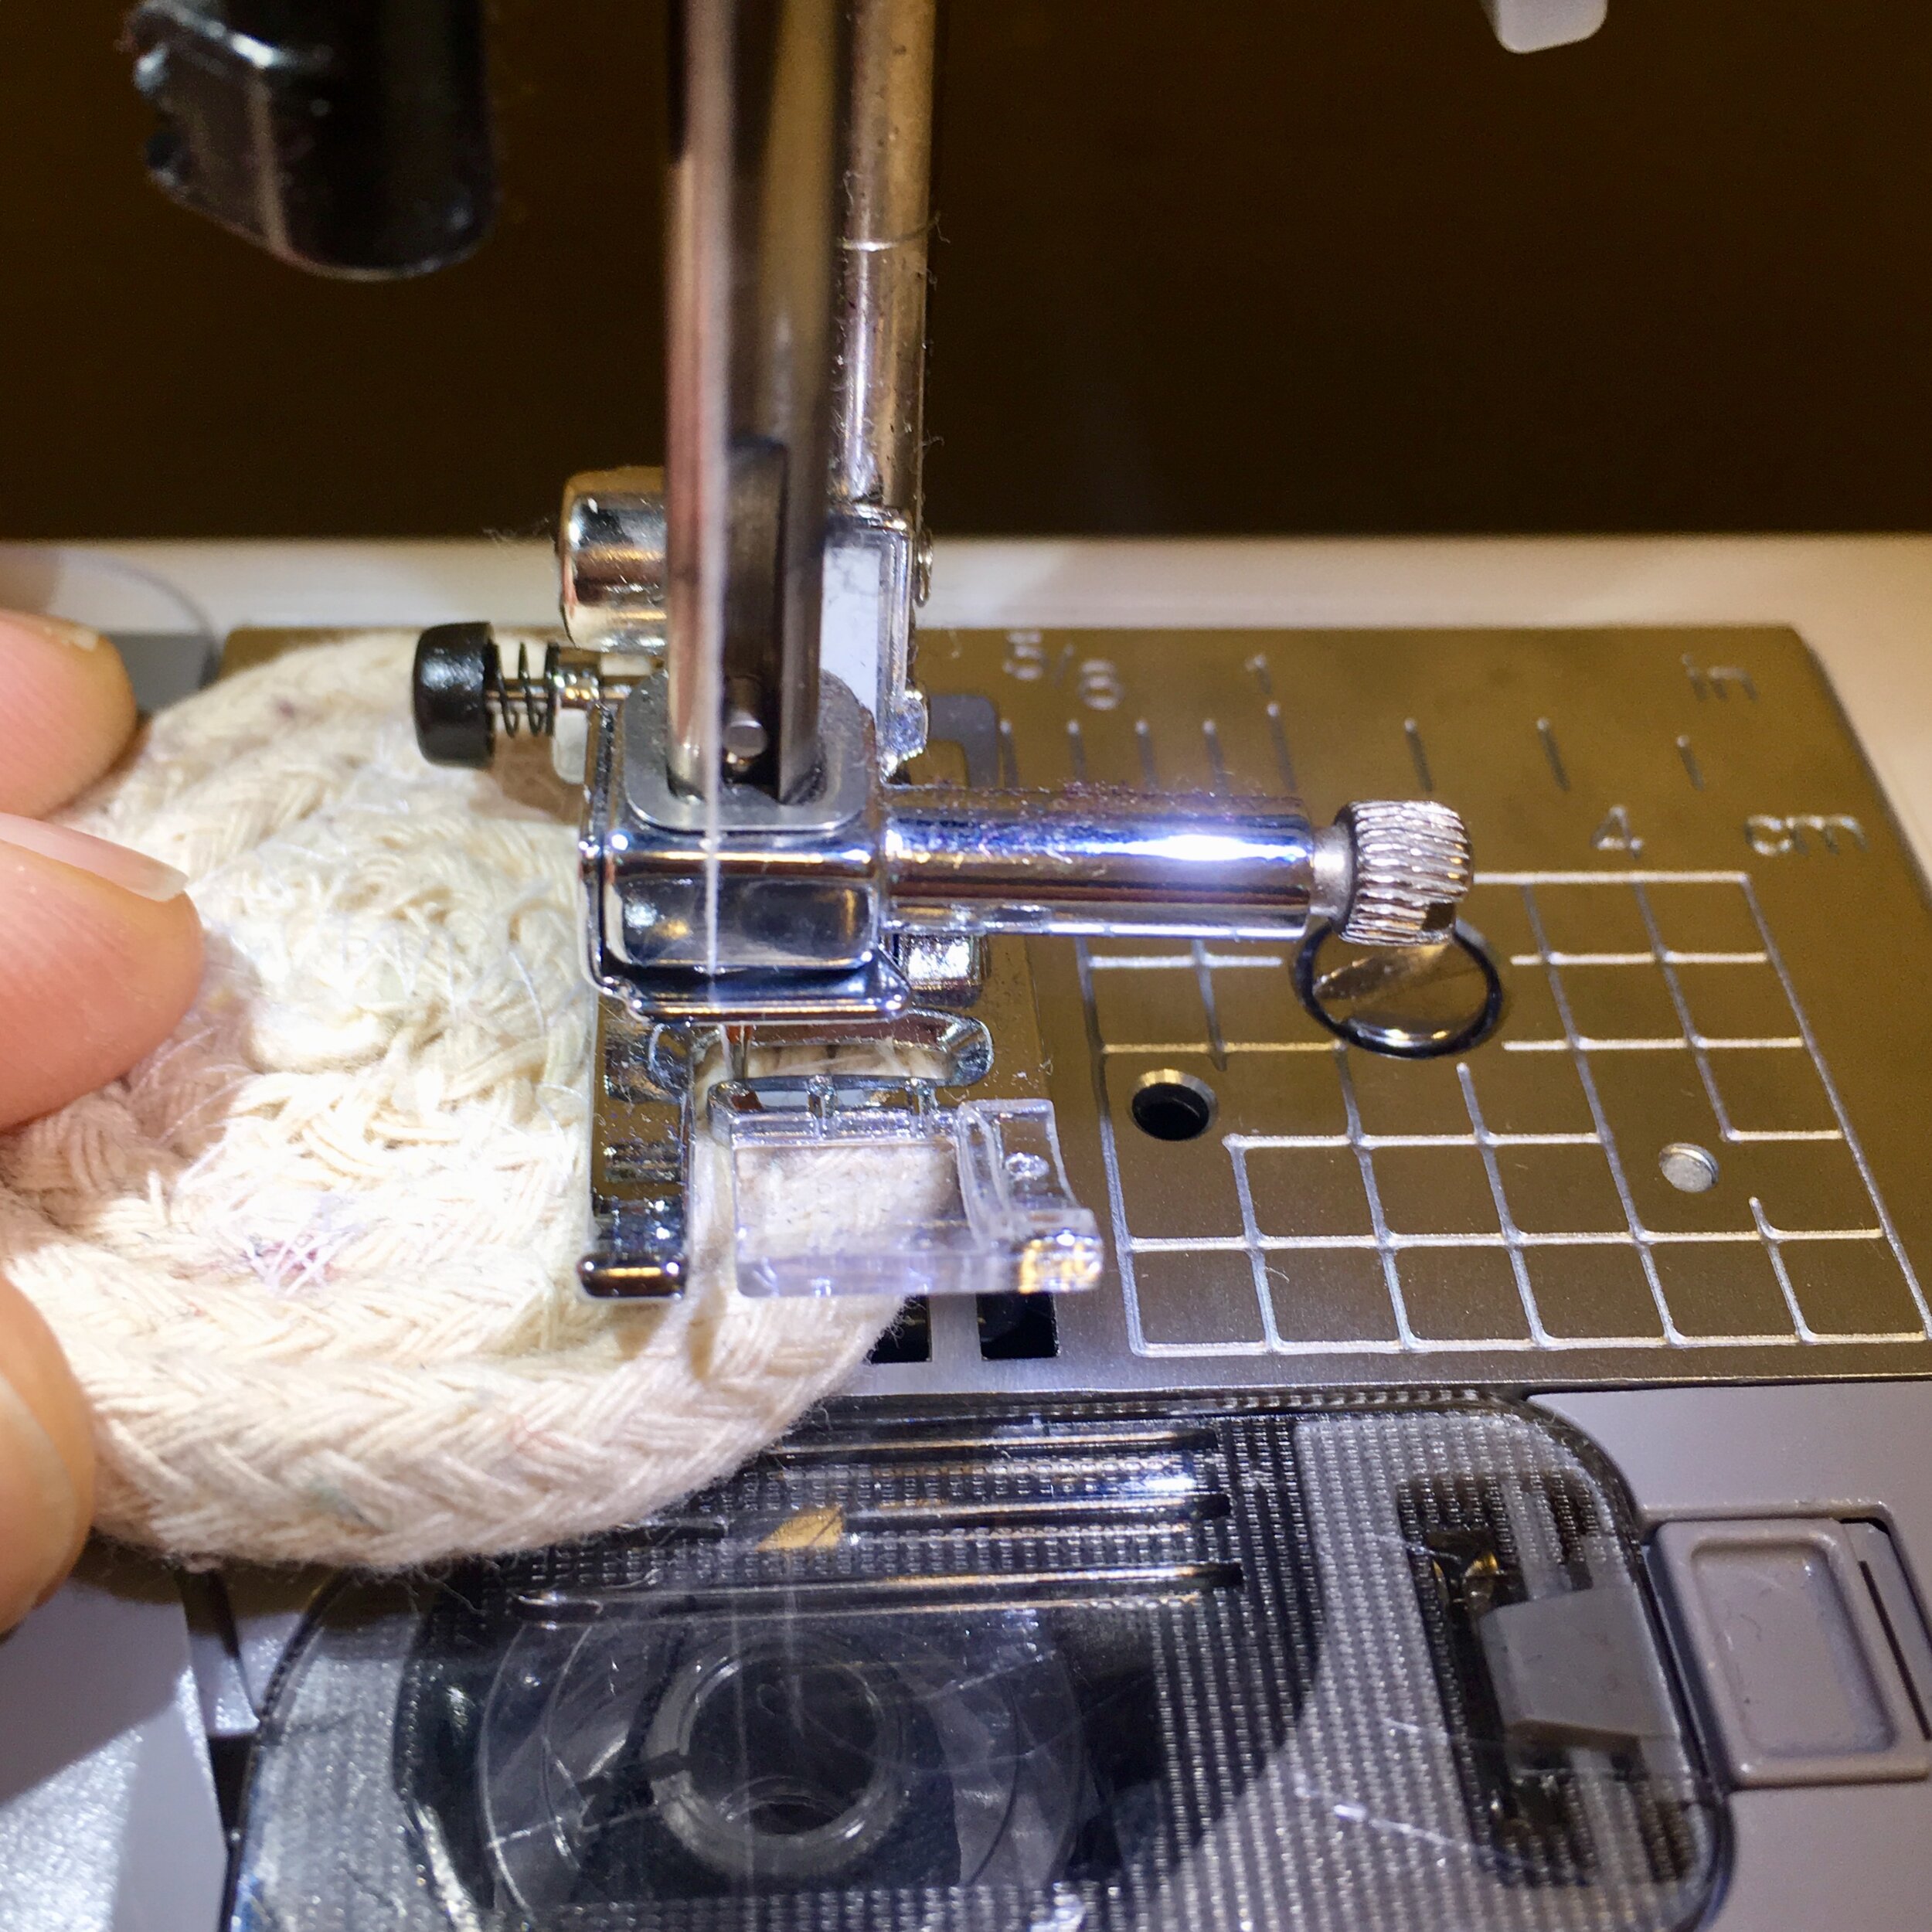
Begin rotating the coil as you sew, making sure the needle goes through the sewn rope and the rope being coiled around. If you miss a couple of spots, you can go back after it’s done and sew over any unsewn sections. 
When the coil comes near the edge of the sewing machine, tilt it upward with a sharp angle so the sides of the bowl start to take shape. 

After you get to the end of the rope, backstitch and forward stitch about 3 times to secure the end. 

*So many options!
If you want to do some scrap-busting, wrap strips of fabric around the rope just before you sew it. Send Jamie an email to sewinghive@gmail.com and she’ll send you a video of that. 
You can also paint right on the bowl with acrylic craft paint.
Another thing you can do is tie on some tassels or pom-poms.

Holiday Gift Tutorial:

Since it’s Gift Making Season, we thought we’d give you some simple gift tutorials to try.

IMG_4719.jpg

Cell Phone Charger Holder

by Jamie Hevener

Skill Level: Adult Beginner with knowledge of how to use a sewing machine and a steam iron
Kids may need to have an adult help along the way, especially with the steaming iron
Make sure you read over the instructions, check out the illustrations and if you have any questions, please email Jamie at sewinghive@gmail.com, so we can help. 

Use a ½” seam allowance

Supplies:
Sewing machine that can do a straight and zig-zag stitch 
All-purpose thread
Heavy-duty hand-sewing needle
Fabric Scissors
Straight Pins
Ruler
Iron with water for steam setting
Cell phone and wall-charger
Pen or tailors marker
2 Fat Quarters
¼ yard 808 Craft Pellon for interfacing to back of fabrics for stability
Sheet of writing or drawing paper
*Optional decorative ribbon, buttons, etc for the front of the pocket

INSTRUCTIONS
Draft Your Pattern:

Measure your phone’s width and height.
Draw a rectangle = phone width + 1 ½ “ x phone height + 4” for the back panel template.
Draw a rectangle = phone width + 2 ½ “ x phone height for the pocket template.
Trim right and left sides of pocket template with the top being the widest as sides taper to the bottom edge being = width of back panel. It will resemble a trapezoid shape.

Prepare Fabrics:

Cut 2 fabric and 3 interfacing using back panel template. 
Cut 2 fabric and 1 interfacing using pocket template.
Steam press 2 stacked interfacings to one back panel, 1 interfacing to the second back panel and one interfacing to the pocket front.
*Sew any decorative notions you like to the front pocket piece now.

Sew Front Together: 

Sew pocket pieces at the top edge with fabrics facing.
Turn right-side-out and press. Topstitch top edge.
Stack and align bottom edges of pocket and the back panel (the one with 2 interfacings). Sew in place across the bottom.
Adjust the right edge of the pocket to align with the right edge of the back panel and sew in place. Repeat this for the left side of pocket and back panel.

Sew Front and Back Together:

Place the other back panel piece face down on the face of pocketed back panel. Pin and sew, remembering to backstitch at beginning and end, pivoting at corners, but leave about 2 ½” unsewn at bottom. This will let you turn right-side-out. 
Clip corners and turn right-side-out. You will want to use the bottom of your pen to push out sides and corners. Press the whole cell phone holder, since it will be wrinkled from being pushed around. 
Hand sew the opening closed, using a ladder-stitch (as shown) or whip-stitch.


Create The Charger Opening:

Lay holder upside-down and center your charger about 1” below the top edge of holder. Draw around it. Stitch just to the outside of the lines you drew. Cut the opening on the lines you drew. (Fold in the middle of the shape and snip the center to get started cutting.)

Set your machine to a wide zig-zag stitch and adjust the width to a short stitch length. (Test on a scrap of fabric until you like the look of the stitch.) Sew around this opening right on the raw edges. I repeated this zig-zag stitch 3 times, so it would look more “finished” on the opening.


You did it!
Wrap the charger cord around the phone and put the charger through the hole into your designated phone charging wall outlet.